Neatly mounting a serial diag connector
Some slight change would be necessary to use these instructions with our third generation serial adapter. --Quozl 02:51, 13 August 2013 (UTC).
Neatly mounting a serial diagnostics connector
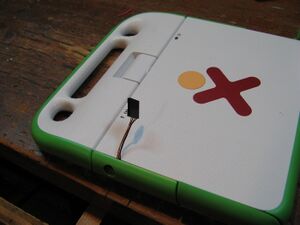
Many development machines have need of a console connector. Usually they're left hanging out of the machine, something like this:
But it's possible to do a better job, which eliminates the dangling wire.
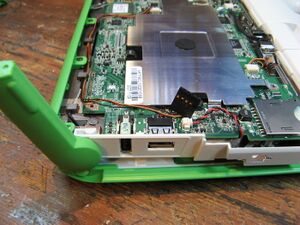
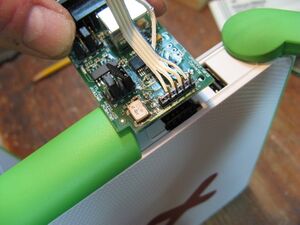
Start by opening the back of the laptop, as described under Disassembly. Route the serial connector over near the far USB ports:
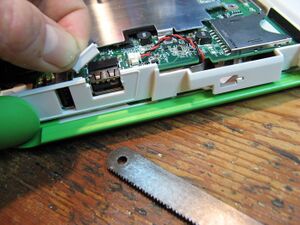
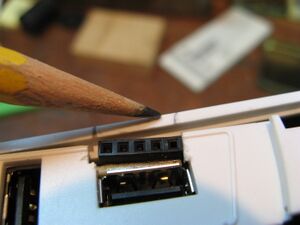
The serial connector will be installed on top of (behind, from point of view of a laptop user) the flat USB port. A section of plastic must be removed. It's better to offset the cut slightly away from the top of the laptop, unlike what I've shown here. You'll see why later.
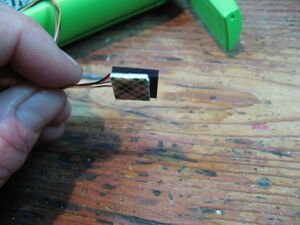
Cut a piece of double-sided adhesive mounting tape that matches the serial connector. It can be a bit shorter than the connector. The adhesive tape must be applied to the side of the connector on which the copper connections show through.
Mount the serial connector on top of the USB port. Again, it should really be a bit more to the right (i.e., further to the right than it is in this picture).
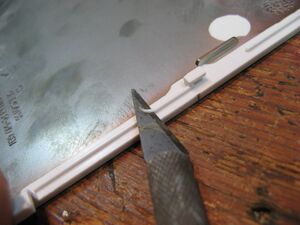
Do a test mount of the laptop's back. There's a small ridge of plastic arond the rim of the laptop's back which needs to be removed in the area of the connector. Mark the back so you know where to trim, then remove the ridge:
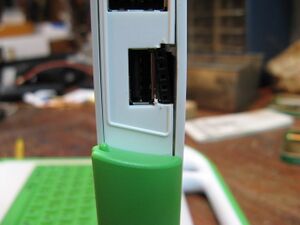
Now you see why it's better to shift the connector over just a little bit (but not too much!). One of the clips on the back will collide with the connector if the connector is too far to the top of the laptop (i.e., further to the left in these pictures). Here are my results with the connector in the wrong position:
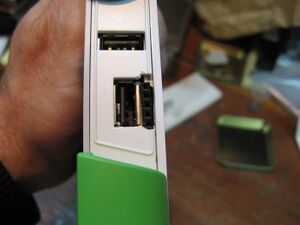
I was actually able to fix this by trimming away some plastic in the other direction with my X-acto knife, without taking anything apart. But it would have been neater to get it right the first time. Here's the final result:
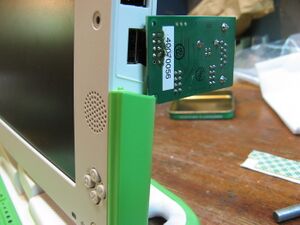
At this point we discover one more minor fitment issue. The serial-to-USB adapter cards are just a little too wide to let us plug directly into the freshly mounted connector. Note that if you're using the newer-style USB-only adapter, which is much smaller, there's no fitment issue. However, in that case you'll need to know which way to plug it in, since it will go either way. Put a black dot on the case near the black wire end of the connector.
There are two solutions: either simply leave the lower green rail uninstalled on that side of the laptop, or trim the adapter card slightly. All that's necessary is to take out a corner of the adapter card -- just line up the cuts exactly with the edges of the hole that's already there:
