Keyboard replacement: Difference between revisions
Jump to navigation
Jump to search
No edit summary |
(→Step 1) |
||
| Line 1: | Line 1: | ||
{{TOCright}} |
{{TOCright}} |
||
== |
== Opening the handle == |
||
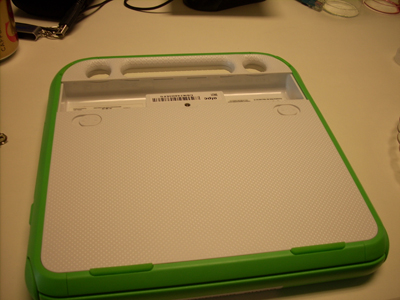
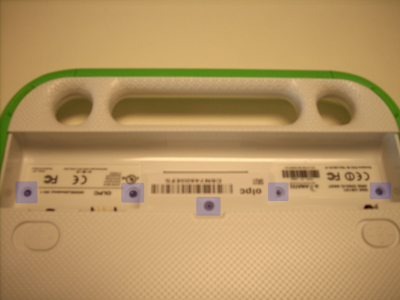
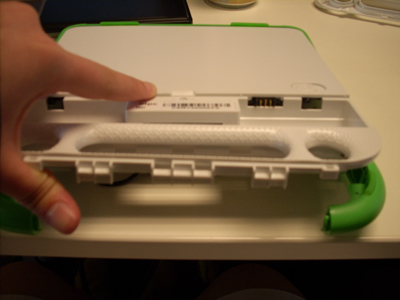
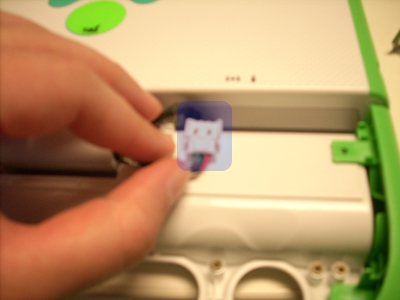
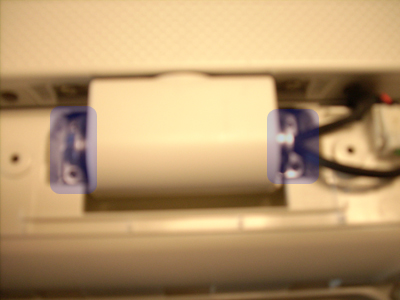
Start by removing the battery. Underneath the battery there are five screws that should be removed. |
|||
[[Image:KeyboardStep1.jpg]] |
[[Image:KeyboardStep1.jpg]] |
||
[[Image:KeyboardStep1a.jpg]] |
[[Image:KeyboardStep1a.jpg]] |
||
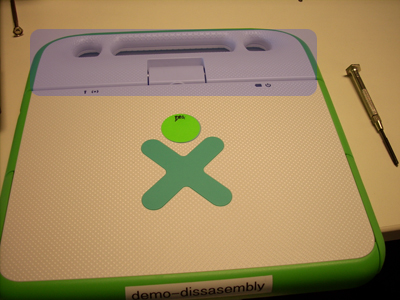
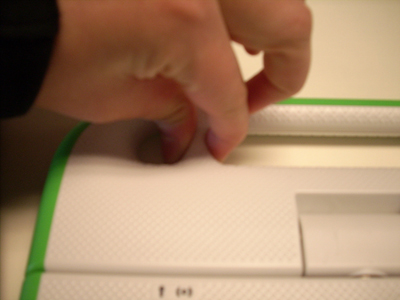
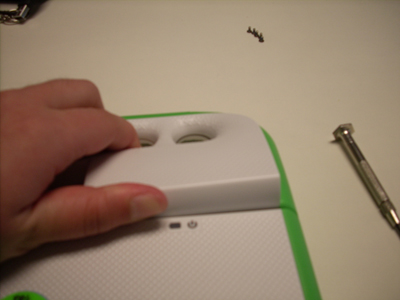
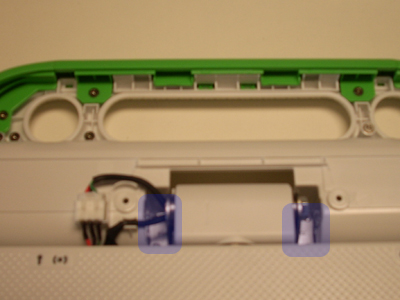
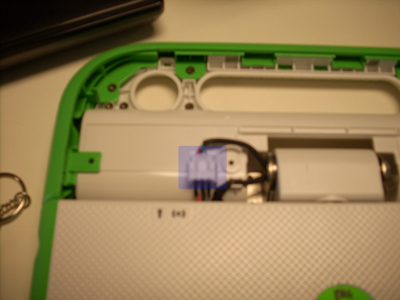
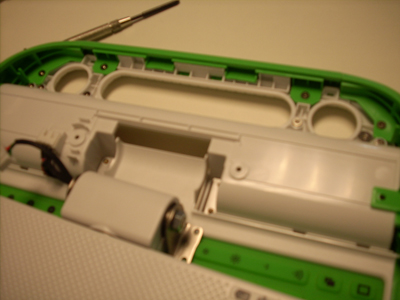
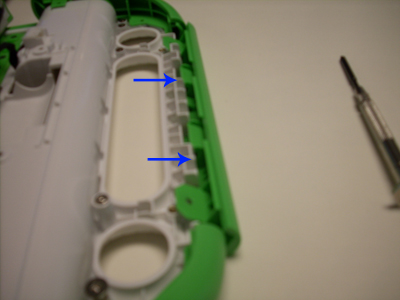
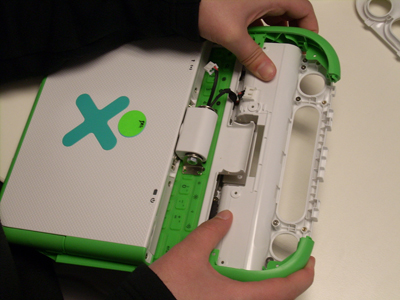
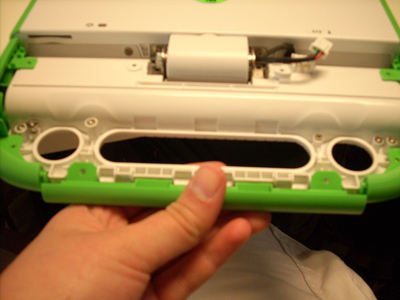
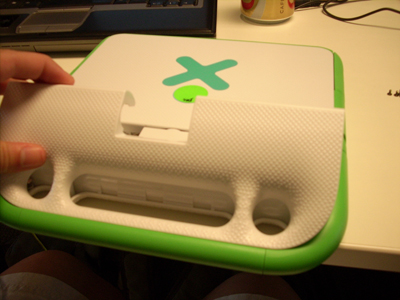
Once these screws are gone, flip the XO over. Now the white cover to the handle can be removed. Pinching and pulling up often works, although there are a number of ways to pull the plastic cover off. |
|||
[[Image:KeyboardStep1b.jpg]] |
[[Image:KeyboardStep1b.jpg]] |
||
Revision as of 22:52, 22 May 2008
Opening the handle
Start by removing the battery. Underneath the battery there are five screws that should be removed.
Once these screws are gone, flip the XO over. Now the white cover to the handle can be removed. Pinching and pulling up often works, although there are a number of ways to pull the plastic cover off.
