Screen replacement/lang-es: Difference between revisions
No edit summary |
|||
| Line 37: | Line 37: | ||
<br style="clear:both" /> |
<br style="clear:both" /> |
||
== |
== Remover la pantalla == |
||
=== |
=== 1 === |
||
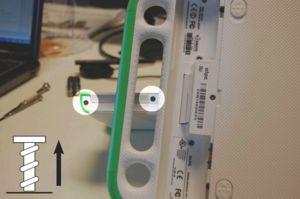
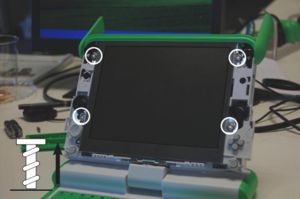
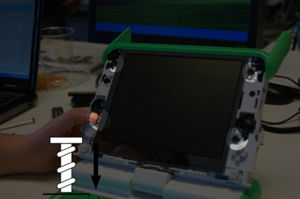
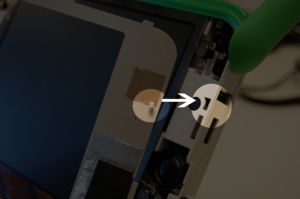
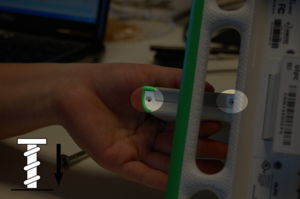
Remover los cuatro tornillos. |
|||
To get the screen out, remove the four screws highlighted. |
|||
[[image:Screen_4a.jpg|thumb|left| |
[[image:Screen_4a.jpg|thumb|left|Destornillar]] <br style="clear:both" /> |
||
=== |
=== 2 === |
||
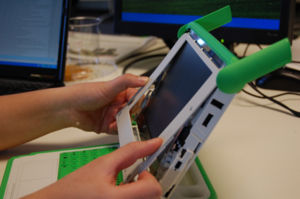
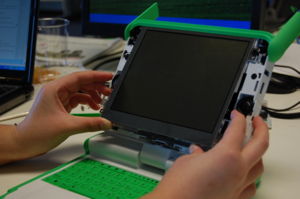
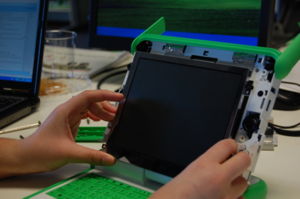
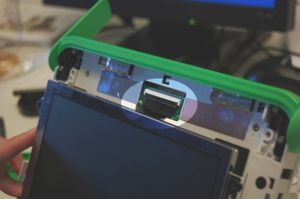
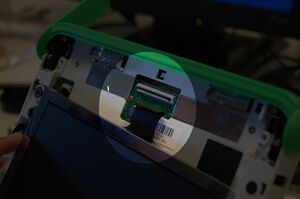
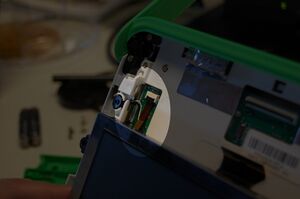
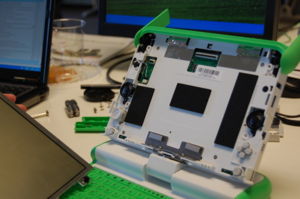
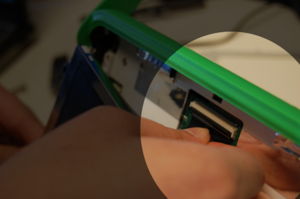
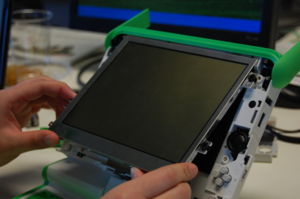
Con cuidado, jalar la pantalla al fondo. No tire con mucha fuerza, porque hay dos cables conectando la pantalla y la laptop. |
|||
Next, carefully slide the screen out, pulling the bottom out. '''Do not''' tug it or let go, as it will still be connected to the motherboard by two cables. |
|||
[[image:Screen_4b.jpg|thumb|left|Jalarn suavamente]] [[image:Screen_4c.jpg|thumb|left]][[image:Screen_4d.jpg|thumb|left| Cuidado con los cables]] |
|||
<br style="clear:both" /> |
<br style="clear:both" /> |
||
[[image:Screen_4e.jpg|thumb|left| |
[[image:Screen_4e.jpg|thumb|left| Desenganchar el cable]] [[image:Screen_4f.jpg|thumb|left| Hay 2 cables]] [[image:Screen_4g.jpg|thumb|left| ]] |
||
<br style="clear:both" /> |
<br style="clear:both" /> |
||
== Replacing the screen == |
== Replacing the screen == |
||
Revision as of 20:09, 27 May 2008
Reponer la pantalla es bastante fácil. Para hacer esto, necesitara un destornillador #1 y un recipiente para los tornillos. Se puede hacer en unos 10 minutos, aún si no tiene mucha experiencia.
Quitar el panel frontal
1
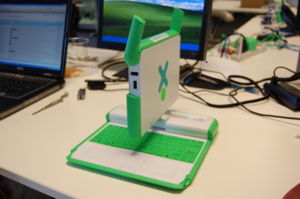
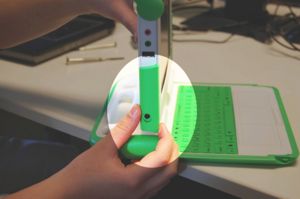
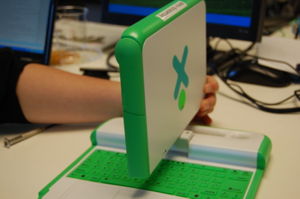
Abrir la laptop y rotar la pantalla como se viste en las imagenes. Remover los tornillos que se encuentra en el fondo de la pantalla - hay dos a la derecha y dos a la izquierda.
2
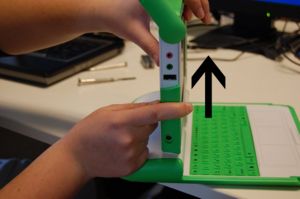
Remover los dos paneles verdes laterales. Deslizar los paneles hacia arriba y remover los.
3
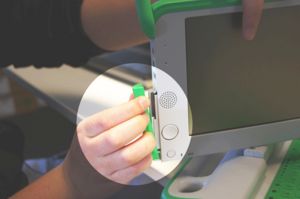
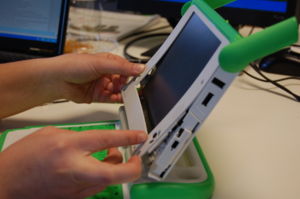
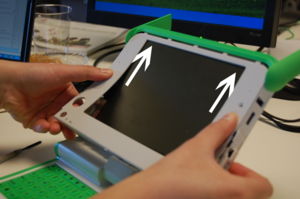
Por fin, remover el panel frontal. Cuidado con las ranuras. Jalar primero al fondo del panel (donde los tornillos estaban) hacia abajo y remover el panel.
Remover la pantalla
1
Remover los cuatro tornillos.
2
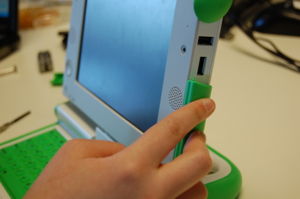
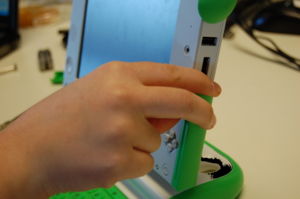
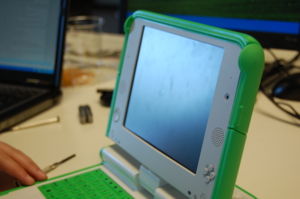
Con cuidado, jalar la pantalla al fondo. No tire con mucha fuerza, porque hay dos cables conectando la pantalla y la laptop.
Replacing the screen
Step 1
Replace the screen by sliding the connection cables into place and clipping them back down (it is generally easier to clip the thinner one that has a longer tether first). Reseat the screen, making sure that it sits flat and that none of the spacers are gone.
Step 2
Slide the front panel back on, making sure that it sits flat. Note that there are hooks on the side of the panel (highlighted in blue) that need to slide into place; pushing the top of the screen flat and sliding it upwards works well.
Step 3
Slide the green side pieces back into place. Then, rotate the XO 90 degrees and put the remaining screws back. Don't forget that the screws go in on both sides (right/left).
And you're done! Yay! :D
