Disassembly B4 wireless antenna: Difference between revisions
Jump to navigation
Jump to search
(New page: {{TOCright}} This is a description of how to disassemble the top section of an B4 preproduction XO laptop to replace the wireless antenna (rabbit ears). This is part of the ...) |
No edit summary |
||
| Line 19: | Line 19: | ||
<br style="clear:both" /> |
<br style="clear:both" /> |
||
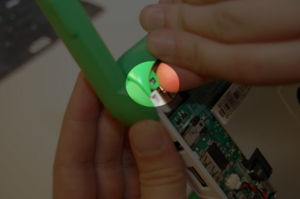
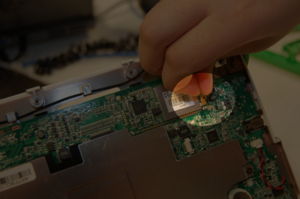
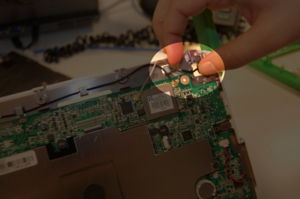
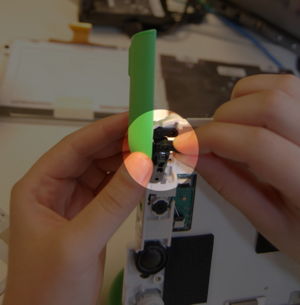
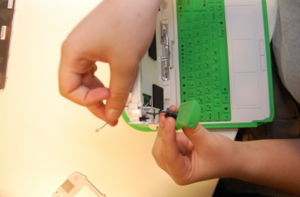
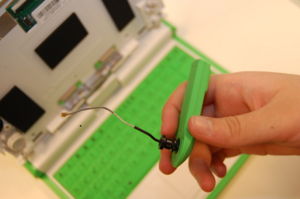
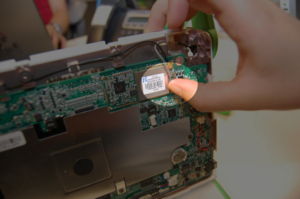
[[image:Antenna2d.JPG|thumb|left|Watch out for this tab!]] [[image:Antenna2e.JPG|thumb|left|Carefully pull out the antenna.]] [[image:Antenna2f.JPG|thumb|left|A removed antenna.]] |
[[image:Antenna2d.JPG|thumb|left|Watch out for this tab!]] [[image:Antenna2e.JPG|thumb|left|Carefully pull out the antenna.]] [[image:Antenna2f.JPG|thumb|left|A removed antenna.]] |
||
<br style="clear:both" /> |
|||
== Removing the back cover / reaching the motherboard == |
|||
=== Step 1 === |
|||
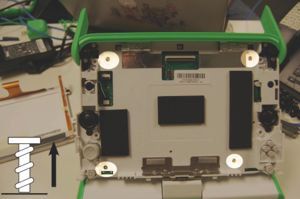
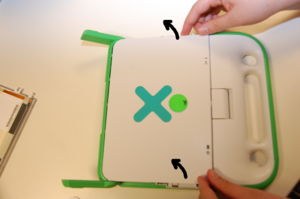
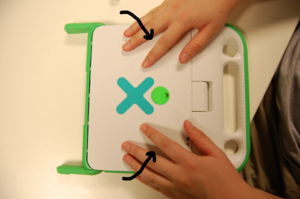
[[image:antenna1a.JPG|thumb|left|Take out 4 screws]] [[image:antenna1b.JPG|thumb|left|Turn over. Pull up and remove the back plate]] |
|||
<br style="clear:both" /> |
|||
== Optional: Removing the "XO Person" on the back cover == |
|||
'''You do not need to remove the "XO Person" on the back cover if you want to get to any other part.''' |
|||
=== Step 1 === |
|||
[[image:Xoman1.JPG|thumb|left|Turn the back plate over. Note where the colored plastic fits in.]] [[image:Xoman2.JPG|thumb|left|Use a screwdriver to pop these out]] |
|||
<br style="clear:both" /> |
|||
[[image:Xoman3.JPG|thumb|left|Turn plate over so the XO man faces you. Pull the plastic part out.]] [[image:Xoman4.JPG|thumb|left|Note how the tabs fit in with the back plate.]] |
|||
<br style="clear:both" /> |
|||
== Replacing the "XO Person" on the back cover == |
|||
=== Step 1 === |
|||
[[image:Xoman5.JPG|thumb|left|Fit the new piece in the back plate and snap it back in place.]] |
|||
<br style="clear:both" /> |
|||
== Replacing the back cover == |
|||
=== Step 1 === |
|||
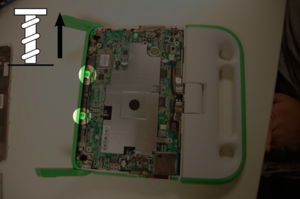
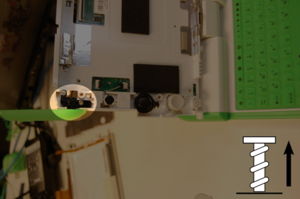
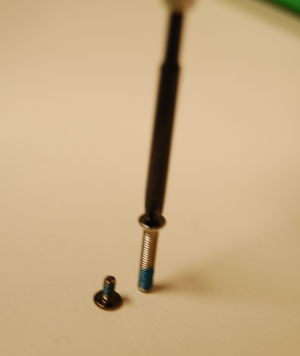
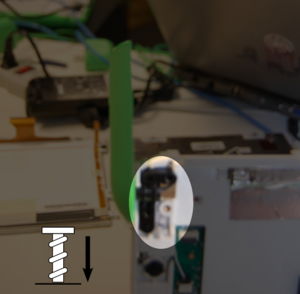
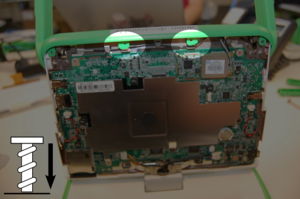
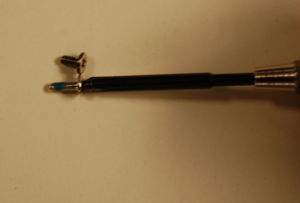
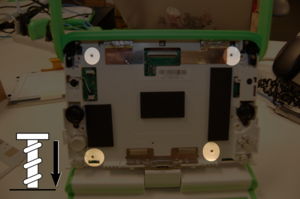
[[image:Antenna3e.JPG|thumb|left|Turn over. Replace the back plate.]] [[image:Antenna3fi.JPG|thumb|left|Pick the right screw!]] [[image:Antenna3fii.JPG|thumb|left|Turn over. Secure the back plate by putting in the four screws where indicated.]] |
|||
<br style="clear:both" /> |
<br style="clear:both" /> |
||
Revision as of 05:44, 10 June 2008
This is a description of how to disassemble the top section of an B4 preproduction XO laptop to replace the wireless antenna (rabbit ears). This is part of the Disassembly section of the Troubleshooting Guide and Repair Manual.
This is not needed to replace the wireless antennas on production machines.
Removing the wireless antenna
Step 1
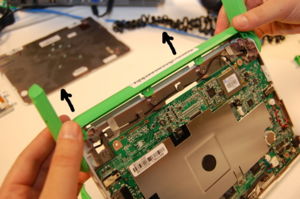
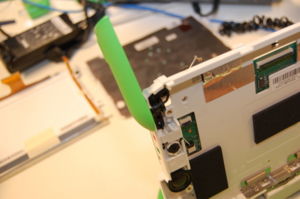
Keep the screen out of the way until the replacement is complete.
Step 2
Replacing the wireless antenna
Step 1
Step 2
