XO 1.5 USB Keyboard: Difference between revisions
Jump to navigation
Jump to search
No edit summary |
|||
| Line 97: | Line 97: | ||
|- |
|- |
||
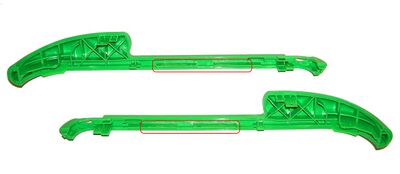
|[[Image:XO1.5_USBKB_Photo21.jpg|400px|left|Side bumper flanges removed]] |
|[[Image:XO1.5_USBKB_Photo21.jpg|400px|left|Side bumper flanges removed]] |
||
|- |
|||
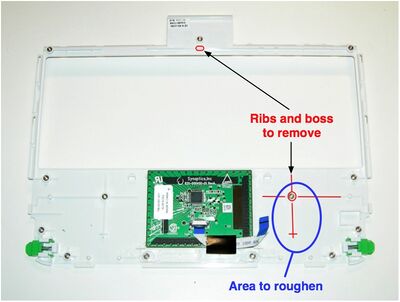
|Remove the right threaded insert on the keyboard bezel/touchpad and surrounding bracing. |
|||
|[[Image:XO1.5_USBKB_Photo22.jpg|400px|left|Keyboard bezel mods]] |
|||
|- |
|||
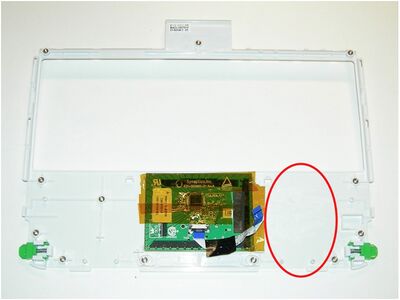
|Scuff the area where the connector board is going to be glued down. Add electrical insulation to the touchpad - Kapton or electrical tape |
|||
|[[Image:XO1.5_USBKB_Photo23.jpg|400px|right|Keyboard bezel after mods]] |
|||
|} |
|} |
||
Revision as of 06:15, 2 April 2010
This page describes how to change the keyboard in a XO-1.5 Laptop to a non-membrane USB version.
Scope
These are detailed instructions for installing a non-membrane keyboard into an XO-1.5 laptop. They apply to all pre-production as well as production models. With little change, they also apply to the later model of the XO-1 (with a single capacitive touchpad).
Credit is freely given to the author of the instructions for doing this modification to an XO-1 (part I, II), found on instructables.com.
WARNING
This modification includes permanent modifications of the XO laptop, and cannot be reversed. Even if you are experienced, there is a significant chance of damaging the laptop beyond repair while following these instructions.
Material
You will need:
- An XO-1 (CL1A) or XO-1.5 (CL1B) laptop
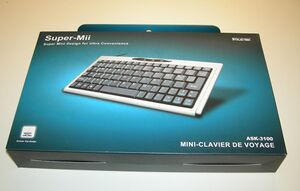
- A micro USB keyboard (such as this one).
- A #1 screwdriver
- Fine pitch soldering equipment
- A magnifier of some sort (lens, loupe, microscope...)
- An X-Acto knife
- A small file and/or fine grade sandpaper
- A way of cutting steel and grinding plastic (such as a Dremel tool)
- cellulose (scotch) or polymide (kapton, preferred) tape
- quick drying epoxy glue or archival double-sided tape
Instructions
Preparing the Keyboard
Dismantling the XO
| Make sure the laptop is running the latest firmware: q2e41 for XO-1 and q3a35 for XO-1.5. | |
| Remove the plastic cover from the hinge between the top and bottom pieces of the XO. There are two screws in the top, holding the two pieces together. | |
| Remove the handle cover. | |
| Disconnect the top and bottom halves of the XO, setting the top unit aside for now. | |
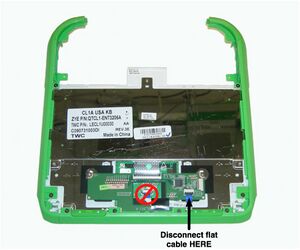
| Completely disassemble the bottom half (leaving only the FPC cable connected to the touchpad --- that connector is incredibly fragile and easy to break.) (link to disass. guide, except missing). | |
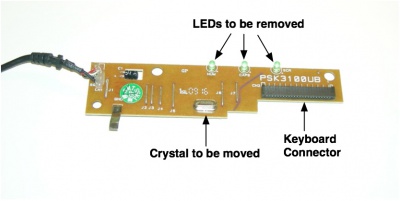
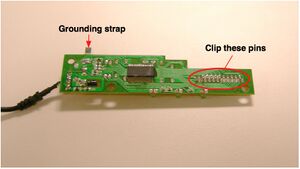
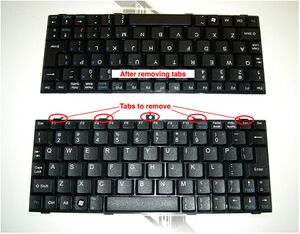
| Remove the keyboard and XO KBC board. | |
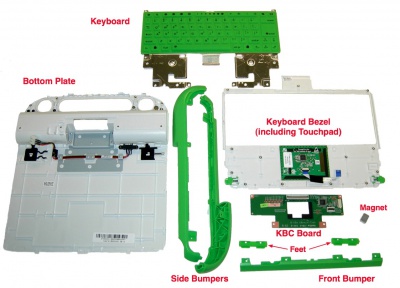
|
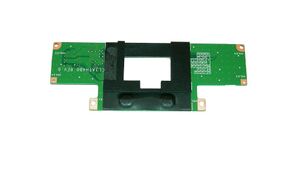
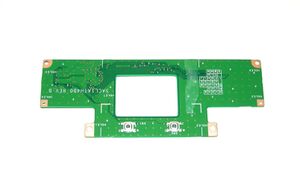
Remove the waterproofing foam and rubber covering from the KBC controller. Save the rubber. |
