OLPCities/RadioBox: Difference between revisions
No edit summary |
No edit summary |
||
| (2 intermediate revisions by the same user not shown) | |||
| Line 39: | Line 39: | ||
Link to the Classes:[[Document]] [[Form]] |
Link to the Classes:[[OLPCities/Document|Document]] [[OLPCities/Form|Form]] |
||
[[Category: |
[[Category:OLPCities_JavaScript_Libraries]] |
||
Latest revision as of 00:19, 14 February 2007
"RadioBox" is a Class that is part of the DOM (Document Object Model). This "library" is referenced automaticaly by the browser of the OLPC station and you don't need to add anything in the program to use it.
We use many radioboxes, labeled rounded boxes to be clicked. We use radiobox when choices are discreet (only one selected). For not discreet choices use CheckBoxes.
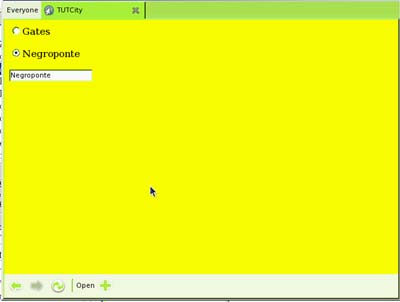
To create the many radioboxes you will use the tag INPUT defining a TYPE=RADIO and only a NAME for all the radioboxes. We will connect the first radiobox to an event onClick that is a trigger to a function, byexample: "rb1Clicked()". And so on. When the click is captured you need to define a text to be glued to this click - will be not the label. The object will be used in a chain of objects. Something like this will work :
 <html>
<head>
<form name="form1">
<input type=radio name="myradios"  onClick="rb1Clicked()">Gates
<p><p><input type=radio name="myradios"  onClick="rb2Clicked()">Negroponte
<p><p><input type=text name="t1" size=20>
</form>
<script language="Javascript">
function init(){
 document.form1.t1.value ="Select one name:";


}
function rb1Clicked() {
 document.form1.t1.value = "Gates";

}
function rb2Clicked() {
 document.form1.t1.value ="Negroponte";

}
</script>
</head>

<title>TUTCity</title>

<body  bgcolor="yellow"  onload=init()>


</html>
