Disassembly bottom: Difference between revisions
Jump to navigation
Jump to search
No edit summary |
(added PDF walkthrough) |
||
| Line 7: | Line 7: | ||
These instructions are also available in [http://dotsub.com/films/xobottom_1/index.php?autostart=true&language_setting=en_4760 video format] with English subtitles, courtesy of [[ILXO]]. |
These instructions are also available in [http://dotsub.com/films/xobottom_1/index.php?autostart=true&language_setting=en_4760 video format] with English subtitles, courtesy of [[ILXO]]. |
||
== PDF walkthrough == |
|||
[[media:XO_Disassembly_(Bottom).pdf | XO 1.5 Disassembly Bottom (20-page PDF, 1.7MB)]] |
|||
== XO before disassembly == |
== XO before disassembly == |
||
Revision as of 13:31, 12 November 2010
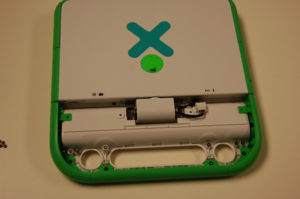
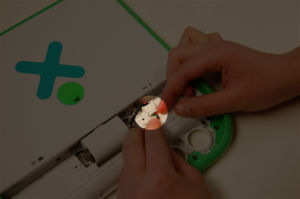
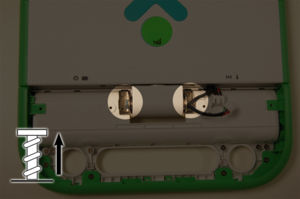
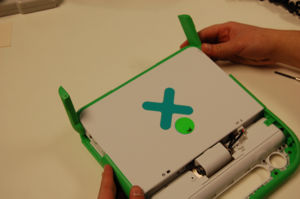
This is a description of how to disassemble the bottom portion of an XO laptop. This is part of the Disassembly section of the Troubleshooting Guide and Repair Manual.
Video walkthrough
These instructions are also available in video format with English subtitles, courtesy of ILXO.
PDF walkthrough
XO 1.5 Disassembly Bottom (20-page PDF, 1.7MB)
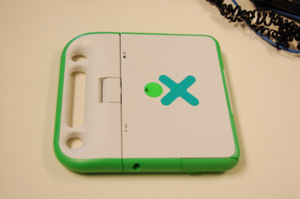
XO before disassembly
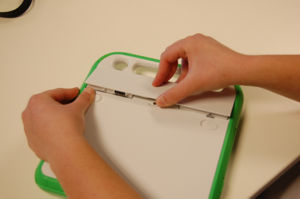
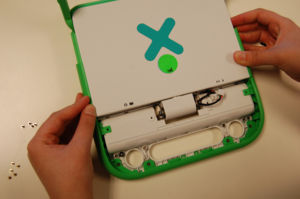
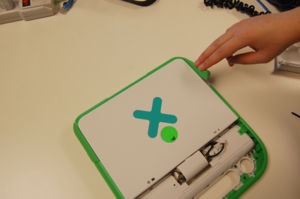
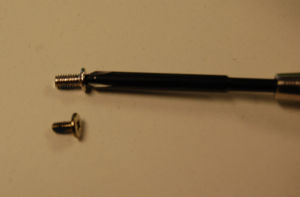
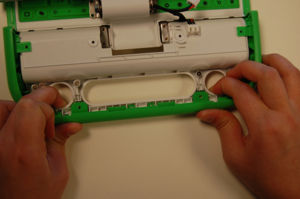
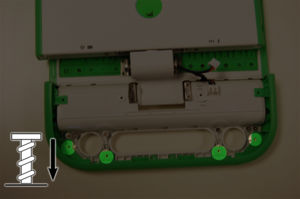
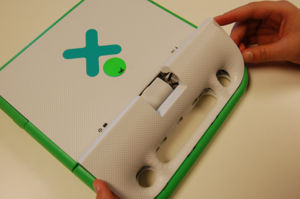
Removing the handle cover / reaching the spare screws
Step 1
Step 2
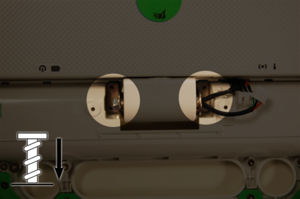
Removing the hinge / disconnecting the top and bottom halves of the XO
Step 1
Step 2
Step 3
Removing the bottom cover
Step 1
Step 2
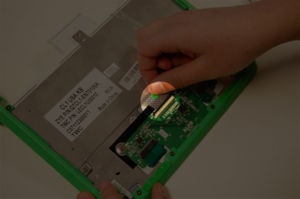
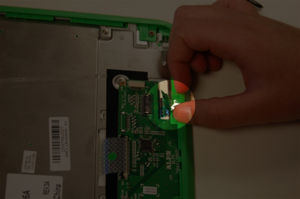
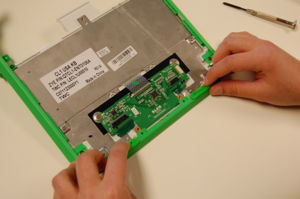
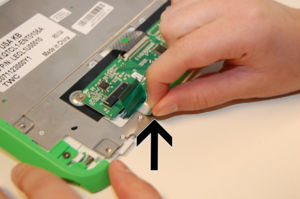
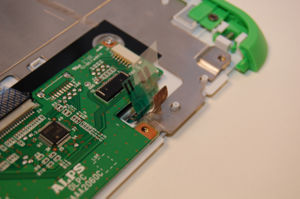
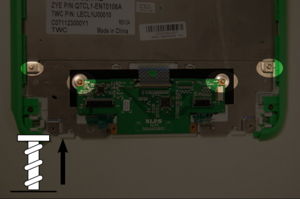
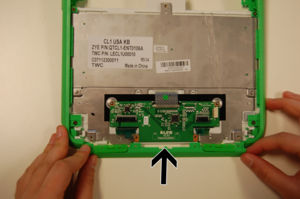
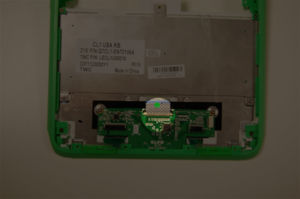
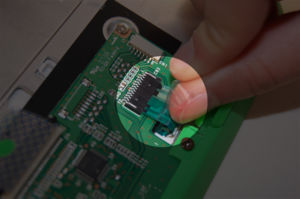
Removing the ALPS (touchpad and keyboard control) board
Step 1
Step 2
Step 3
Removing the keyboard
Step 1

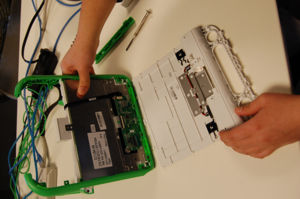
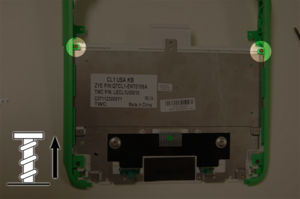
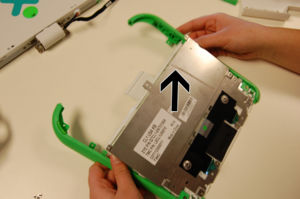
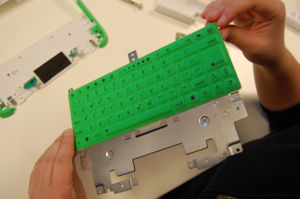
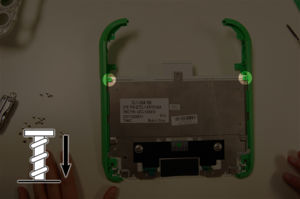
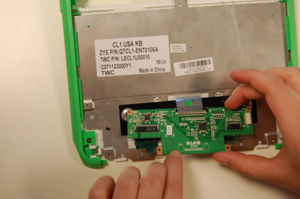
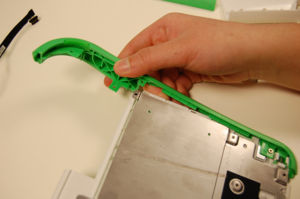
Pull the green side panels apart to free the board. Warning: if you want to pull the side panels off completely, you should be aware that there are two one-way clips (ramps that snap into slots) holding them on to the white plastic body - the slots are located on each side at the top edge of the keyboard area, and at the bottom edge of the Enter key. You may find it helpful to gently warm the assembly, e.g. in the sun, before gently prying the side pieces apart from the body.
Replacing the keyboard
Step 1
Step 2
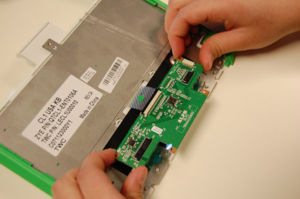
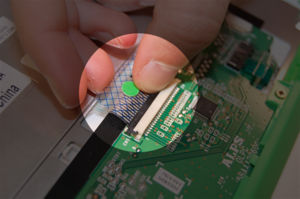
Replacing the ALPS (touchpad and keyboard control) board
Step 1
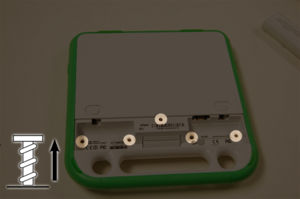
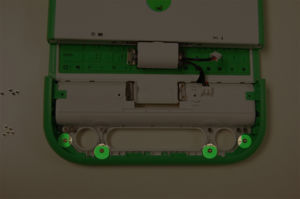
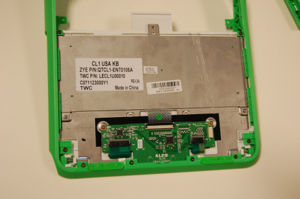
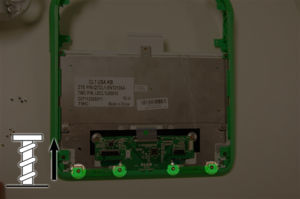
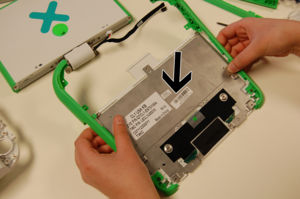
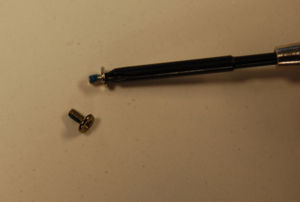
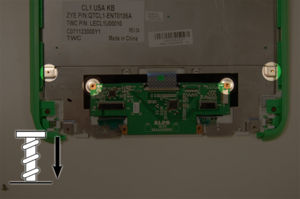
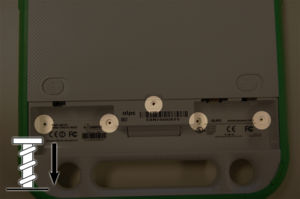
Replace the silver tapes. Place four screws in the four holes.
Step 2
Replacing the bottom case cover
Step 1
Step 2
Replacing the hinge / Reconnecting the top and bottom halves of the XO
Step 1
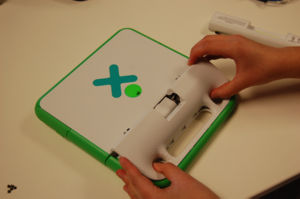
Replacing the handle cover
Step 1
Step 2
Step 3
