Keyboard replacement: Difference between revisions
Jump to navigation
Jump to search
(→Step 1) |
|||
| Line 2: | Line 2: | ||
== Opening the handle == |
== Opening the handle == |
||
=== Step 1 === |
|||
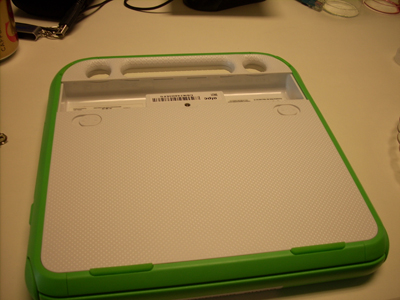
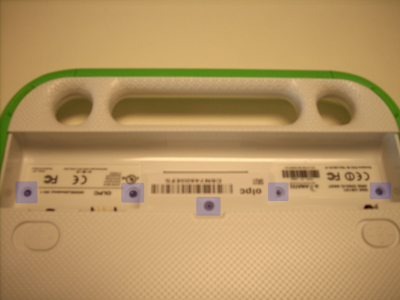
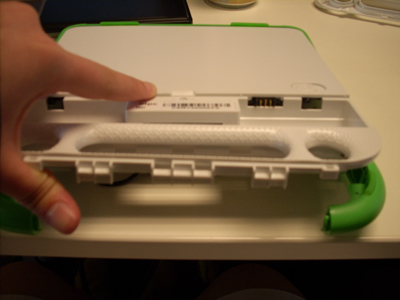
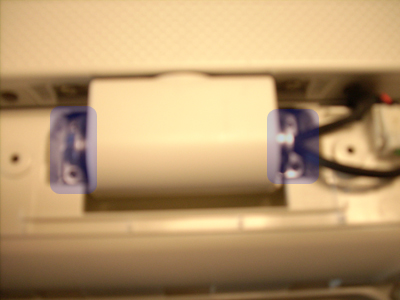
Start by removing the battery. Underneath the battery there are five screws that should be removed. |
Start by removing the battery. Underneath the battery there are five screws that should be removed. |
||
| Line 8: | Line 10: | ||
[[Image:KeyboardStep1a.jpg]] |
[[Image:KeyboardStep1a.jpg]] |
||
=== Step 2 === |
|||
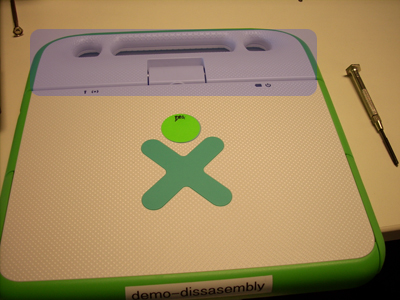
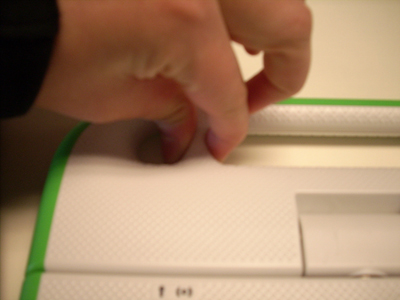
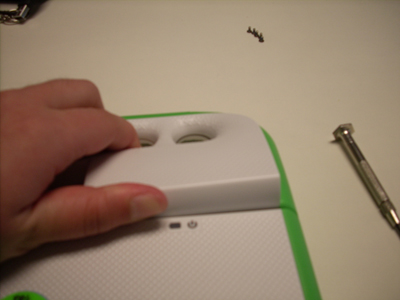
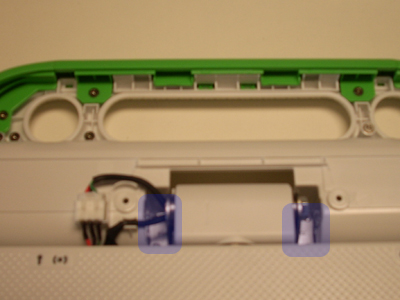
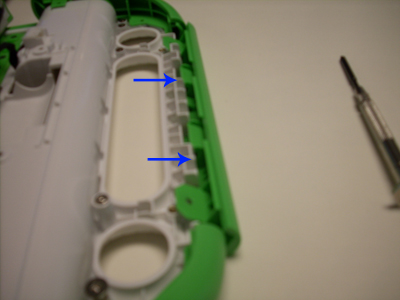
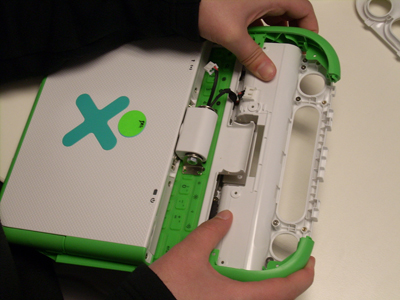
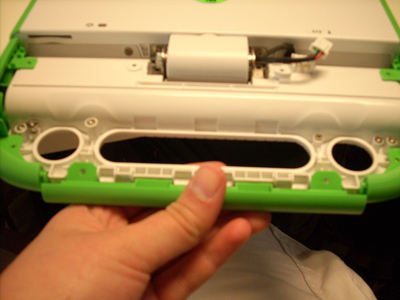
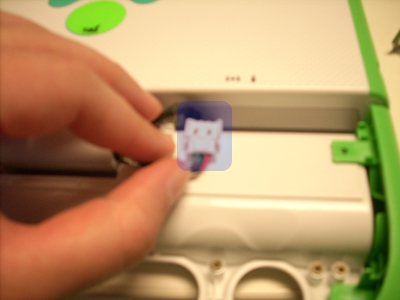
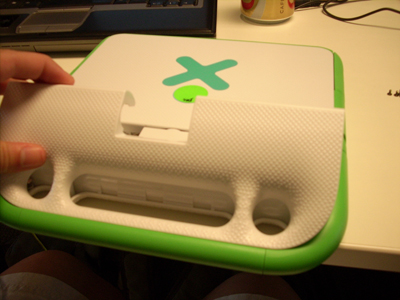
Once these screws are gone, flip the XO over. Now the white cover to the handle can be removed. Pinching and pulling up often works, although there are a number of ways to pull the plastic cover off. |
Once these screws are gone, flip the XO over. Now the white cover to the handle can be removed. Pinching and pulling up often works, although there are a number of ways to pull the plastic cover off. |
||
Revision as of 22:52, 22 May 2008
Opening the handle
Step 1
Start by removing the battery. Underneath the battery there are five screws that should be removed.
Step 2
Once these screws are gone, flip the XO over. Now the white cover to the handle can be removed. Pinching and pulling up often works, although there are a number of ways to pull the plastic cover off.
