Keyboard replacement: Difference between revisions
(→Step 2) |
|||
| Line 21: | Line 21: | ||
[[Image:KeyboardStep1d.jpg]] |
[[Image:KeyboardStep1d.jpg]] |
||
== Separating the top and bottom == |
|||
| ⚫ | |||
=== Step 1 === |
|||
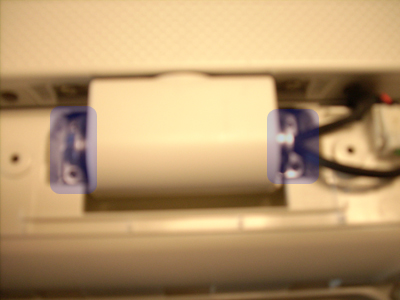
In order to pull the laptop apart, the hinge must be removed. Remove the four screws highlighted in blue. |
|||
[[Image:KeyboardStep2a.jpg]] |
[[Image:KeyboardStep2a.jpg]] |
||
| ⚫ | |||
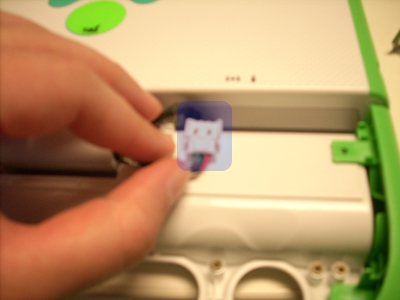
Unclip the cable running from the keyboard; this will help free up movement and allow the hinge to be lifted out. |
|||
[[Image:KeyboardStep2b.jpg]] |
[[Image:KeyboardStep2b.jpg]] |
||
[[Image:KeyboardStep2c.jpg]] |
[[Image:KeyboardStep2c.jpg]] |
||
=== Step 3 === |
|||
Remove the two screws holding down the top of the handle and pop out the piece. Rotating the piece downwards while pulling outwards works well. It is not uncommon to encounter resistance and then have the piece snap out of place, so don't be worried if that happens. |
|||
[[Image:KeyboardStep2d.jpg]] |
[[Image:KeyboardStep2d.jpg]] |
||
=== Step 4 === |
|||
Push down on the white bottom piece; it should pop out fairly easily, revealing the bottom of the keyboard. |
|||
[[Image:KeyboardStep2e.jpg]] |
[[Image:KeyboardStep2e.jpg]] |
||
Revision as of 22:58, 22 May 2008
Opening the handle
Step 1
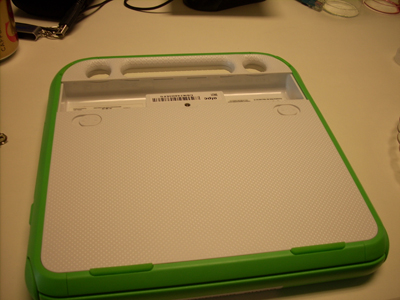
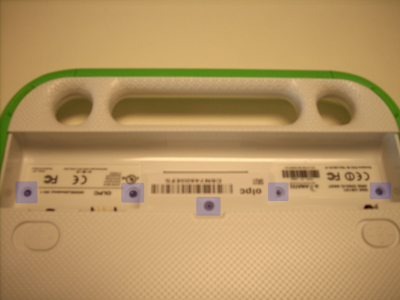
Start by removing the battery. Underneath the battery there are five screws that should be removed.
Step 2
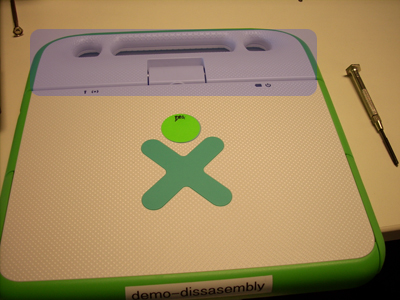
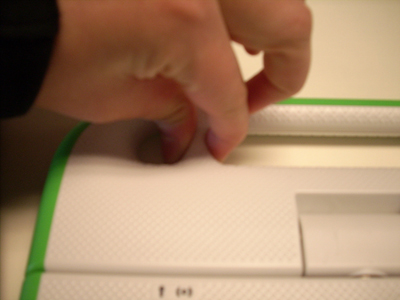
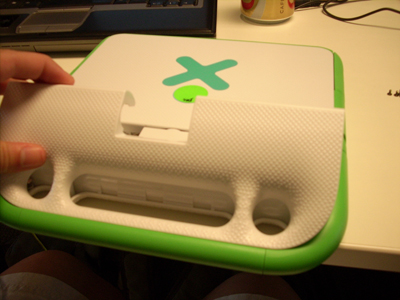
Once these screws are gone, flip the XO over. Now the white cover to the handle can be removed. Pinching and pulling up often works, although there are a number of ways to pull the plastic cover off.
Separating the top and bottom
Step 1
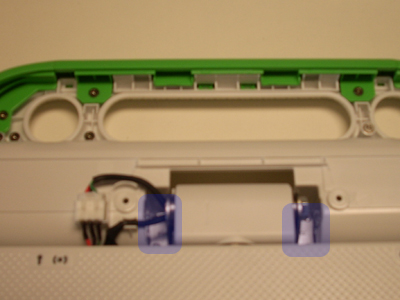
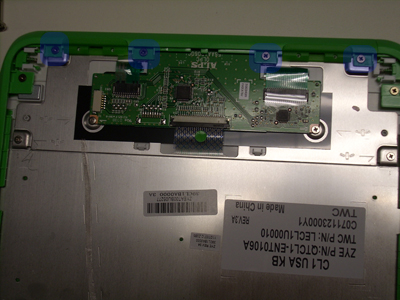
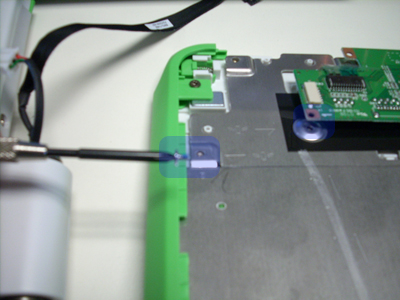
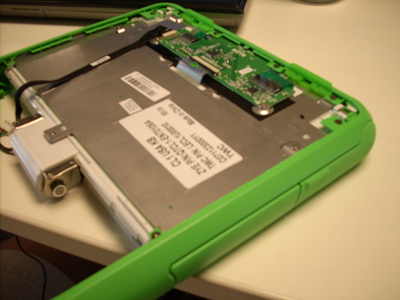
In order to pull the laptop apart, the hinge must be removed. Remove the four screws highlighted in blue.
Step 2
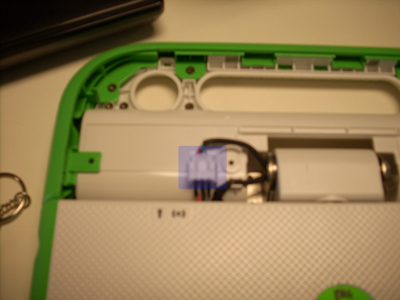
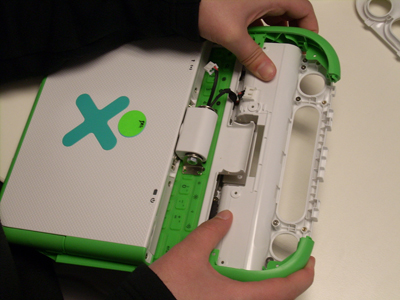
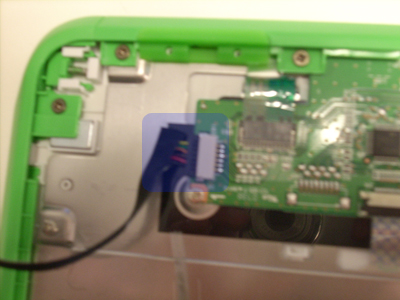
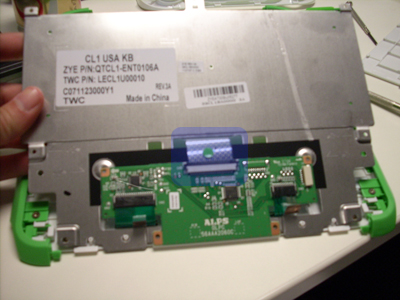
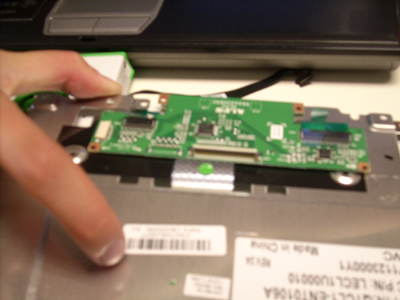
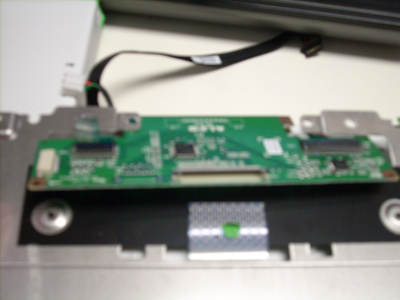
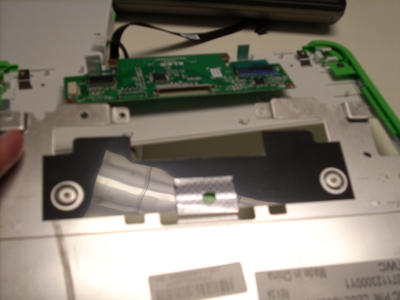
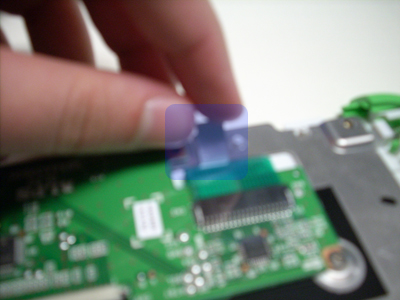
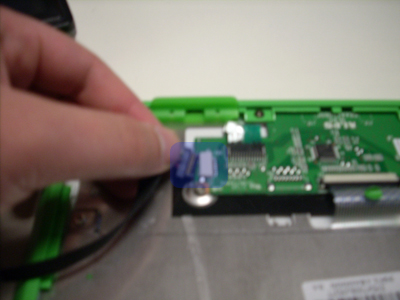
Unclip the cable running from the keyboard; this will help free up movement and allow the hinge to be lifted out.
Step 3
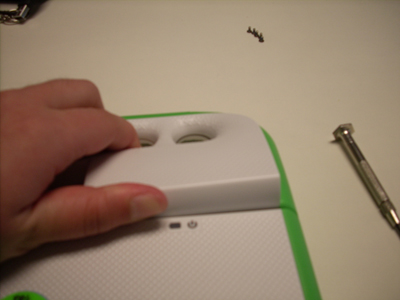
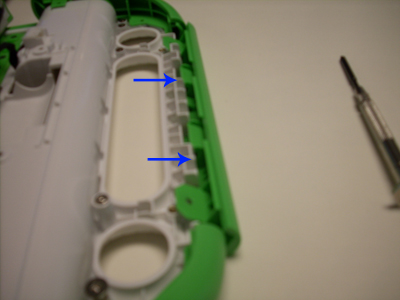
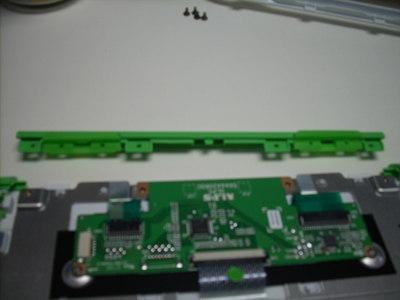
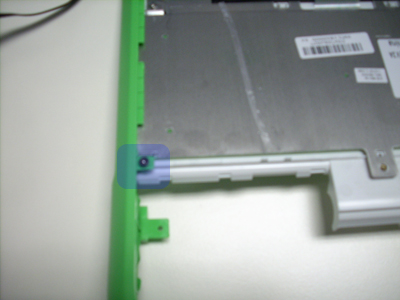
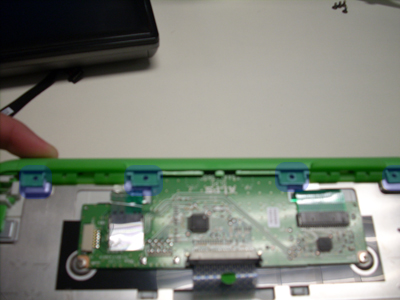
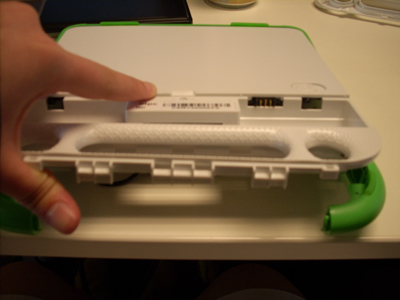
Remove the two screws holding down the top of the handle and pop out the piece. Rotating the piece downwards while pulling outwards works well. It is not uncommon to encounter resistance and then have the piece snap out of place, so don't be worried if that happens.
Step 4
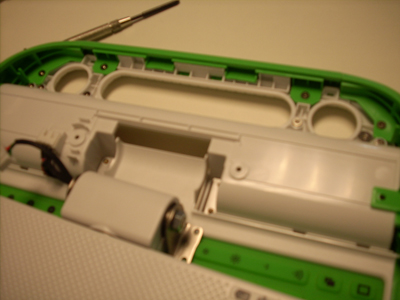
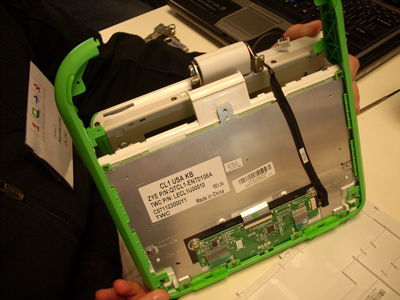
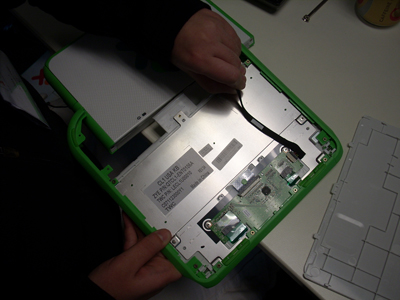
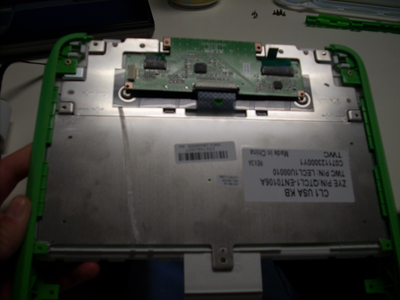
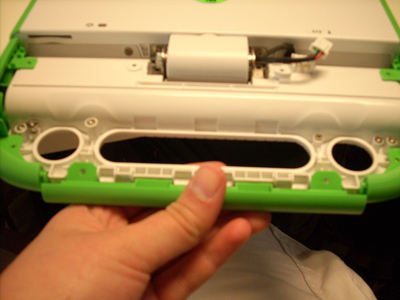
Push down on the white bottom piece; it should pop out fairly easily, revealing the bottom of the keyboard.
