Touchpad replacement: Difference between revisions
Jump to navigation
Jump to search
(→Step 5) |
(→Step 4) |
||
| Line 38: | Line 38: | ||
=== Step 4 === |
|||
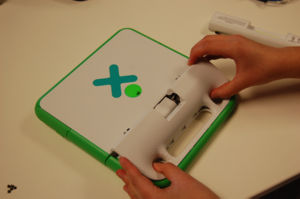
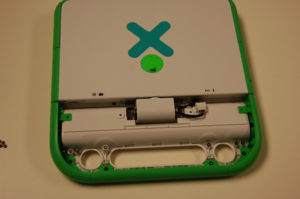
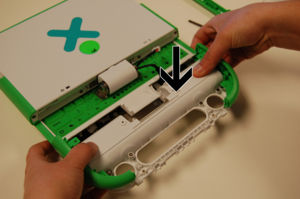
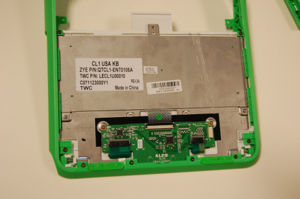
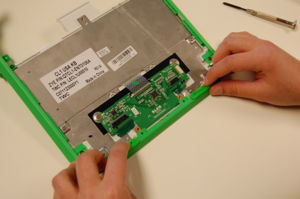
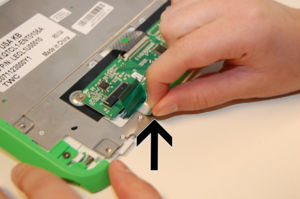
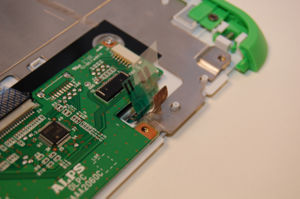
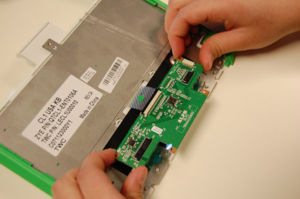
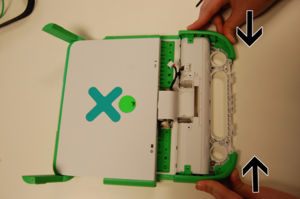
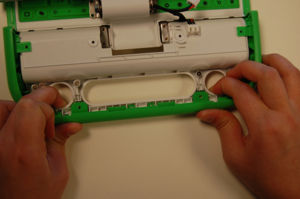
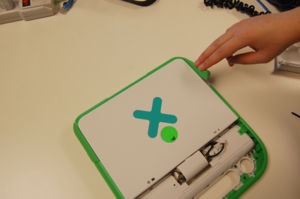
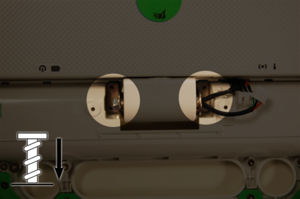
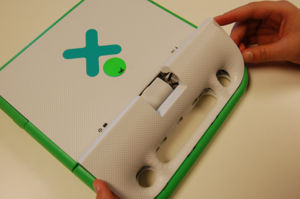
[[image:Keyboardstep5a.jpg|thumb|left|Put in the new keyboard, making sure that it lies flat.]] [[image:Keyboardstep5b.jpg|thumb|left|Replace the two screws near the handle.]] [[image:Keyboardstep5c.jpg|thumb|left|Carefully replace the keyboard/touchpad board.]] |
|||
<br style="clear:both" /> |
|||
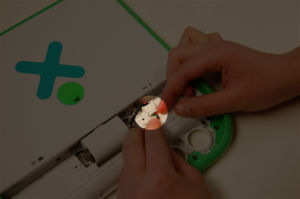
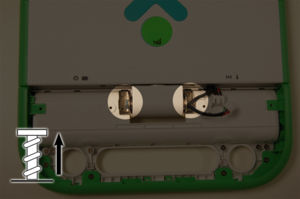
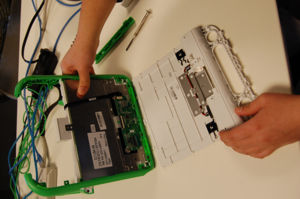
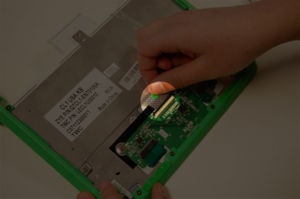
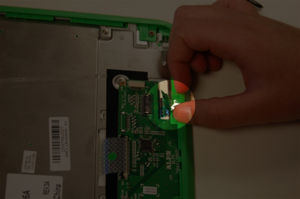
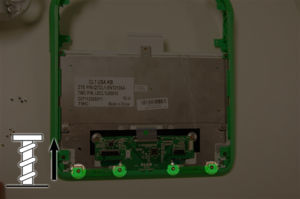
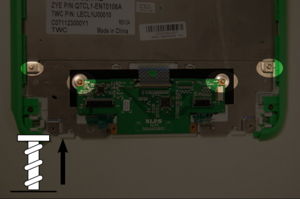
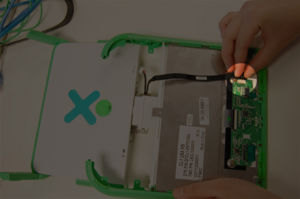
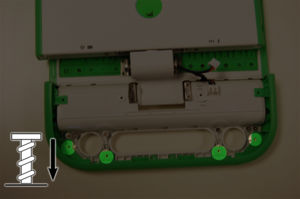
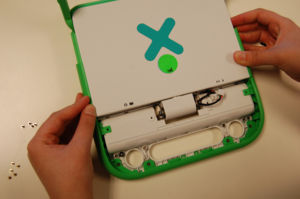
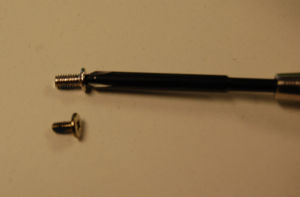
[[image:Keyboardstep5d_pickrightscrew.jpg|thumb|left|Make sure to use the right screws! You'll need the short silver ones.]] [[image:Keyboardstep5d.jpg|thumb|left|Using those screws, fasten the board and edges of the keyboard.]] [[image:Keyboardstep5e.jpg|thumb|left|Put the green edge piece back in.]] [[image:Keyboardstep5f.jpg|thumb|left|Replace the ribbon cables.]] |
|||
<br style="clear:both" /> |
|||
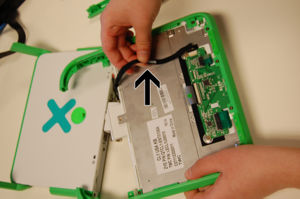
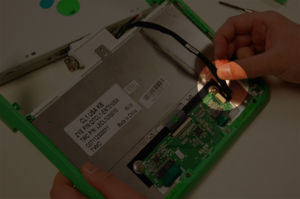
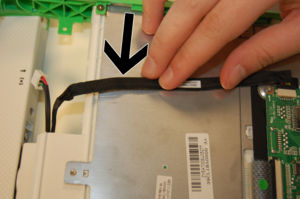
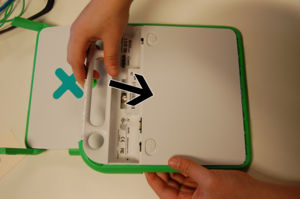
[[image:Keyboardstep5g.jpg|thumb|left]] [[image:Keyboardstep5h.jpg|thumb|left]] [[image:Keyboardstep5i.JPG|thumb|left]] |
|||
<br style="clear:both" /> |
|||
=== Step 6 === |
=== Step 6 === |
||
Revision as of 23:24, 25 May 2008
| NOTE: The contents of this page are not set in stone, and are subject to change! This page is a draft in active flux ... |
For other languages, see /Translations.
This repair is not unlike Keyboard replacement. This, too, can be easily done within 20 minutes if you're experienced. It may take up to an hour if this is your first time, but don't be discouraged!
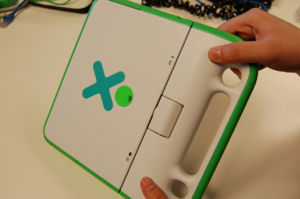
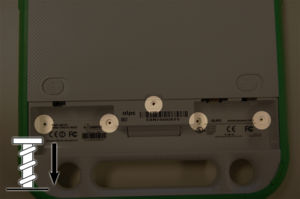
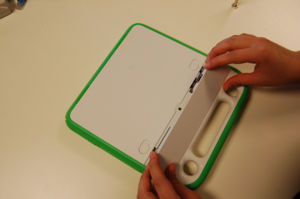
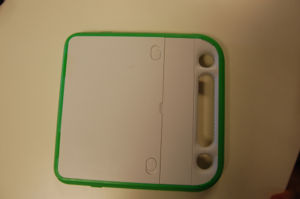
Opening the handle
Step 1
Step 2
Step 3
Step 6
Step 7
