Disassembly backlight: Difference between revisions
Jump to navigation
Jump to search
No edit summary |
No edit summary |
||
| Line 15: | Line 15: | ||
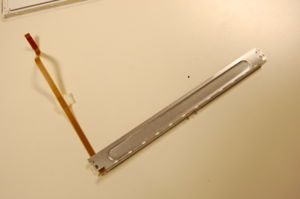
[[image:backlight1c.JPG|thumb|left|Take out two screws where indicated]] [[image:backlight1d.JPG|thumb|left|Lift the backlight up and out.]] [[image:backlight1e.JPG|thumb|left|Separated backlight]] |
[[image:backlight1c.JPG|thumb|left|Take out two screws where indicated]] [[image:backlight1d.JPG|thumb|left|Lift the backlight up and out.]] [[image:backlight1e.JPG|thumb|left|Separated backlight]] |
||
<br style="clear:both" /> |
<br style="clear:both" /> |
||
== Replacing the backlight == |
|||
Replace the backlight by attaching the new backlight to the display. Ensure the backlight connection cable is attached and lying flat along the display. |
|||
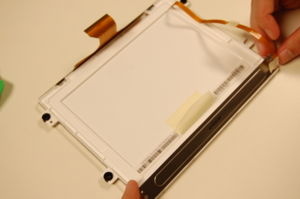
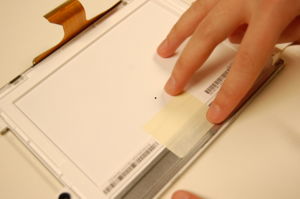
[[image:backlight2a.JPG|thumb|left|Gently put the new backlight in place]] [[image:backlight2b.jpg|thumb|left|Reattach tape to the center of the backlight]] |
|||
<br style="clear:both" /> |
|||
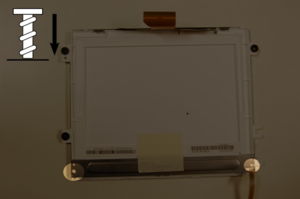
[[image:backlight2c.JPG|thumb|left|Place the two screws back in]] [[image:backlight2d.JPG|thumb|left|Reattach the tape on the small cables]] |
|||
<br style="clear:both" /> |
|||
[[Category:Repair]] |
[[Category:Repair]] |
||
Revision as of 04:10, 10 June 2008
This is a description of how to disassemble the display of an XO laptop to replace the backlight. This is part of the Disassembly section of the Troubleshooting Guide and Repair Manual.
Removing the backlight
Step 1
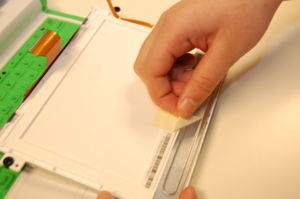
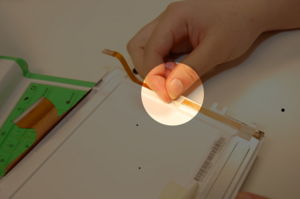
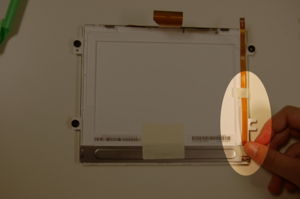
Remove tape from backlight connection cable to expose the back of the display.
Step 2
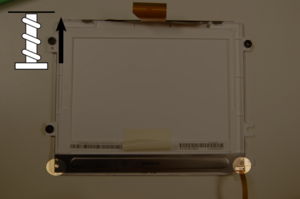
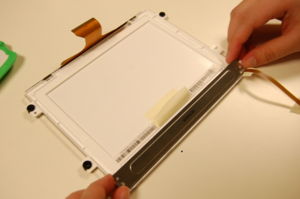
Disconnect the backlight from the display by removing the two screws shown below using a #0 Philips head screwdriver.
Replacing the backlight
Replace the backlight by attaching the new backlight to the display. Ensure the backlight connection cable is attached and lying flat along the display.
