Disassembly bottom: Difference between revisions
Jump to navigation
Jump to search
(→Step 1: mentioned neglected screws) |
No edit summary |
||
| Line 41: | Line 41: | ||
<br style="clear:both" /> |
<br style="clear:both" /> |
||
| ⚫ | |||
| ⚫ | |||
| ⚫ | |||
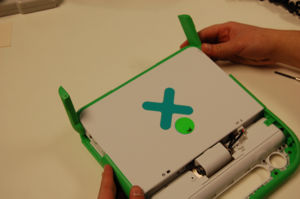
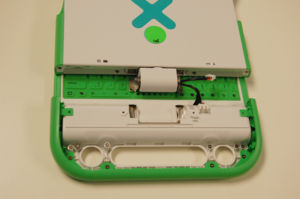
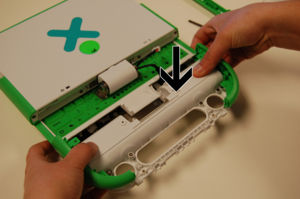
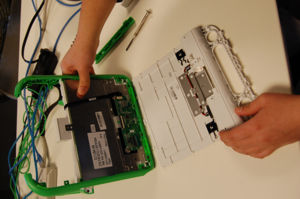
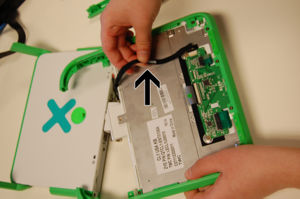
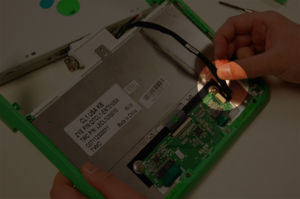
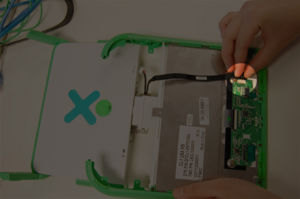
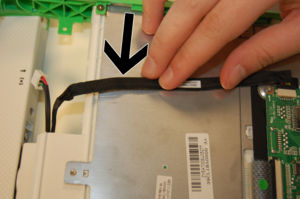
[[image:Keyboardstep3a.jpg|thumb|left|Unstick the cable connecting the computer to the keyboard.]] [[image:Keyboardstep3b.JPG|thumb|left|Unplug the cable from the touchpad/keyboard.]] [[image:Keyboardstep3c.jpg|thumb|left|This is what the XO will look like when the cable is out of the way.]] |
[[image:Keyboardstep3a.jpg|thumb|left|Unstick the cable connecting the computer to the keyboard.]] [[image:Keyboardstep3b.JPG|thumb|left|Unplug the cable from the touchpad/keyboard.]] [[image:Keyboardstep3c.jpg|thumb|left|This is what the XO will look like when the cable is out of the way.]] |
||
<br style="clear:both" /> |
<br style="clear:both" /> |
||
| ⚫ | |||
| ⚫ | |||
| ⚫ | |||
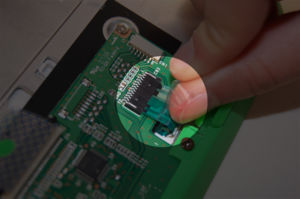
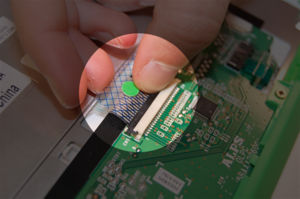
[[image:Keyboardstep3d.jpg|thumb|left|Disconnect the ribbon cables from the keyboard/touchpad board. There are 3. Here's the first...]] [[image:Keyboardstep3e.jpg|thumb|left|second cable...]] [[image:Keyboardstep3f.jpg|thumb|left|...and the third cable.]] |
[[image:Keyboardstep3d.jpg|thumb|left|Disconnect the ribbon cables from the keyboard/touchpad board. There are 3. Here's the first...]] [[image:Keyboardstep3e.jpg|thumb|left|second cable...]] [[image:Keyboardstep3f.jpg|thumb|left|...and the third cable.]] |
||
<br style="clear:both" /> |
<br style="clear:both" /> |
||
=== Step |
=== Step 2 === |
||
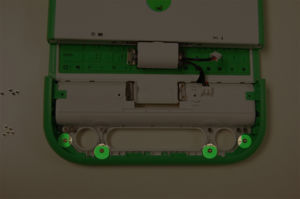
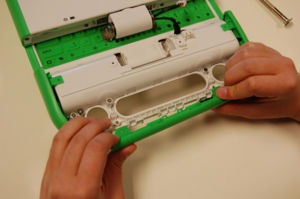
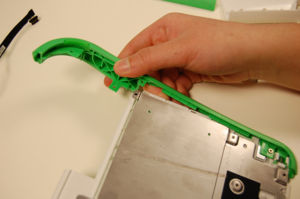
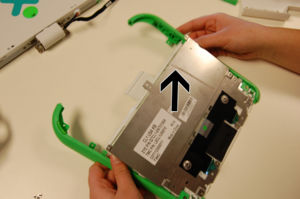
[[image:Keyboardstep3g.jpg|thumb|left|Remove the four screws holding in the green piece (the ALPS board) at the edge of the touchpad area.]] [[image:Keyboardstep3h.jpg|thumb|left|Remove the green plastic piece.]] |
[[image:Keyboardstep3g.jpg|thumb|left|Remove the four screws holding in the green piece (the ALPS board) at the edge of the touchpad area.]] [[image:Keyboardstep3h.jpg|thumb|left|Remove the green plastic piece.]] |
||
<br style="clear:both" /> |
<br style="clear:both" /> |
||
=== Step |
=== Step 3 === |
||
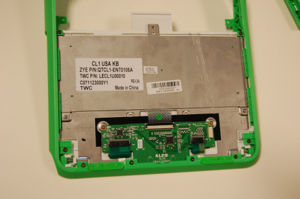
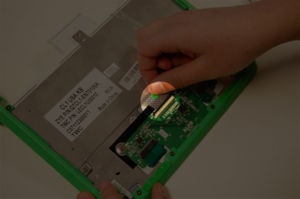
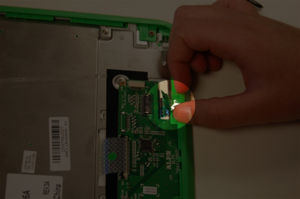
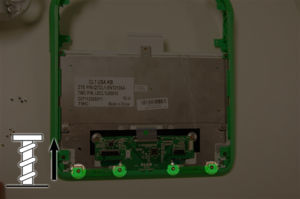
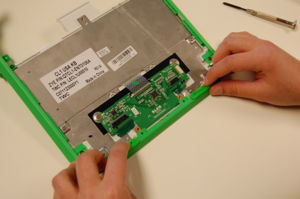
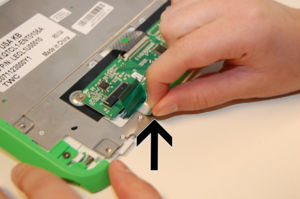
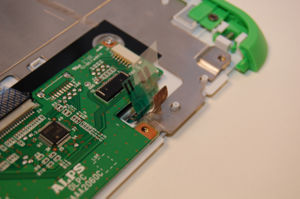
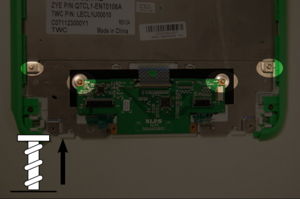
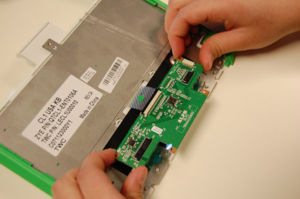
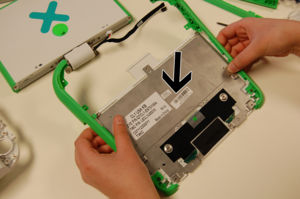
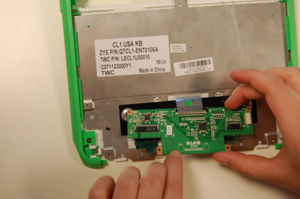
[[image:Keyboardstep3i.JPG|thumb|left|Pull up the silver tape tabs to free the keyboard.]] [[image:Keyboardstep3j.jpg|thumb|left|This is what it looks like after the silver tape tabs are pulled up.]] [[image:Keyboardstep3k.JPG|thumb|left| Remove four screws as shown. Note that these are shorter than the standard ones]] [[image:Keyboardstep3l.jpg|thumb|left|Remove the ALPS board.]] |
[[image:Keyboardstep3i.JPG|thumb|left|Pull up the silver tape tabs to free the keyboard.]] [[image:Keyboardstep3j.jpg|thumb|left|This is what it looks like after the silver tape tabs are pulled up.]] [[image:Keyboardstep3k.JPG|thumb|left| Remove four screws as shown. Note that these are shorter than the standard ones]] [[image:Keyboardstep3l.jpg|thumb|left|Remove the ALPS board.]] |
||
<br style="clear:both" /> |
<br style="clear:both" /> |
||
Revision as of 15:46, 11 June 2008
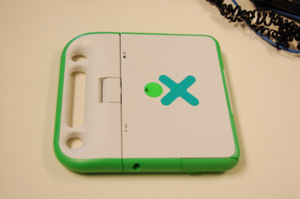
XO before disassembly
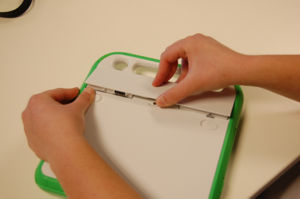
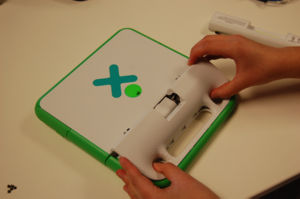
Removing the handle cover / reaching the spare screws
Step 1
Step 2
Removing the hinge / disconnecting the top and bottom halves of the XO
Step 1
Step 2
Step 3
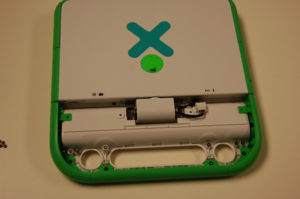
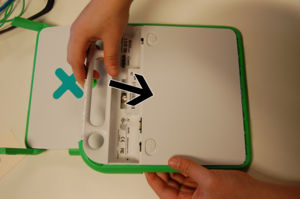
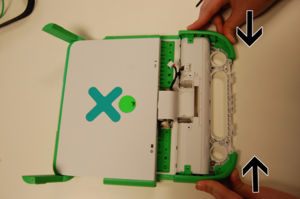
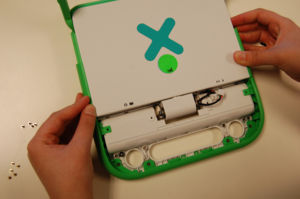
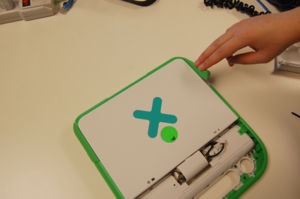
Removing the bottom cover
Step 1
Step 2
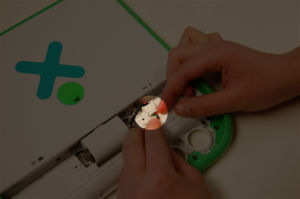
Removing the ALPS (touchpad and keyboard control) board
Step 1
Step 2
Step 3
Removing the keyboard
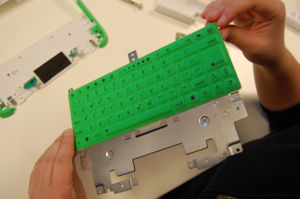
Step 1
Replacing the keyboard
Step 1
Step 2
Replacing the ALPS (touchpad and keyboard control) board
Step 1
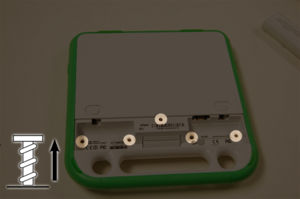
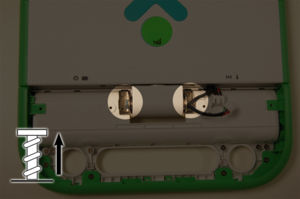
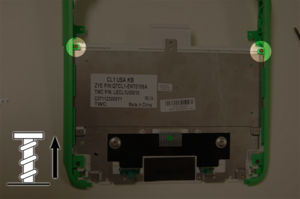
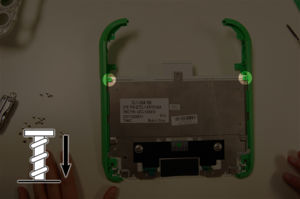
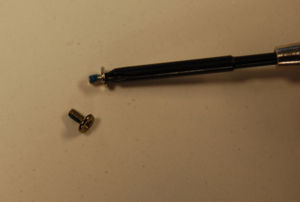
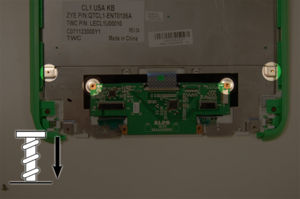
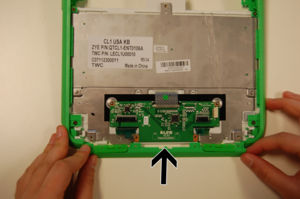
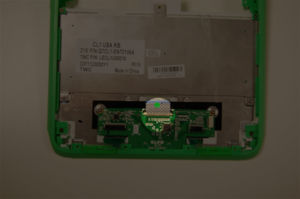
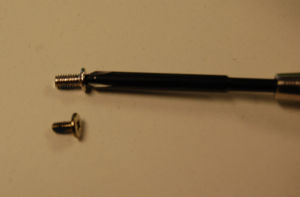
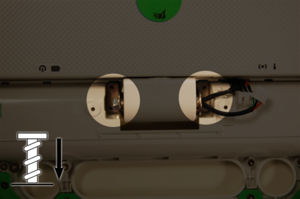
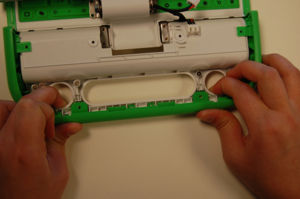
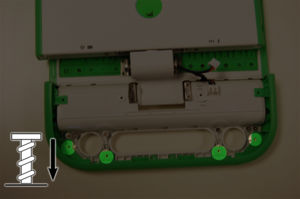
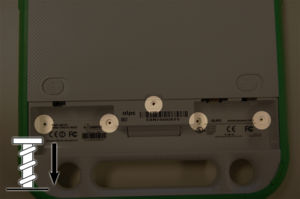
Place four screws in the holes.
Step 2
Step 3
Replacing the bottom case cover
Step 1
Replacing the hinge / Reconnecting the top and bottom halves of the XO
Step 1
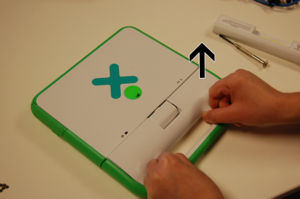
Replacing the handle cover
Step 1
Step 2
Step 3
