EduBlog Instructions: Difference between revisions
No edit summary |
No edit summary |
||
| Line 46: | Line 46: | ||
<h3>Student Posts to Blog with an Image using BrowseNew and Record</h3> |
<h3>Student Posts to Blog with an Image using BrowseNew and Record</h3> |
||
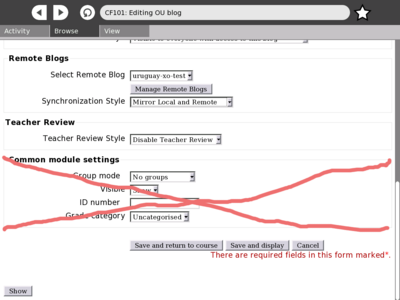
The teacher configured this blog to post to uruguay-xo-test with the |
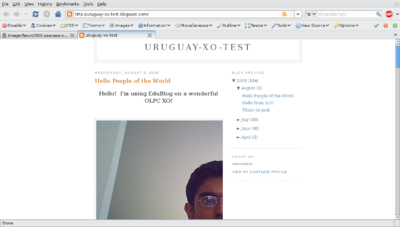
The teacher configured this blog to post to uruguay-xo-test with the settings "Mirror Local and Remote" and "Disable Teacher Review". |
||
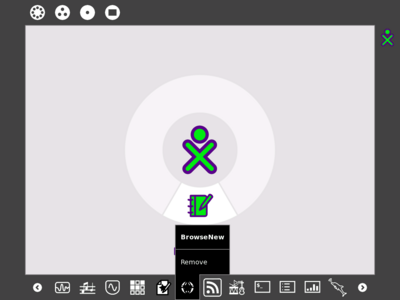
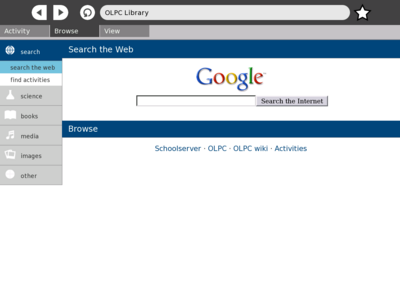
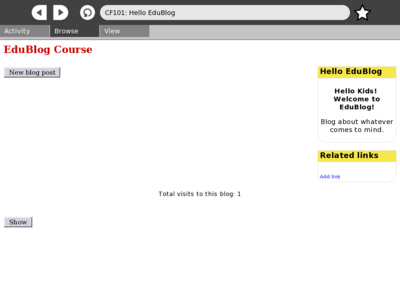
[[Image:Tarun2000_usecase_s1_1_en.png|thumb|400px|left|Open BrowseNew and goto the post blog page (this needs to be linked to from a gateway page)]] |
[[Image:Tarun2000_usecase_s1_1_en.png|thumb|400px|left|Open BrowseNew and goto the post blog page (this needs to be linked to from a gateway page)]] |
||
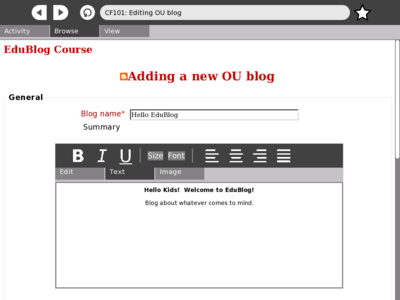
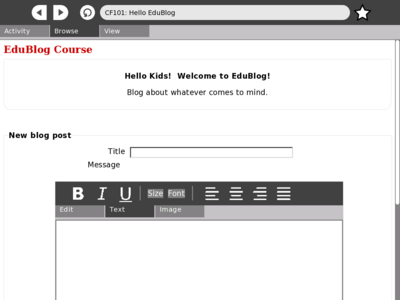
[[Image:Tarun2000_usecase_s1_3_en.png|thumb|400px|left|Enter the title and write some content for the post]] |
[[Image:Tarun2000_usecase_s1_3_en.png|thumb|400px|left|Enter the title and write some content for the post]] |
||
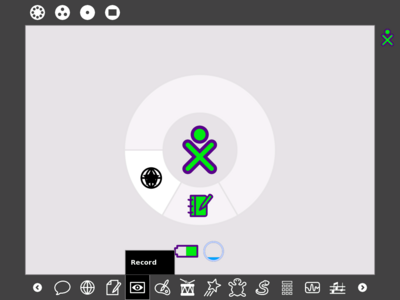
[[Image:Tarun2000_usecase_s1_4_en.png|thumb|400px|left|Open Record]] |
[[Image:Tarun2000_usecase_s1_4_en.png|thumb|400px|left|Open Record]] |
||
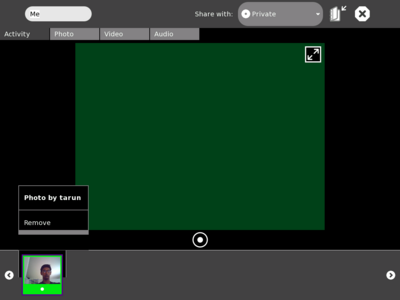
[[Image:Tarun2000_usecase_s1_5_en.png|thumb|400px|left|Take a |
[[Image:Tarun2000_usecase_s1_5_en.png|thumb|400px|left|Take a picture, hover over the image in the bottom toolbar and click "Copy to Clipboard"]] |
||
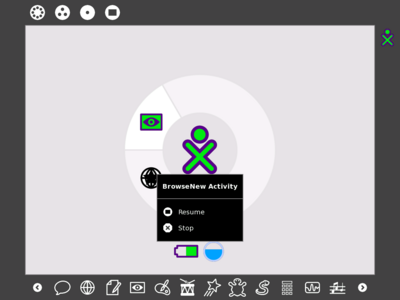
[[Image:Tarun2000_usecase_s1_6_en.png|thumb|400px|left|Go back to BrowseNew]] |
[[Image:Tarun2000_usecase_s1_6_en.png|thumb|400px|left|Go back to BrowseNew]] |
||
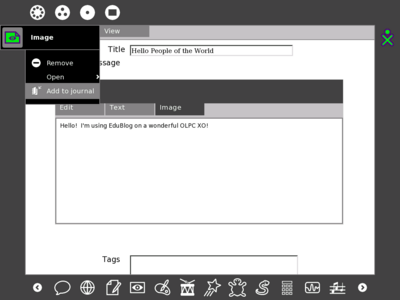
[[Image:Tarun2000_usecase_s1_7_en.png|thumb|400px|left|]] |
[[Image:Tarun2000_usecase_s1_7_en.png|thumb|400px|left|From the frame, hover over the clipping and select "Add to Journal"]] |
||
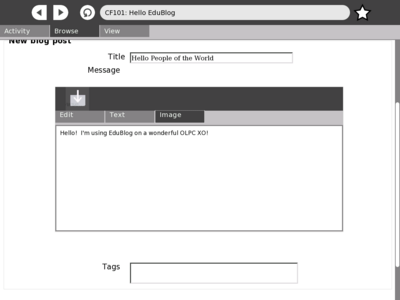
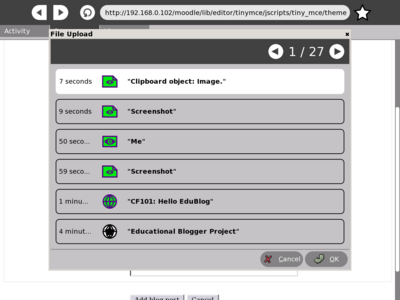
[[Image:Tarun2000_usecase_s1_8_en.png|thumb|400px|left|]] |
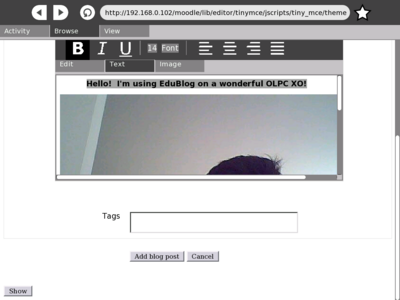
[[Image:Tarun2000_usecase_s1_8_en.png|thumb|400px|left|Click Image in the Editor and then the upload image icon]] |
||
[[Image:Tarun2000_usecase_s1_9_en.png|thumb|400px|left|]] |
[[Image:Tarun2000_usecase_s1_9_en.png|thumb|400px|left|]] |
||
[[Image:Tarun2000_usecase_s1_10_en.png|thumb|400px|left|]] |
[[Image:Tarun2000_usecase_s1_10_en.png|thumb|400px|left|]] |
||
Revision as of 16:25, 6 August 2008
EduBlog Guide
Setting Up Remote Blogs
This page is still too technical for testing.
New Blog Settings Explained
Try Creating a New Blog: Username - teacher (english) or teacheres (espanol)
- Blog Name: Local name of the blog
- Summary: The description of the blog assignment that appears when students try to create a blog post
- Allow Comments: Whether students and teachers can comment on the blog posts
- Maximum Visibility: Determines who can see the local blog
- Select Remote Blog: Determines which external blog (ie Blogger.com) to link to; "Local Only" means not to link to any other blog
- Manage Remote Blog: Links to manage remote blog page - still has bugs, do not use yet
- Synchronization Style: Determines how this blog links to the external blog; "Require Teacher Publishing" means that the ONLY way a post goes to the external blog is if a teacher or admin logs in visits the view page and clicks the publish option for that post; Mirror Local and Remote means that any posts that are visible to students in the local blog are automatically also published to the remote blog
- Teacher Review Style: Determines whether and how to use teacher review; "Disable Teacher Review" forces all posts to directly go to the blog; "Allow Teacher Review" gives students the option to send to teacher for approval or directly send to the blog; "Require Teacher Review" forces students to send to the teacher for approval before the post appears to other students; The post being published to the external blog depends on the "Synchronization Style" setting
Posting to a Blog Explained
Try Posting to a New Blog: Username - student (english) or studentes (espanol)
- Title: The title of the blog post
- Message: The contents of the blog post (the editor mimic's Write, so hopefully no doc needed?)
- Tags: Words or short phrases describing the post's content
- Send To: Indicates whether to send to teacher or directly to the blog; The visible options depend on how the teacher configures the blog
Managing a Blog
Try Managing a Blog: Username - teacher (english) or teacheres (espanol)
Some of these options appear under each post
- Edit: Allows the blog post to be edited
- Delete: Deletes the blog post
- Publish: Sends the post to the remote blog (shows if Synchronization Style is set to "Require Teacher Publishing")
- Approve: Allows teachers to approve posts that used the send to teacher (shows if "Disable Teacher Review" is not selected)
- Add Your Comment: Allows for commenting on post
Use Cases
The following use cases demonstrate EduBlog's basic features. All images are actual screenshots taking on an XO-1 with Build 656 running BrowseNew and WriteNew (patched for broken objectchooser.py). It is also assumed that the admin or teacher has already entered the settings for EduBlog to connect to the remote blogs. Some images were edited to make this guide easier to follow. Moodle EduBlog, commit a8a4bad89c66ec802ae80e50c1e87b0061861640, was locally run on Ubuntu with LAMPP since the main server was down.
Teacher Creates a New Blog
Student Posts to Blog with an Image using BrowseNew and Record
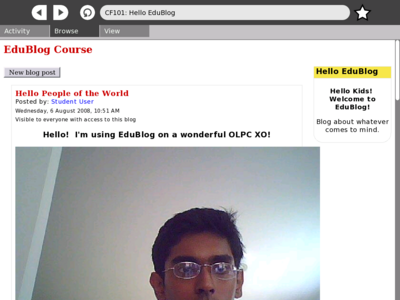
The teacher configured this blog to post to uruguay-xo-test with the settings "Mirror Local and Remote" and "Disable Teacher Review".
