OLPSS user manual: Difference between revisions
mNo edit summary |
|||
| Line 4: | Line 4: | ||
===USER’s MANUAL=== |
===USER’s MANUAL=== |
||
====Part 1: |
====Part 1: INTRODUCTION==== |
||
Press Power Button: wait for a while – till you see this screen |
Press Power Button: wait for a while – till you see this screen |
||
| Line 13: | Line 13: | ||
It has 6 icons: |
It has 6 icons: |
||
1. Program menu: if you click this, you will see all |
1. Program menu: if you click this, you will see all PROGRAMS that XO offers. Click anywhere on the screen. The menu disappears. |
||
| Line 21: | Line 21: | ||
3. Click the 3rd Icon. You get a |
3. Click the 3rd Icon. You get a TEXT EDITOR. To exit click the x |
||
4. Click on 4th screen. It is |
4. Click on 4th screen. It is FILE MANAGER and will help you have access to different folders. To exit click the x. |
||
5. Click on 5th icon. It is a |
5. Click on 5th icon. It is a WEB BROWSER. |
||
6. The last icon is Quit button. |
6. The last icon is Quit button. |
||
====Part II: Using Programs:==== |
====Part II: Using Programs:==== |
||
Revision as of 17:01, 8 November 2008
One Laptop per Student
USER’s MANUAL
Part 1: INTRODUCTION
Press Power Button: wait for a while – till you see this screen
It is your desk top: Focus on Longitudinal box on the right of the screen: It has 6 icons:
1. Program menu: if you click this, you will see all PROGRAMS that XO offers. Click anywhere on the screen. The menu disappears.
2. Click on next icon and you see the Terminal Screen/command prompt
Close the window by clicking x.
3. Click the 3rd Icon. You get a TEXT EDITOR. To exit click the x
4. Click on 4th screen. It is FILE MANAGER and will help you have access to different folders. To exit click the x.
5. Click on 5th icon. It is a WEB BROWSER.
6. The last icon is Quit button.
Part II: Using Programs:
Click on Program button – it gives you all available applications-
1. Open Office-write application
2. Open Office Spread sheet
3. Open Office Presentation
4. Skype
5. Mozilla Web Browser
6. Wifi Radar
7. Settings
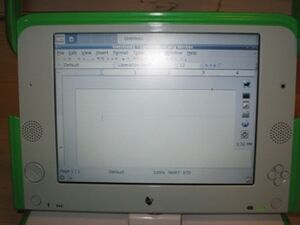
Open Office-Word Processor
• Click on Open Office write icon. Writer is now open and use as your word processer.
Open Office Spread sheet
• Click on Open Office spreadsheet icon .This is your spreadsheet.
Open Office Presentation
• Click on Open Office presentation icon. Use it for your presentations.
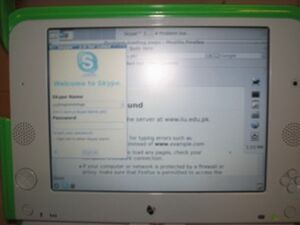
Skype
• Click on Skype-if you are connected to the internet use it for face to face conference call.
Mozilla Web Browser
• When connected to the internet use it as your browser: E-mail; Browse etc.
Part III: Connecting to the Internet
• Go to XFCE programs and click on Wifi-Radar.
• You should see the available Wifi access points in the vicinity.
• Choose Access Point of your choice and click on that icon to connect.
• You are on-line. Enjoy surfing!
Part IV: Managing your OLPSS:
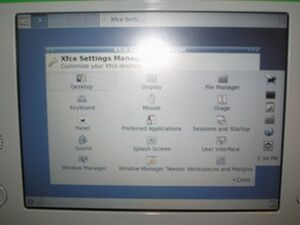
• From Program menu, go to Settings -
• Setting displays different options. You can select one that will address your needs. For example: select Desktop Settings that enables you to change desktop appearance etc.


