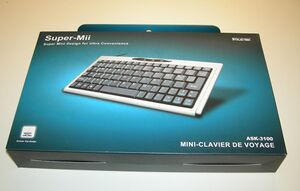
XO 1.5 USB Keyboard
Jump to navigation
Jump to search
This page describes how to change the keyboard in a XO-1.5 Laptop to a non-membrane USB version.
Scope
These are detailed instructions for installing a non-membrane keyboard into an XO-1.5 laptop. They apply to all pre-production as well as production models. With little change, they also apply to the later model of the XO-1 (with a single capacitive touchpad).
Credit is freely given to the author of the instructions for doing this modification to an XO-1 (part I, II), found on instructables.com.
WARNING
This modification includes permanent modifications of the XO laptop, and cannot be reversed. Even if you are experienced, there is a significant chance of damaging the laptop beyond repair while following these instructions.
Material
You will need:
- An XO-1 (CL1A) or XO-1.5 (CL1B) laptop
- A micro USB keyboard (such as this one).
- A #1 screwdriver
- Fine pitch soldering equipment
- A magnifier of some sort (lens, loupe, microscope...)
- An X-Acto knife
- A small file and/or fine grade sandpaper
- A way of cutting steel and grinding plastic (such as a Dremel tool)
- cellulose (scotch) or polymide (kapton, preferred) tape
- quick drying epoxy glue or archival double-sided tape
