Emulating the XO/Quick Start/Mac
< Emulating the XO | Quick Start
Revision as of 13:32, 7 June 2007 by MitchellNCharity (talk | contribs) (Removed (my) editorial comment.)
Installing QEMU for MacOS-X
You should already have an XO build image.
The port of Qemu for MacOSX is called Q and can be found in kju-app.org. Download and install Q.app stable version 0.8.1a35. Other builds are here: kberg.ch/q/builds/
Setting up
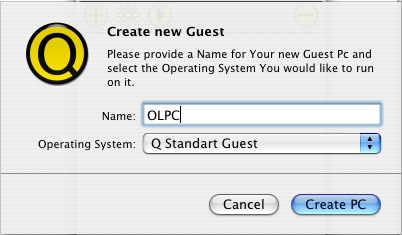
Click on the (+) button to create a new guest:
Create new Guest:              Name:  OLPC
                   Operating System:  Q Standard Guest
                -- click (Create PC) --
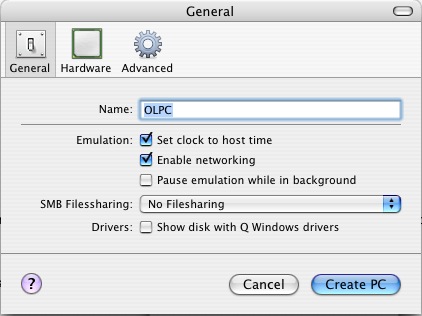
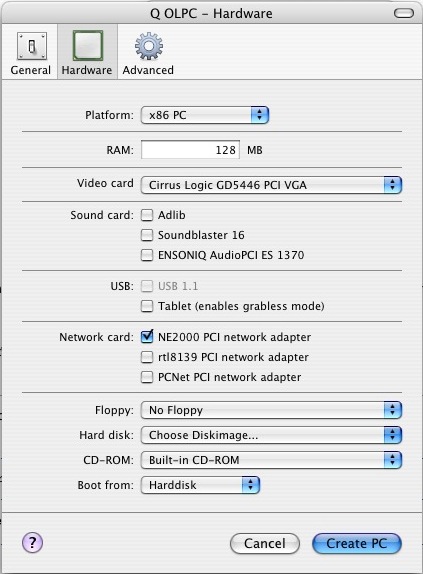
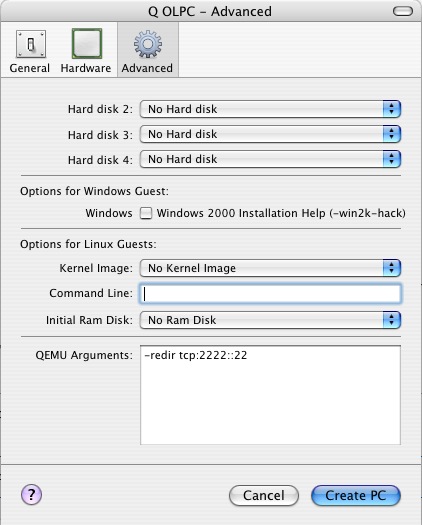
Proceed to configure its preferences:
 General Prefs | SMB Filessharing:  No file sharing
Hardware Prefs |        Hard disk:  Select your unzipped build image
Advanced Prefs |   QEMU Arguments:  -redir tcp:2222::22
                -- click (Create PC) --
Starting OLPC Environment
Double click on the newly created "OLPC" to launch a window for it.
- NOTE
- what follows may not be required. If you happen to do with or without it, please let us know in the discussion page (signing it) so this section can be updated accordingly.

— press "space" to get into GRUB

— choose "OLPC for Qemu Target",
— press "e" to edit commands,

— select "kernel" line, and press "e"

— add "single" option at the end of the line
— hit "return", then "b" to boot
Advanced
You may encounter some issues supporting USB devices.
You can run Q.app from the command line:
- $ /Applications/Q.app/Contents/MacOS/i386-softmmu.app/Contents/MacOS/i386-softmmu -hda olpc/olpc-redhat-stream-development-devel_ext3.img -serial stdio