Journal Activity
Image:Support-banner-square.png|173px|community support pages rect 0 0 135 204 [1] rect 135 0 345 204 Support FAQ rect 0 205 135 408 [2]
- Comment : there's some whitespace here:
rect 135 205 345 408 Other support
- maybe desc none is better. testing.
desc none
</imagemap>
The Journal activity is an automated diary of everything a child does with his laptop. The Journal can be used by children to organize work or revisit a past project, and by teachers and parents to assess a child's progress.
The Journal activity provides an intuitive interface for viewing projects and files saved by the XO user. Both a Step by Step guide to journal functions and a Getting Started Guide are available to help you use the Journal effectively.
The Journal is also used to access external media (USB sticks, etc.); delete files; and access the backup system (for those of you connected to a School Server).
Contents
Basics
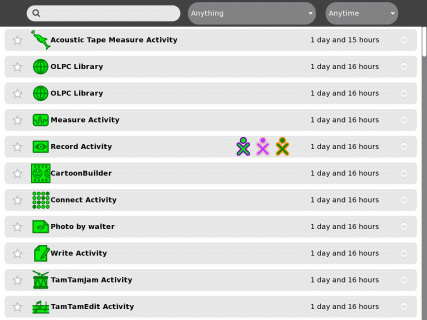
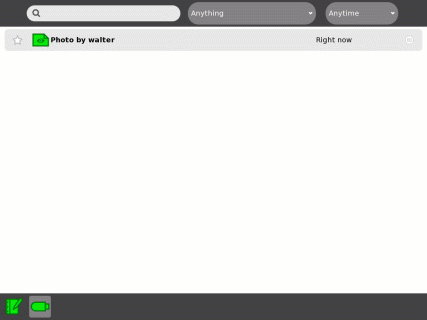
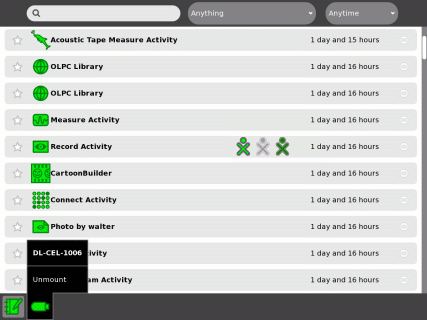
Every time you run an activity, it creates an entry in the Journal. The main view can be searched or sorted; clicking on an entry takes you to the detail view.
There are six fields for each entry (some of which may be empty): the star; the entry icon; the entry name; the friends list; the entry date; and a resume button.
Clicking on the entry icon (or the resume button) will resume the activity. Clicking on the entry name will bring up the detail view of the entry.
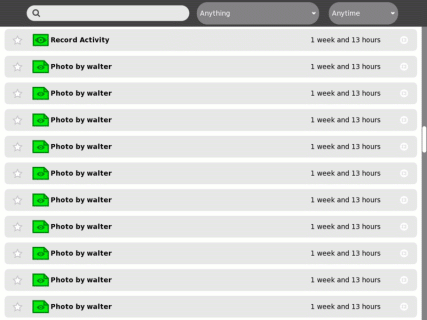
Many activities store data in the Journal. For example, the Record activity stores an individual entry in the Journal for each picture you take.
Whenever you download a file, it is stored as a Journal entry. You open the file by resuming the entry.
Detail view
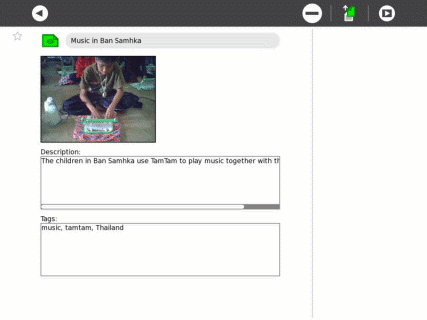
The entry can be "starred" or renamed. A description and tags can also be added. These text fields are searchable.
From the menu, entries can be removed or resumed.
- go back to main view
- erase an entry
- copy entry to clipboard
- resume entry
Hovering over the resume button will bring up the resume options for the entry.
Search and sorting
From the main menu, you can search for keywords and tags or sort by entry type or date.
External storage devices
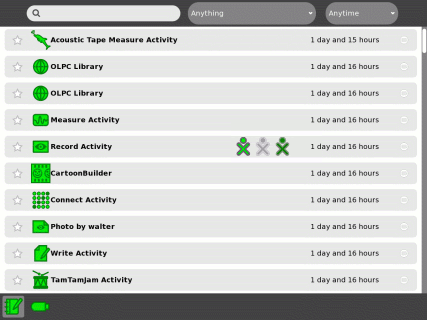
External storage devices are automatically mounted. They appear as icons at the bottom of the Journal.
An external storage device is accessed by clicking on the icon; files can be opened directly from the external device or dragged to (or from) the Journal.
When using a external "pen" drive, it is necessary select the desired type of file "text" that is on the pen drive. The screen will not automatically update to the contents of the external "pen" drive. Be aware that the contents of the pen drive will not show a directory/file relationship, but all the entries will be shown listed one after the other. Large pen drives may be difficult to search for the desired file.
Unmount the device by selecting unmount from the hover menu.
Installing activities
.xo bundles that are downloaded from the Browse activity are stored in the Journal (in the figure above, there is an entry for the Stopwatch.xo bundle). By resuming the activity from the Journal entry will both launch it and install it on the taskbar.
To uninstall an activity, delete the entry from the Journal. It will be removed from the taskbar the next time you start your XO.
Additional notes
Alternate Access
- The Journal is always available on the Activity Circle in the Home View.
- The "magnifying glass" key on the top row of the keyboard can be used to open the Journal.
Screen Shot
- You can take a screen shot by typing ALT+1. The screen shot is stored as an entry in the Journal.
Datastore
- The Journal stores files in:
/home/olpc/.sugar/defaults/datastore
Copying Files
- Files can be copied to and from the Journal's datastore using the Terminal Activity. However, filenames are heavily hashed, meaning "myfile.bzip" might show up as 2637-4737-13323-dl77nf, or some such gibberish. Here's how to figure it out.
- Note how large the file is (or what time it is.)
- Download it. (Click on the link while you're in Browse.)
- Open Terminal Activity.
- At the prompt, type cd .sugar/default/datastore/store/ to get into your datastore directory.
- Then type ls -la and look for the file with the size and timestamp you noted before.
- Do whatever you want with your file (rename, move, whatever...)
Alternatively, if you're trying to get your file on a USB thumbdrive...
- Pop a usb drive in your usb slot. (It should show up in Journal.)
- Download your file (Click on the link while you're in Browse.)
- When your file is done downloading, go to Journal.
- Click on your file to go to its Journal page. (Your file should be the latest Journal entry.)
- Click on the copy icon at the upper right and hover for a few seconds; your usb drive will show.
- Click on the usb drive and it will save your file to the root area of that drive.
- It is not yet possible to write directly to external storage, e.g., save photos from the Record activity to an SD card. This is a future feature.
