Screen replacement
| NOTE: The contents of this page are not set in stone, and are subject to change! This page is a draft in active flux ... |
Click the images to enlarge them as needed!
Replacing a screen is a relatively simple task. To do this, you will need a standard #1 Phillips head screwdriver and something to hold screws in (in a pinch, parts taken off the XO can serve as temporary containers).
Taking off the front panel
Step 1
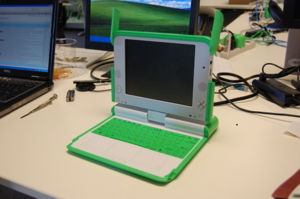
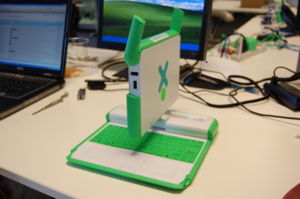
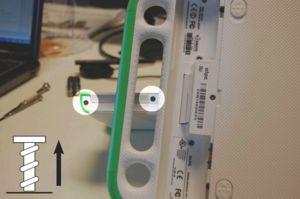
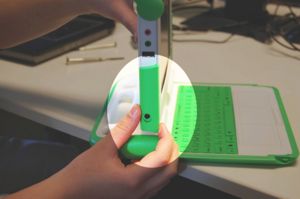
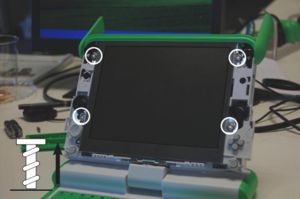
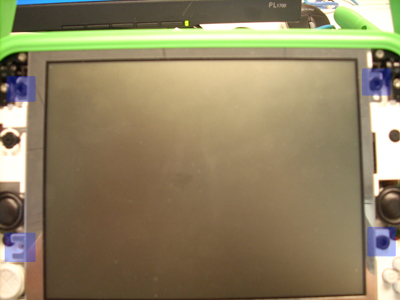
Begin by opening the laptop and flipping the screen up. Rotate it to a 90 degree angle, similar to this. Next, remove the screws circled in blue from the bottom of the screen. There are two on each side (right/left) of the XO, so make sure to get all four.
Step 2
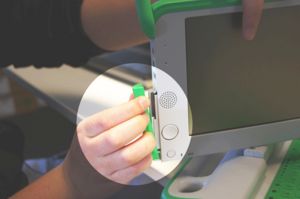
Remove the two green panels from the side of the XO by first sliding them and then lifting them off.
Step 3
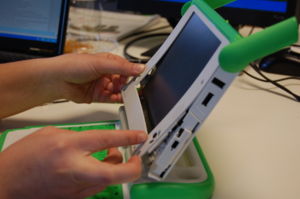
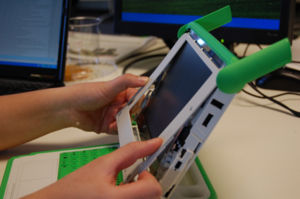
Finally, pull off the front panel, pulling it out at the bottom and then gently sliding it downwards.
Taking out the screen
Step 1
To get the screen out, remove the four screws highlighted in blue.
Step 2
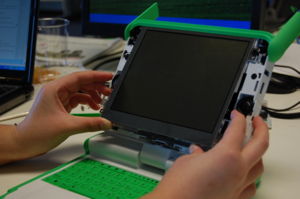
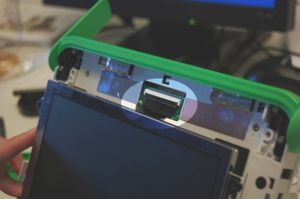
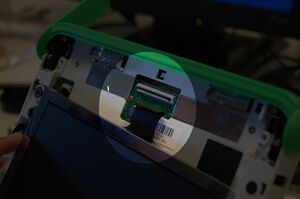
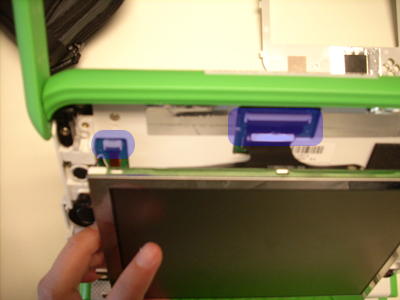
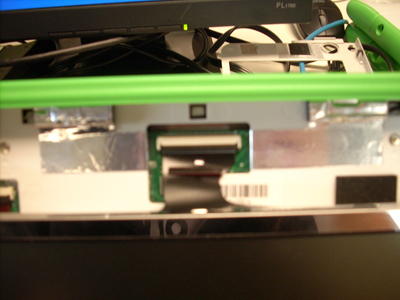
Next, carefully slide the screen out, pulling the bottom out. Do not tug it or let go, as it will still be connected to the motherboard by two cables.
Step 3
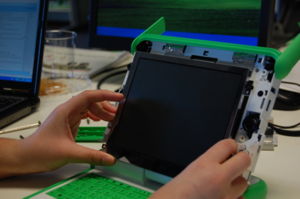
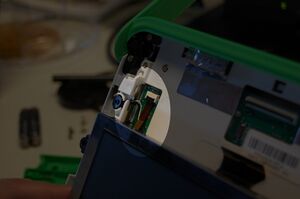
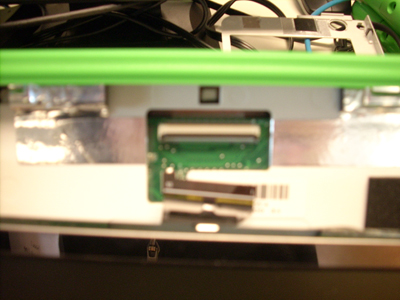
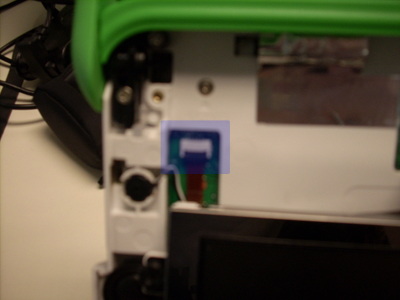
Lift up the plastic latches and gently pull out the cables. This will allow you to pull out the screen.
Replacing the screen
Step 1
Replace the screen by sliding the connection cables into place and clipping them back down (it is generally easier to clip the thinner one that has a longer tether first). Reseat the screen, making sure that it sits flat and that none of the spacers is gone.
Step 2
Replace the four screws that hold in the screen.
Step 3
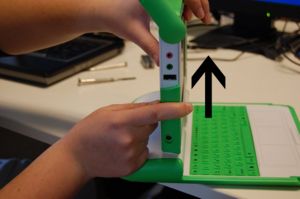
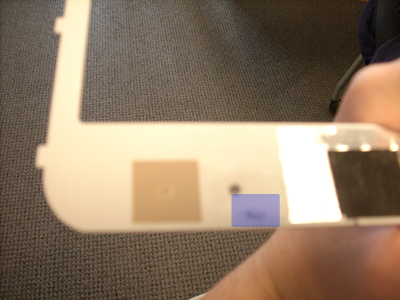
Slide the front panel back on, making sure that it sits flat. Note that there are hooks on the side of the panel (highlighted in blue) that need to slide into place; pushing the top of the screen flat and sliding it upwards works well.
Finally, replace the green side panels and screws that were removed in the first step.
