
|
WARNING:
The content of this section is considered
DEPRECATED and OBSOLETE
It is preserved for historical or documenting reasons.
|
Installer for Windows
The Sugar Installer for Windows includes everything you need to run Sugar on a Windows based PC: An XO-1 image, the QEMU emulator, and KQEMU to speed up emulation. An uninstaller is also included.
Requirements
- Windows XP or Vista (Windows 2000 should work, not tested)
- About 1.5 GB free space on disk
- Administration privileges on PC (as with any other software installation)
- Good Internet connection (you'll download a 127 MB file)
Installation
Download and run the following setup file to install an 8.2.0 build using QEMU:
http://dev.laptop.org/~wadeb/OLPC-XO-Software-8.2.0-Setup.exe (127MB)
[
]
Then go to the folder where the files got unpacked (on Windows XP that should be C:\Program Files\OLPC XO Software Release 8.2.0), right click on the file kqemu.inf and select "install" to install kqemu.
If you receive an error that you cannot install you can follow these steps:
  1.  "Start" -> "Run" -> enter 'cmd'
  2.  Change the directory to where the 'kqemu.inf' file is located
     > dir C:\"Program Files"\"OLPC XO Software Release 8.2.0"\
  3.  Enter the command:
     > rundll32 syssetup,SetupInfObjectInstallAction DefaultInstall 128 .\kqemu.inf
Next steps
- You might want to read Sugar Instructions. Sugar is the name of the graphical environment of XO.
- You can download another OS image, starting from ones in the green box on the right ->
(always pick ext3, not jffs2 version).
- Remark 1: Remember, the file will be compressed with "bzip2", so you'll need to uncompress it before use. You can use Windows version of Bzip2 for that.
- Remark 2: The start_olpc.cmd script uses first file with .img extension as a OLPC filesystem image. If you have more than one image in olpc directory, change extensions or move out all but one file.
- You can connect to the emulated XO by SSH (PuTTY is one good SSH client for MS Windows), using address 127.0.0.1 and port 2222. More info here.
- You can read more about emulator: Emulating the XO/Help and tips
Quick start - step by step instructions
QEMU
- In order to start emulating the OLPC software, you will first need an emulator called QEMU, which can be found here. On the download page click the link with the name: qemu-0.9.0-windows.zip. Download the file to your desktop.
- In order to use a .zip file you will need a program that has the capability to extract certain file types, we suggest 7-Zip which can be found here. Download the latest stable version, which should be the first link on the page. Install the program and you should now be able to "unzip files".
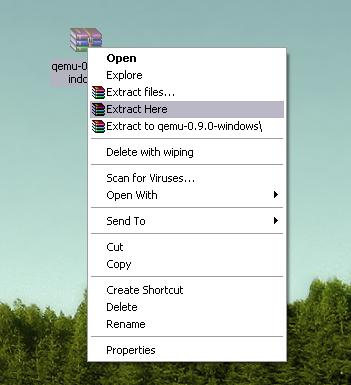
- Now that you have the program extract the files to your desktop like so:
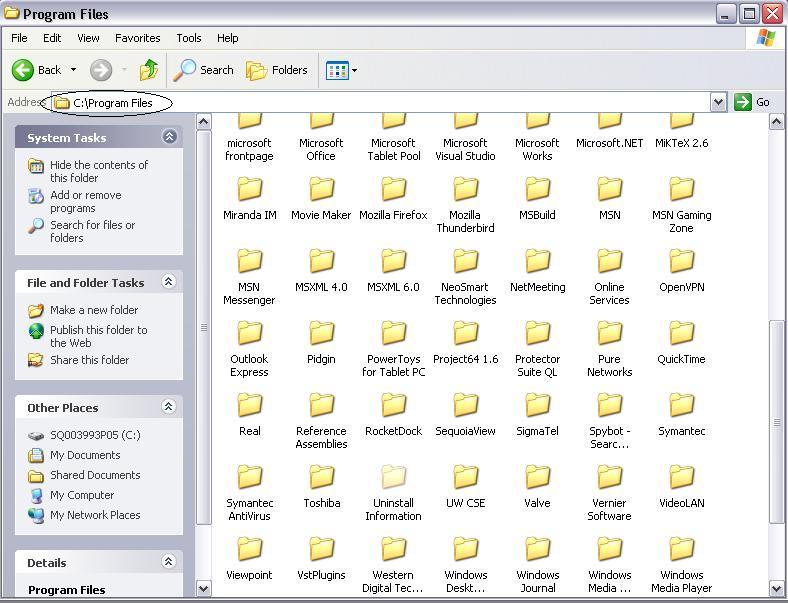
- You will now have a folder on your desktop called: qemu-0.9.0-windows. In order to use the QEMU program, we need to create a folder in the Program Files directory, and name it Qemu. So, navigate to your Program Files Page, which will look like this:
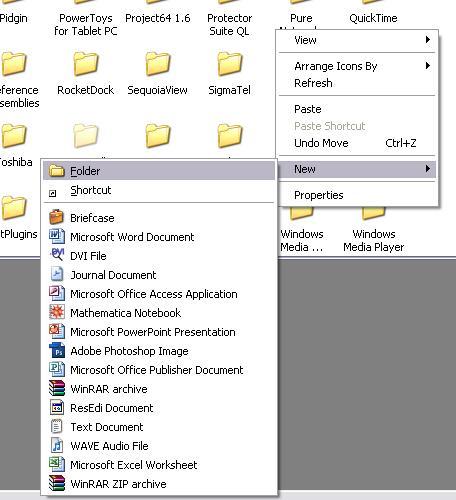
- In order to create a new folder, right-click, and go to New > Folder. A new folder should appear, and then edit the name to be Qemu.
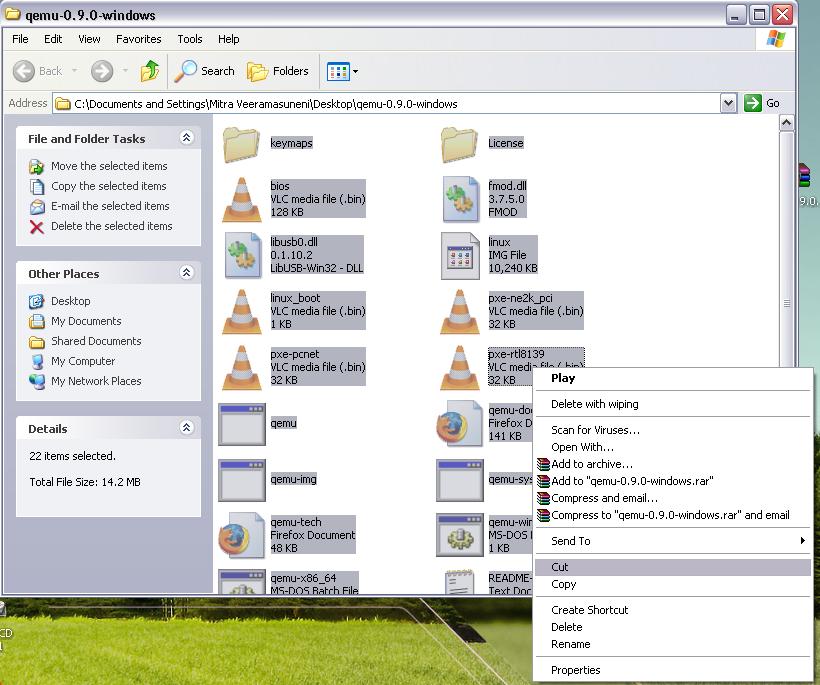
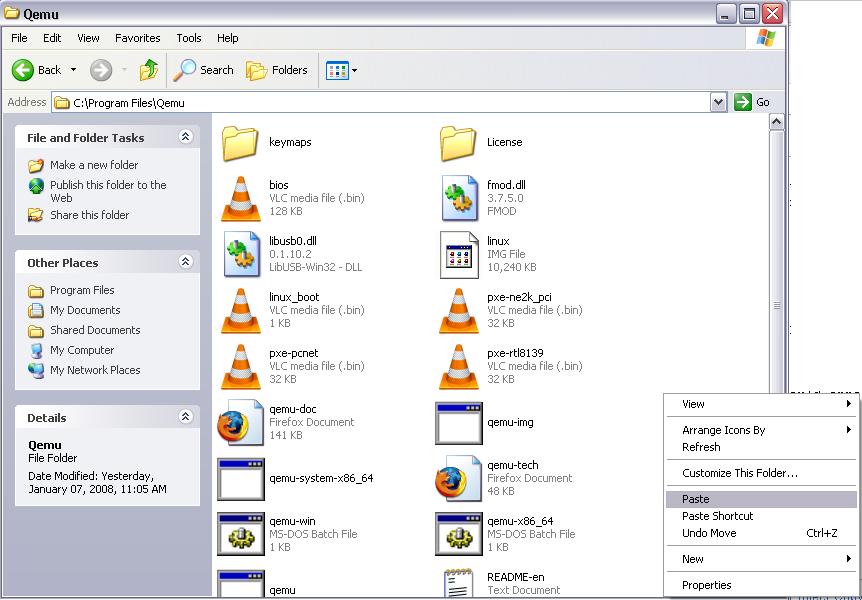
- Now, go back to your desktop and open up the qemu-0.9.0-windows folder; you should see many files. Select all the files in the folder by pressing Control + A. Then press right click and "cut" the files out of the folder. After that, go back to your newly created Program Files folder, and press right click and "paste" the files into the folder.
KQEMU
- Kqemu is an accelerator module for the Qemu emulator which improves performance on many systems.
KQEMU on Windows
This is one method of installing Kqemu. If it doesn't work, try option 2 below.
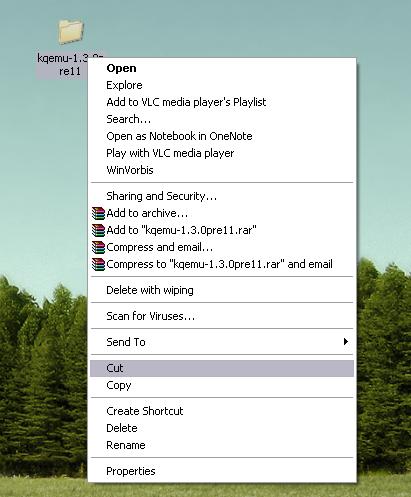
- First, download the the module from here. The stable version is kqemu-1.3.0pre11. Click on the link provided, and download the file to your desktop. As before, extract the files to the desktop by right-clicking on the file, and hitting "Extract Here". This time, instead of going into the folder and cutting all of the files separately, cut the entire folder at once, and paste it into your Qemu Program Files Folder.
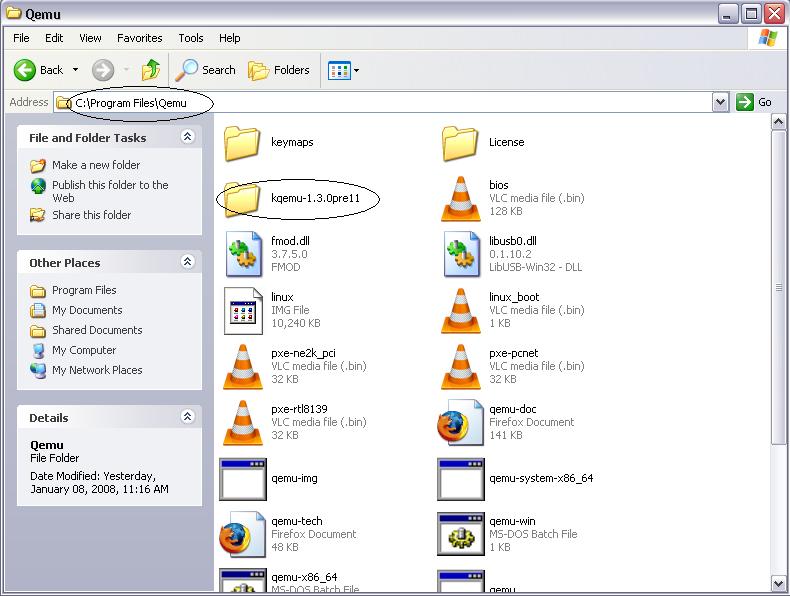
- Now that you have the accelerator folder in your main Qemu folder, it is time to install Kqemu so that the main program can access it. Navigate to your Program Files Folder, go to Qemu, and then to the folder that you just pasted in. You will find many different files, but the one that you are interested in is the one named: kqemu.inf:

- Right Click the file, and hit "Install". It should only take a few seconds, and then the module should be installed.
- Right clicking on the .inf file and selecting Install in Vista returns the error "The INF file you selected does not support this method of installation". In Windows Vista, install KQEMU with this alternate command line from an Administrator CMD prompt:
- rundll32.exe setupapi,InstallHinfSection DefaultInstall 132 kqemu.inf
-
- Double-click the downloaded executable file to run it.
- When asked where to install the accelerator, choose "C:\Program Files\Qemu\Kqemu".
- Now we are going to start the module so that when you run the emulator it can access it.
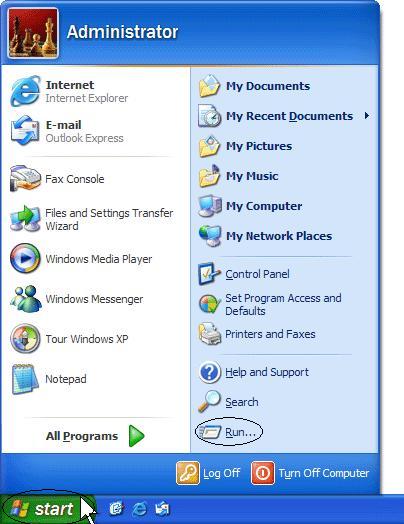
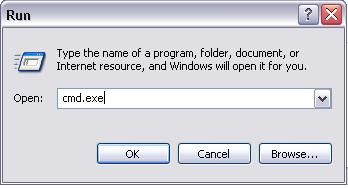
- Hit the start button, or Windows Key and then hit the "Run" button:
- Type in "cmd.exe" into the box that pops up:
- You should have the command prompt:
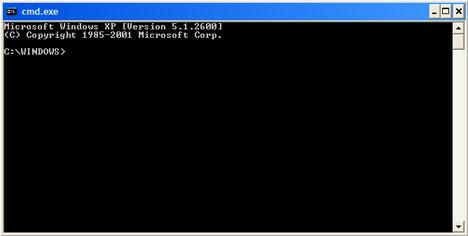
net start kqemu
- If the startup is successful you should see a dialog:
The KQEMU virtualisation module for QEMU service was started successfully.
Getting an OLPC image
- Now that we have the basic emulator set up, its time to get the actual image that will allow us to utilize the OLPC Sugar software. All the latest images can be found here. Click on "update.1", then "latest", "devel_ext3", and then click on the image named: olpc-redhat-stream-update.1-build-657-20071212_1519-devel_ext3.img.bz2. (This is currently the latest build of the software, but feel free to go ahead and try any of the other images on the site).
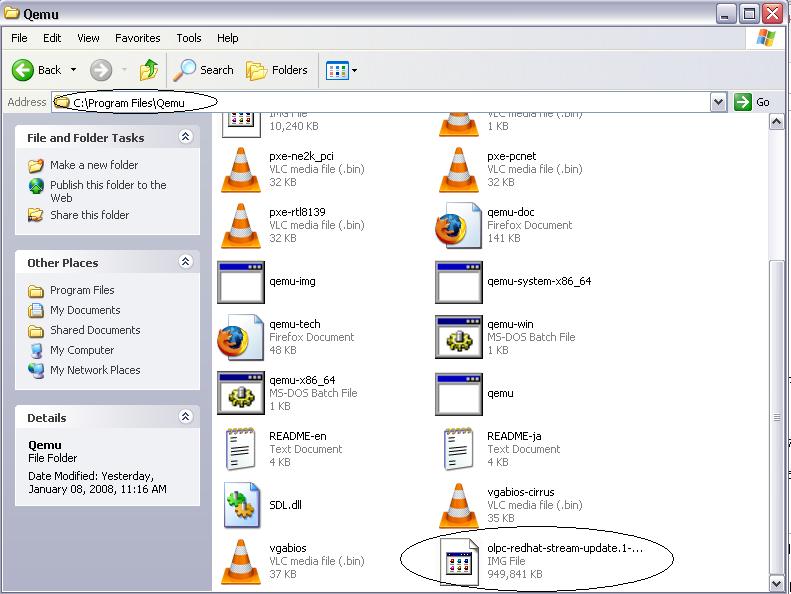
- Using 7-Zip, as before right-click and "Extract Here" to extract the image to your desktop. Then, cut that file, and paste it into your Qemu Program Files Folder:
The final steps
- You are now ready to use QEMU to emulate the software.
- As before, go to the start button, and hit "run" - and then type in "cmd.exe".
- Now type into the box the following:
cd "\Program Files\Qemu"
qemu -L . -m 256 -kernel-kqemu -soundhw es1370 -net user -net nic,model=rtl8139 -hda (image name here, without these brackets)
- In this case the "image name" would be olpc-redhat-stream-update.1-build-657-20071212_1519-devel_ext3.img.
- NOTE: When entering the code remember that this section: "model=rtl8139" should be spelled with a letter L for rtl and not the number 1 for rt1
- If the process is a success, a window should open up with the name QEMU:
- The emulator will start in a new window, and will soon display the OLPC 'XO' logo and 'Booting OLPC for qemu target in nn seconds'. (If it does not, then press any key to go to the GRUB menu and choose the 'OLPC for qemu target' option. You need to boot the emulator, not the OLPC hardware.)
- Then you will see a typical Linux boot sequence ending in a dialog asking for your nickname.
- You can now use the OLPC Software, and experience the innovation of the XO on your own computer!
Easily starting up the emulation
One problem with this method is that every time that you wish to run the emulation, you will need to open up the Command Prompt and type in the long command lines shown above.
You can create a .bat file which will run the commands for you with one click .
In order to do this
- open up your "Notepad" which can easily be opened by opening the "Run" dialog and typing in "notepad".
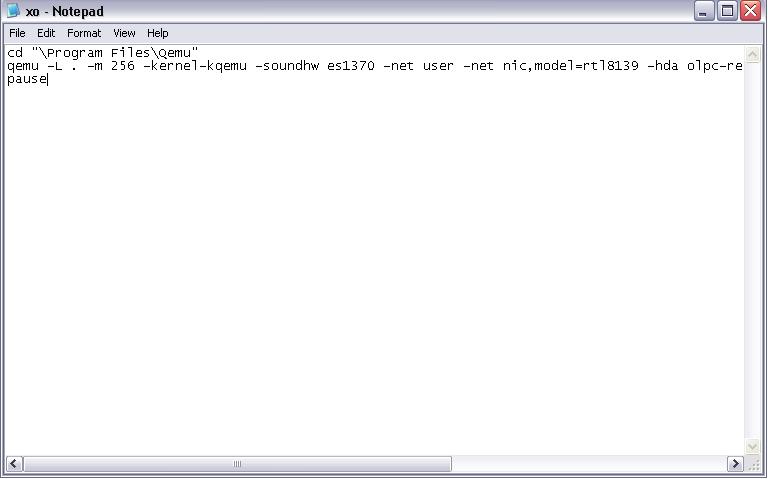
- Then in Notepad type in this code:
cd "\Program Files\Qemu"
qemu -L . -m 256 -kernel-kqemu -soundhw es1370 -net user -net nic,model=rtl8139 -hda  olpc-redhat-stream-update.1-build-657-20071212_1519-devel_ext3.img
pause
- replacing the long name of the devel_ext3.img file with the name of the image you downloaded.
- It should look like this:
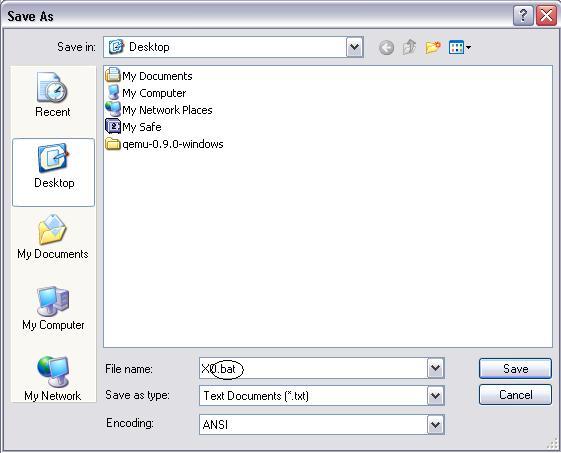
- Now, go to File > Save and name it, say XO.bat:
- Save this file to your desktop and you can now click on this file at any time to run the OLPC Emulation.
Getting started will help you get oriented, though you may not need it.
Note: when you see the OX icon in the center of the screen, Sugar has started. Enter you name and move the cursor to one of the corners to see the menus of sugar.
You can also get other Help and tips on emulating Sugar.
When running under emulation, the sugar fonts will appear very tiny until you set the screen to 200 dpi. still true
Other notes
If qemu responds with an error like "qemu: could not load PC bios '/c/Program Files/Qemu/bios.bin'" when trying to run it in the command prompt then you may have to use qemu's -L option to specify the directory where you installed qemu, which contains the bios.bin file. If you're using a 64 bit processor, you need to run the command 'qemu-system-x86_64' instead of 'qemu'.
Note that qemu by default gives 128 MB RAM, but according to Hardware_specification recent XO HW have 256 MB, that's why the "-m 256". To test for early XO HW (or later with more), change the -m param. Giving 256 MB RAM appears to have a noticeable effect on speed in the emulator (as I'm sure in the real HW ;)).
You should now have a running "virtual XO"


