For other languages, see /Translations.
With experience, this can easily be done within 20 minutes. You may need an hour or more on your first try, but don't get discouraged!
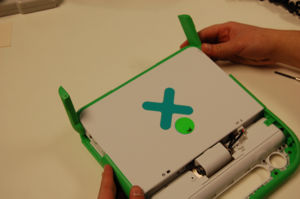
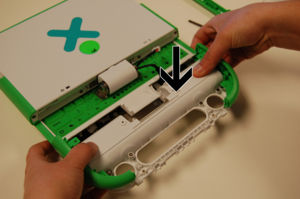
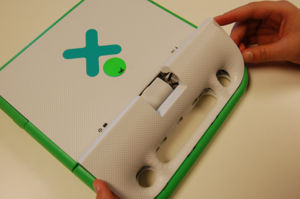
Opening the handle
Step 1
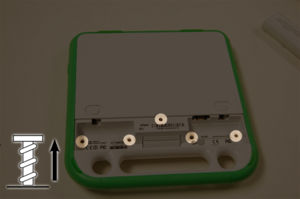
Take out the five screws under the battery case.
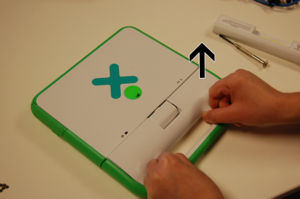
Pull off the white panel on the handle.
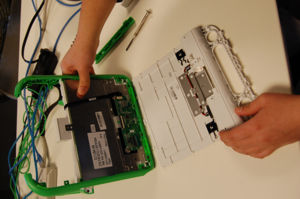
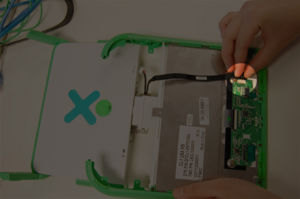
Step 2
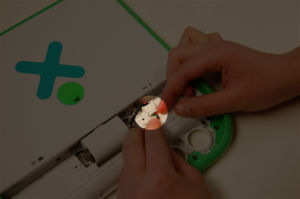
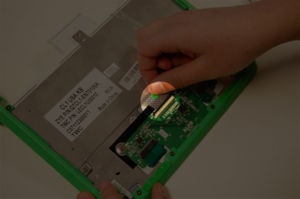
Unplug the connection between the battery and computer.
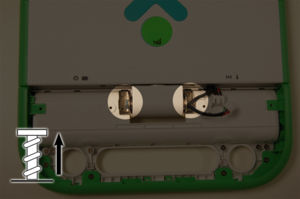
Unscrew the hinge bracket by removing 4 screws.
You should be able to separate the top and bottom halves of the laptop now. It will still be connected by a cable.
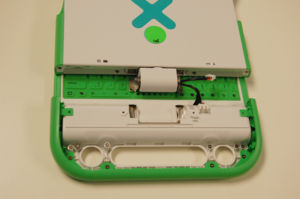
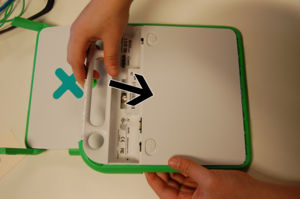
You can set the top half of the laptop aside at this point.
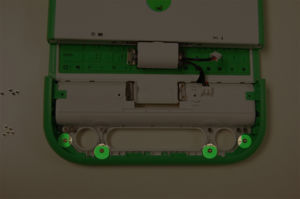
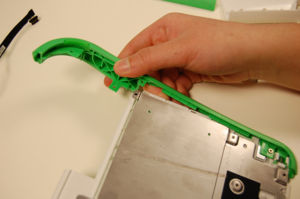
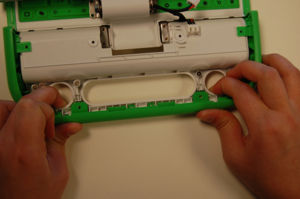
Remove the four screws in the handle.
Pull out the green piece on the edge of the handle.
Push down the bottom of the laptop.
The bottom should come off as one piece.
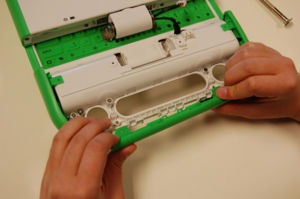
Step 3
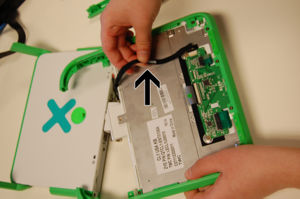
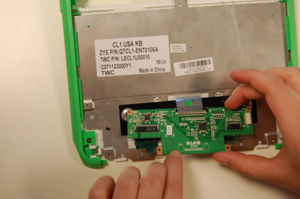
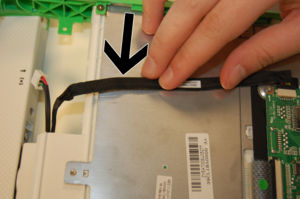
Unstick the cable connecting the computer to the keyboard.
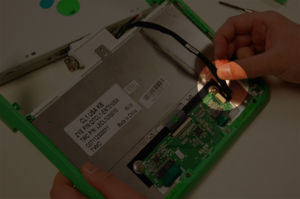
Unplug the cable from the touchpad/keyboard.
Disconnect the ribbon cables from the keyboard/touchpad board.
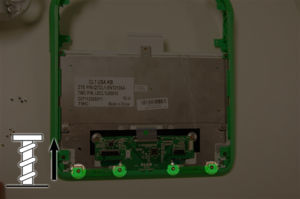
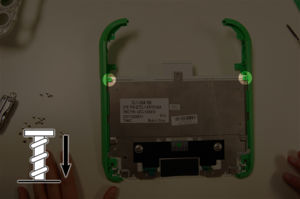
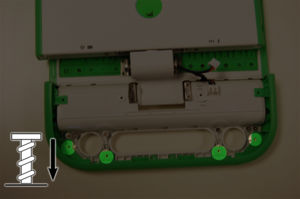
Remove the four screws holding in the green piece at the edge of the touchpad area.
Pull up the silver tape tabs to free the keyboard.
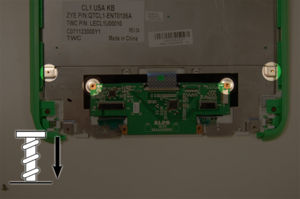
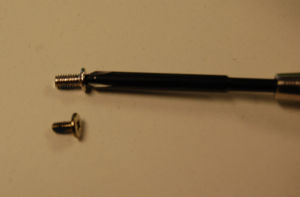
Remove four screws as shown. Note that these are shorter than the standard ones
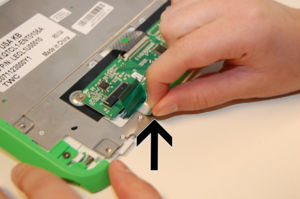
Step 4
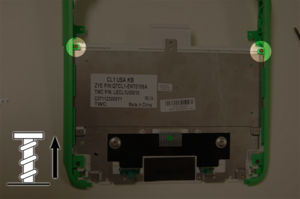
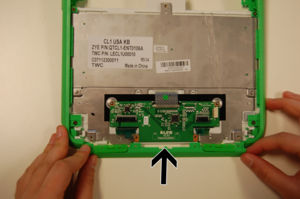
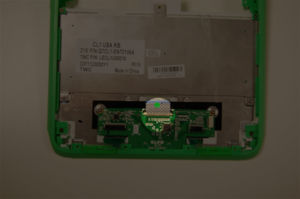
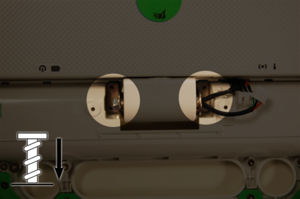
Remove the last two screws holding in the keyboard.
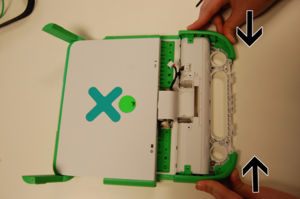
Pull the green side panels apart to free the board. You will likely hear some odd cracking noises when removing the tabs. This is normal.
Step 5
Put in the new keyboard, making sure that it lies flat.
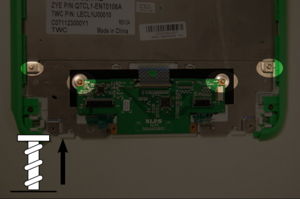
Replace the two screws near the handle.
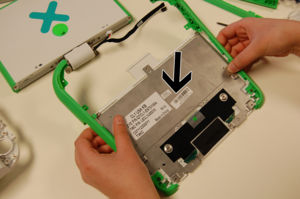
Carefully replace the keyboard/touchpad board.

Make sure to use the right screws! You'll need the short silver ones.
Using those screws, fasten the board and edges of the keyboard.
Lay the silver tabs back down, then put the green edge piece back in (with four screws).
Replace the ribbon cables.
Step 6
Plug the connection cable back in.
Stick the connection cable down so that it doesn't slip.
Replace the white bottom panel. This can be a little tricky, so make sure it sits flat.
Snap the side panels in to hold the bottom panel.
Replace the green edge piece on the handle.
Put in the four screws in the handle.

Latching the XO shut can help hold it in place.
Make sure to use the long silver screws on the hinge.
Screw down the hinge. Remember to replace the connection between the battery and the computer.
Step 7
Replace the white handle cover.

Put in the last five screws, that go in under the battery.
See also Keyboard field repairs


