Disassembly top
This is a description of how to disassemble the top portion of an XO laptop. This is part of the Disassembly section of the Troubleshooting Guide and Repair Manual.
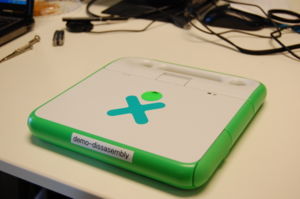
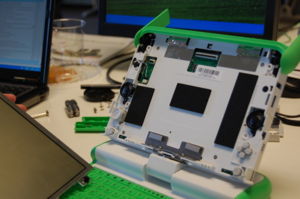
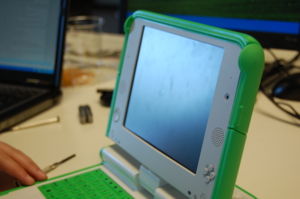
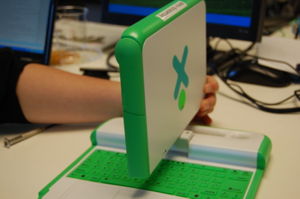
XO before disassembly
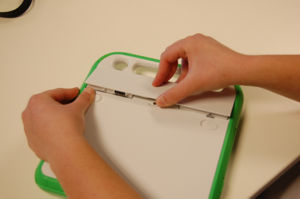
As a precaution, remember to remove the battery.
Removing the front panel
Step 1
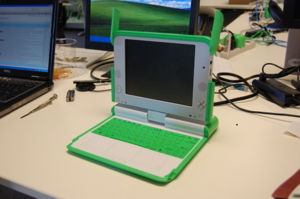
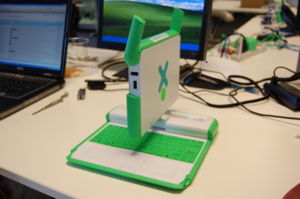
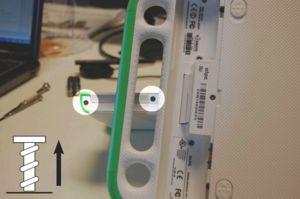
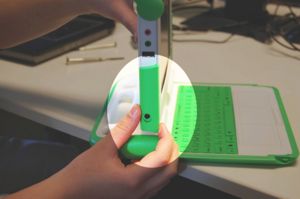
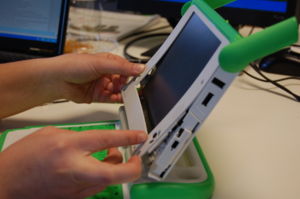
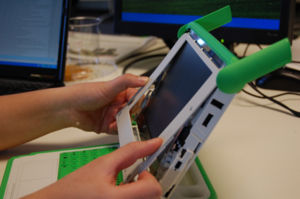
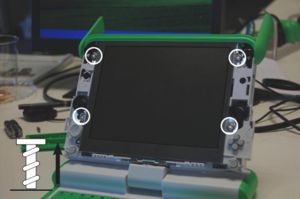
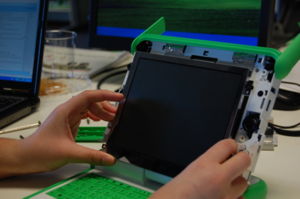
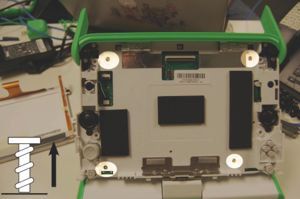
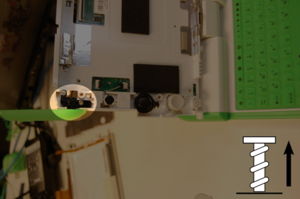
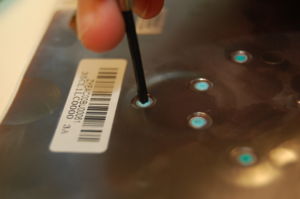
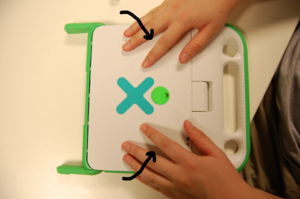
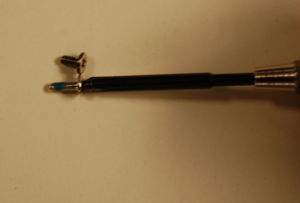
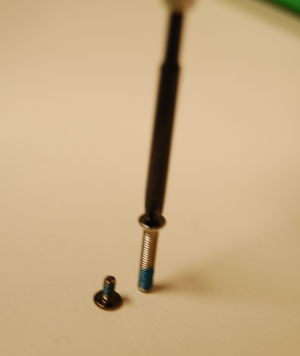
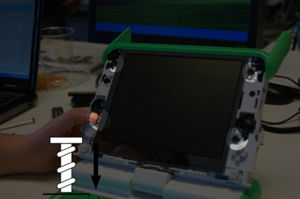
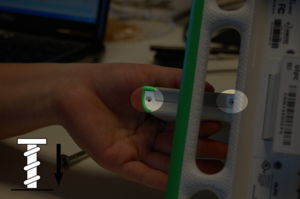
Open the laptop and flip the screen up. Rotate it a 90 degree angle as shown in the sequence below. Next, remove the screws from the bottom of the screen - there are two on each side (right/left) of the XO, so make sure to get all four.
Step 2
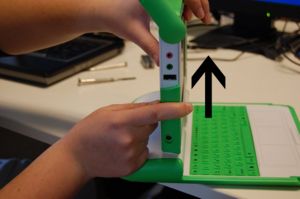
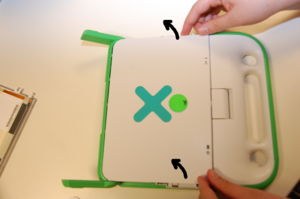
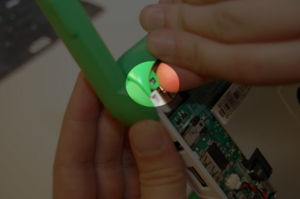
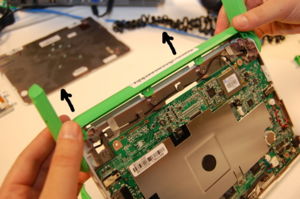
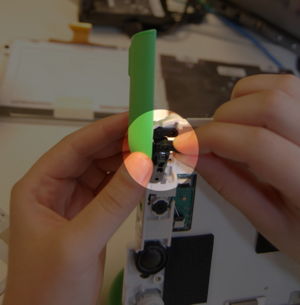
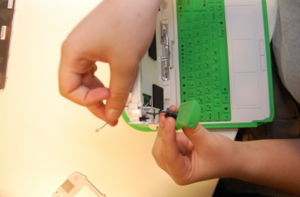
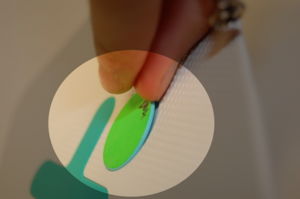
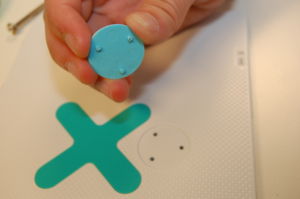
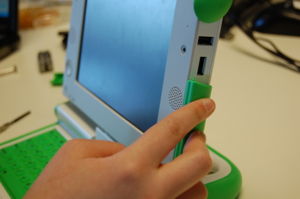
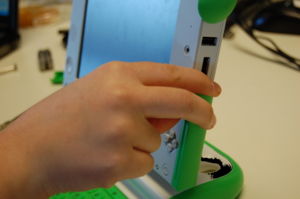
Remove the two green panels from the side of the XO. Slide them upwards and lift them off as shown.
Step 3
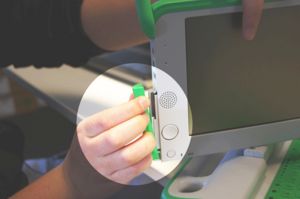
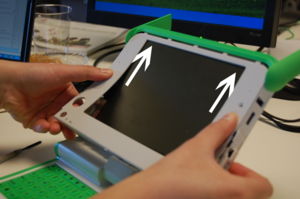
Finally, pull off the front panel. It is tabbed, so it can simply be pulled out. Pull the bottom out (where the screws came out), and gently slide the piece downwards and out.
Removing the screen
Step 1
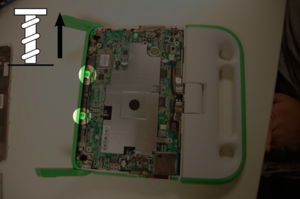
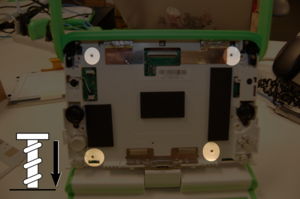
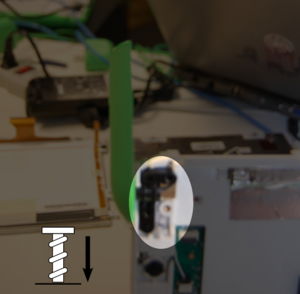
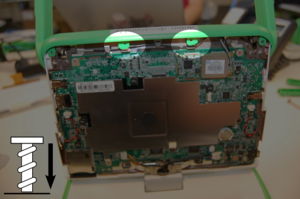
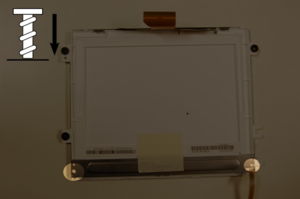
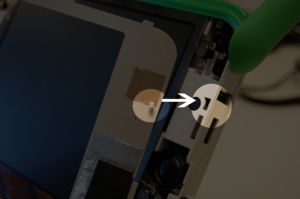
To get the screen out, remove the four screws highlighted.
Step 2
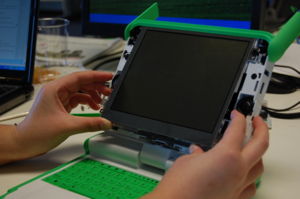
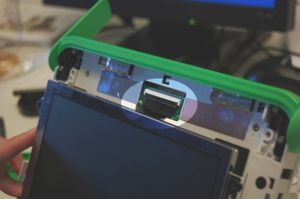
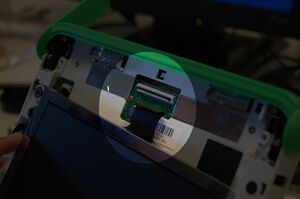
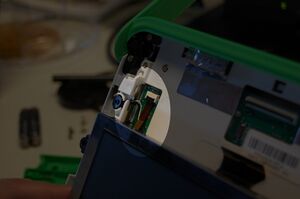
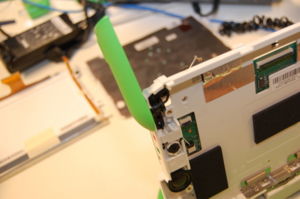
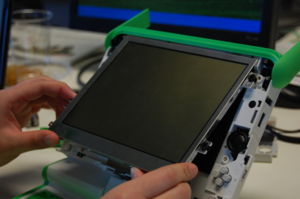
Next, carefully slide the screen out, pulling the bottom out. Do not tug it or let go, as it will still be connected to the motherboard by two cables.
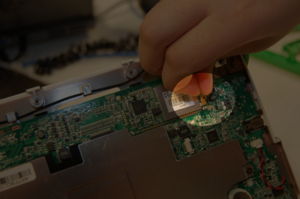
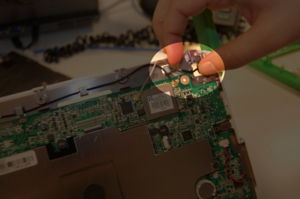
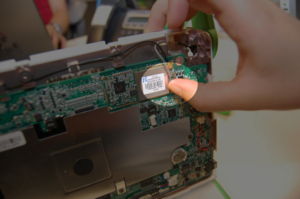
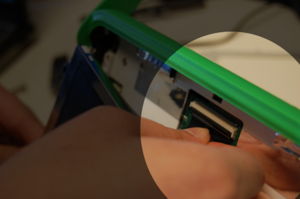
The connectors have a black plastic bar holding the cable down. To unclamp the cable you have to lift that bar by tugging on the little tab away from the circuit board.
Optional: Removing the wireless antenna
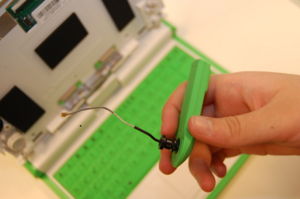
You do not need to remove the wireless antenna if you are trying to get to any other part.
Step 1
Keep the screen out of the way until the replacement is complete.
Step 2
Removing the back cover / reaching the motherboard
Step 1
Optional: Removing the "XO Person" on the back cover
You do not need to remove the "XO Person" on the back cover if you want to get to any other part.
Step 1
Replacing the "XO Person" on the back cover
Step 1
Replacing the back cover
Step 1
Replacing the wireless antenna
Step 1
Step 2
Replacing the backlight
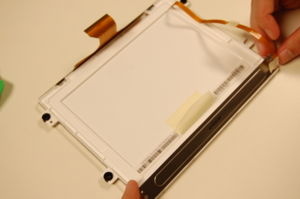
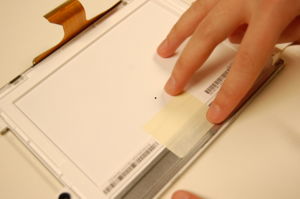
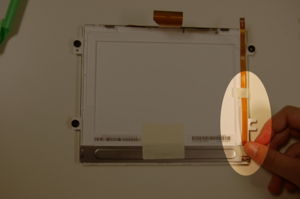
Replace the backlight by attaching the new backlight to the display. Ensure the backlight connection cable is attached and lying flat along the display.
Replacing the screen
Step 1
Reattach the screen by sliding the connection cables into place and clipping them back down (it is generally easier to clip the thinner one that has a longer tether first). Reseat the screen, making sure that it sits flat and that none of the spacers are gone.
Replacing the front panel
Step 1
Slide the front panel back on, making sure that it sits flat. Note that there are hooks on the side of the panel (highlighted in blue) that need to slide into place; pushing the top of the screen flat and sliding it upwards works well.
Step 2
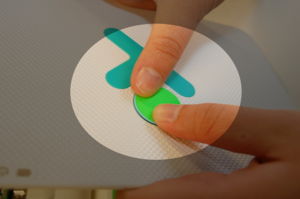
Slide the green side pieces back into place. Then, rotate the XO 90 degrees and put the remaining screws back. Don't forget that the screws go in on both sides (right/left).
