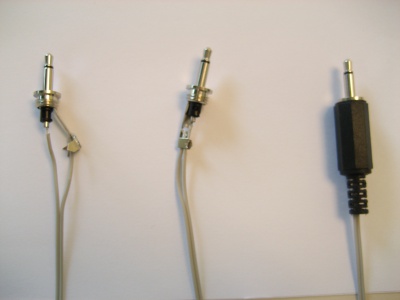
Making a Plug
Jump to navigation
Jump to search
MAKING A PLUG
- 0. Slide the plastic plug cover onto the wire, narrow end first. Get it out of the way; you'll use it in the last step.
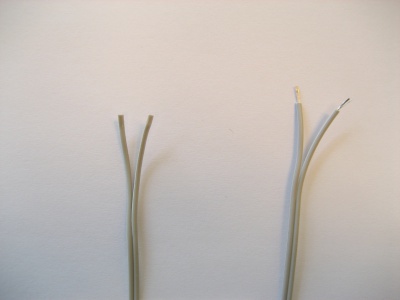
- 1. Split the wire. Use your fingers to split the end of the wire. Make it into a small V shape as shown in the image below.
- 2. Next, use a Stripper (or, carefully, a knife) to tear the X (insulating material) off the tip of the wire. The result should be the image on the right.
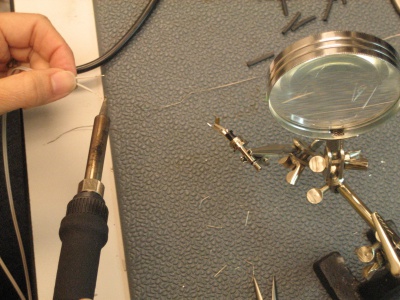
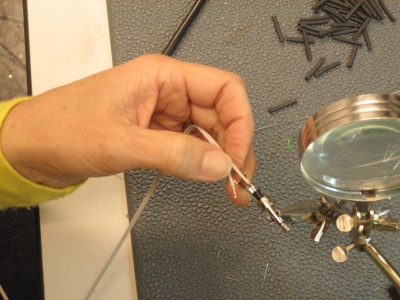
- 3. Turn on the Soldering iron and place the plug in an X (holding tool). The soldering iron is used to melt solder, which is then used to connect electrical contact points, and allow for the flow of electricity. The holding tool is useful for keeping the plug steady while you work on it.
400xNo pics available
- 4. The plug has 2 points of contact to which the two ends of the wire (from step 1) must connect in order for the proper functioning of the sensor.
- 5. The 1st hole in the middle of the plug is the first point of contact. The first objective here is to place one end of the bare wire in this hole.
- 6. This can be done by first cutting one of the separated wires to make the amount of exposed wire small (this might make the process easier, but is not required).
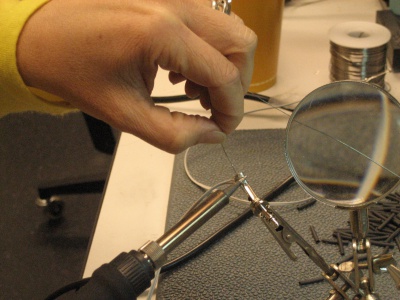
- 7. Second, use the soldering iron to place some solder in the first hole and also on the bare end of the wire.
- 8. Then place the short bare wire with solder in the hole (with solder as well), and hold it till the solder solidifies and holds the wire in the hole itself.
File:Sensors.jpgNo pics available
- 9. Bring the second bare part of the wire through the second hole (while making sure that the first wire does not come out of the first hole).
- 10. Solder this bare wire to the plug in the area indicated above (solder here).
- 11. Next close the clasp to bring the split ends of the wire together, and slide on the plastic cover of the plug.
- FINISHED PLUG!
