Mounting the XO
How to mount the XO laptop to a sheet of something
This is a prototype. Lexan is really too brittle -- it's cracks pretty easily.
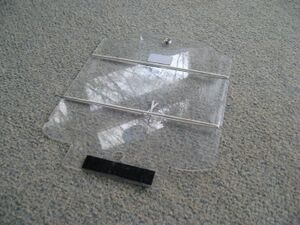
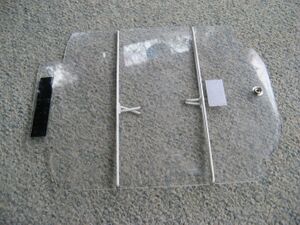
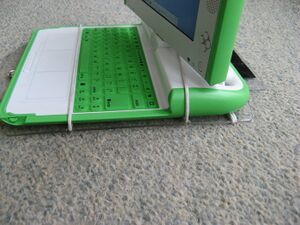
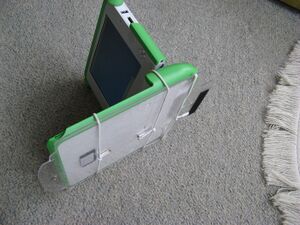
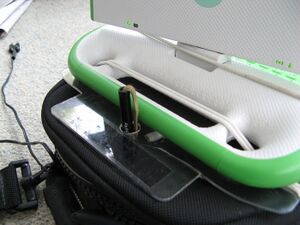
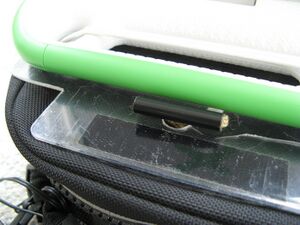
First cut the sheet to shape, and get some bungie material. Lexan is hard to photograph, but pictures #1 and #2 give you the idea.
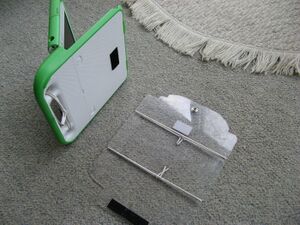
The white patch you see in picture #3 is hook velcro, and mates with self-stick loop velcro on the XO.
The bungies are aligned with specific places on the laptop, and their are notches in the edge of the sheet of lexan to help keep them there.
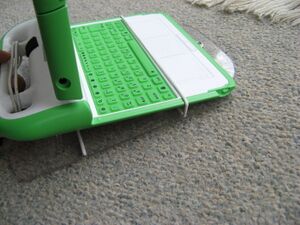
In picture #4 the right-hand bungie lines up just between the touchpad and the keyboard. The left-hand bungie will cross the hinge. The doubled loop of bungie cord (picture #5)is permanently tied to the XO.
Pictures #6 and #7 show the alignment of all the cords. The bungies hold the lexan fairly tight. The (now invisible) velcro, and the bungie through the handles, keep the whole thing from sliding.
How to mount the lexan to a motorcycle tankbag
The tankbag needs to be modified slightly, so that it all fits together well.
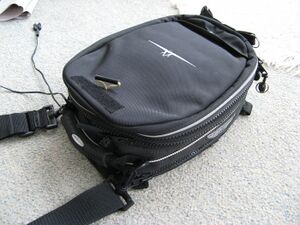
Picture #8 shows the tankbag. The only modification is the little black tube (a section of ball-point pen) on the cord, which is knotted through a washer inside the lid. The velcro, and the pouch at the far end, are normally used to attach a map holder.
In picture #9 you can see now the snap lines up. I happened to have a mating snap fastener to install in the lexan.
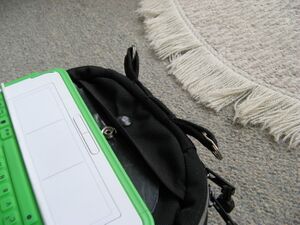
The tube has enough room to stand vertically, to fit through the hole in the lexan. (picture #10) Since the cord has to slide through the tube to do this, the edges should be smoothed after cutting.
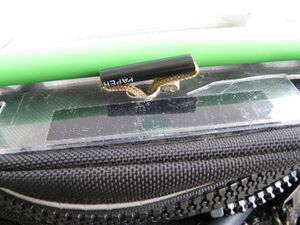
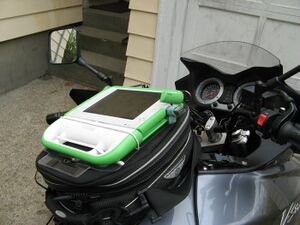
In picture #11, the tube has been turned sideways, locking the lexan to the tankbag. This provides more security than just relying on the velcro to keep the XO and lexan assembly from flying off if the bike hits a major bump.
Picture #12 gives a better view of the tube locking the lexan to the tankbag.
Ready to go!
In picture #13, you can see where power comes from an accessory connector that's attached to the bike's battery.
In picture #14, you can see that the bluetooth dongle keeps one of the antennae partly open. (See Adding_Bluetooth for one way to avoid this.)
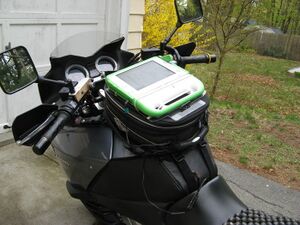
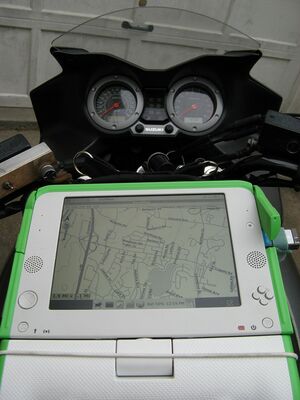
Be sure the laptop doesn't interfere with the gauges or controls! (picture #15) Note that I can't use the keyboard from this position -- it's probably better that way. This orientation also puts the screen as far forward as possible, easier to glance at quickly. (This picture makes the screen seem bigger than it really is, in proportion.)
