XO Self Test/Display

From OLPC
Jump to navigation Jump to search

The display test of the XO laptop goes through several steps. Each step pauses for a short time while the display is switched between frozen and live several times, as a test of the display controller and display memory.

step screenshot note method
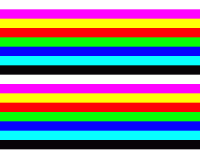
1 XO-4-test-display-1-horizontal-colour-bars.png Horizontal colour bars. You should check that the colours are all present, and look normal and clear. .horizontal-bars16
2 XO-4-test-display-2-vertical-colour-bars.png Vertical colour bars. You should check that the colours are all present, and look normal and clear. .vertical-bars16
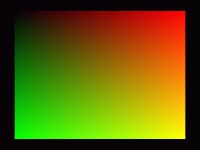
3 XO-4-test-display-3-green-vs-red-diagonal-gradient.png A diagonal gradient between green and red colours. The most likely to show display noise as a result of EMI components on an XO-4. gvsr
4 XO-4-test-display-4-green-vs-blue-diagonal-gradient.png A diagonal gradient between green and blue. gvsb
5 XO-4-test-display-5-black-vs-white-horizontal-gradient.png A horizontal gradient; black on left, white on right. Look for non-linearities. hgradient
6 XO-4-test-display-6-black-vs-white-vertical-gradient.png A vertical gradient; black on top, white on bottom. vgradient
7 XO-4-test-display-7-crosshatch.png A crosshatch, white lines on black background. Look for lines that are not straight. The test also dims the backlight in steps at this point. crosshatch
8 XO-4-test-display-8-random-1.png XO-4-test-display-9-random-2.png A series of filled rectangles are drawn in random positions with random colours. random-selftest

The method column above can be used to lock a test on screen; for example to show the gvsr test image;

ok select /display  gvsr  key page unselect

Press a key and the test will end.