Lease management: Difference between revisions
(..) |
(Added 'log in' to the opening instructions.) |
||
| Line 4: | Line 4: | ||
== Basic functionality == |
== Basic functionality == |
||
# Go to https://activation.laptop.org/ and click on 'Activate Laptops' link in the top right corner. |
# Go to [https://activation.laptop.org/ https://activation.laptop.org/], log in, and click on 'Activate Laptops' link in the top right corner. |
||
#:[[Image:activation-screenshot-1.png]] |
#:[[Image:activation-screenshot-1.png]] |
||
# You will see a form with several fields: |
# You will see a form with several fields: |
||
Revision as of 19:40, 13 March 2008
This document briefly describes how to use the OLPC activation server to generate activation leases for new laptops.
Basic functionality
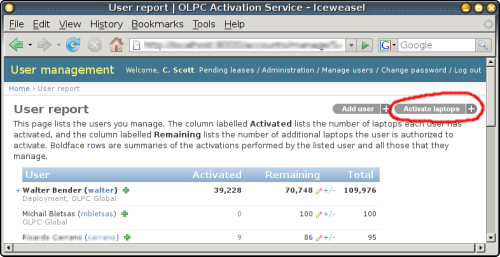
- Go to https://activation.laptop.org/, log in, and click on 'Activate Laptops' link in the top right corner.
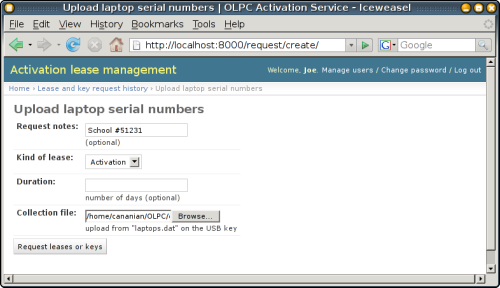
- You will see a form with several fields:
- Request notes: a brief description of this lease request, so that you can find it again later if you need to reload these activation leases. For example, "Leases for Mongolia Pilot".
- Kind of lease: leave this at "Activation" to generate activation leases. (Authorized users can also generate developer keys using this same mechanism by selecting "Developer" here.)
- Duration: the number of days the laptop should remain authorized. If you leave this field blank, your leases will be generated for a default maximum duration, typically 8,000 days. You can generate shorter leases by specifying a number of days here.
- Collection file: click on the 'Browse...' button and a file-selection dialog will appear. Select one of the following three types of files:
- A laptop.dat file created by a collection key.
- A plain text list of serial numbers, one serial number per line.
- A three-column CSV file, in "Peru" format. The first field will be school identifier, the second should contain the laptop serial number, and the third field is ignored (but contains battery serial number in Peru).
- Click 'Request leases or keys' to perform the lease request. If you see an error message saying, "You are only authorized to request XYZ leases of this type." you will have to ask your manager to adjust your activation lease quota -- top-level country managers should contact Walter Bender.
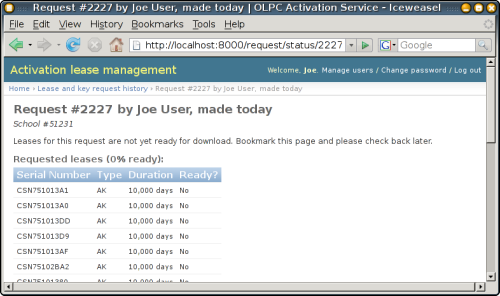
- The following page will appear, displaying the status of your lease request. If leases have been previously generated, your may be able to immediately download them. Otherwise, you will see this screen. It may take a minute to generate your leases.
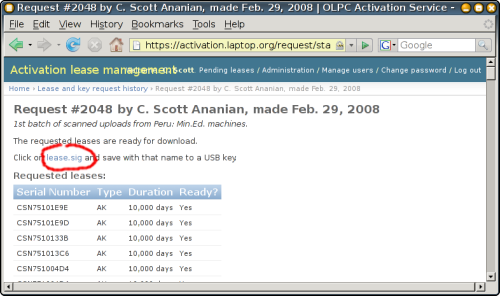
- When your leases are ready, click on the 'lease.sig' link to download leases for this group of laptops.
- Click on 'Home' in the top left corner to return to the beginning of the process, or click on 'Lease and key request history' and then click on 'Create a new activation lease or developer key'.
Creating new users
From the home screen, you can also create new users, whom you can authorize to activate a certain number of machines. It is recommended that separate users be created for each site at which activation may take place, and possibly for each user of the system.
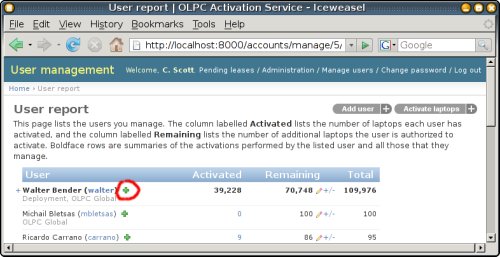
Click on the '+' by a user's name in order to create a new account managed by that user. The form will prompt for username, email address, and administrative information (the new user's title in your organization and region for which they are responsible), as well as an initial activation authorization for the new account. The activation server will email a password for the new account to the email address provided. You can also manually (re)set a password by clicking on the username in the management screen and then clicking the 'Change Password' link at the top right.
Adjusting activation quota
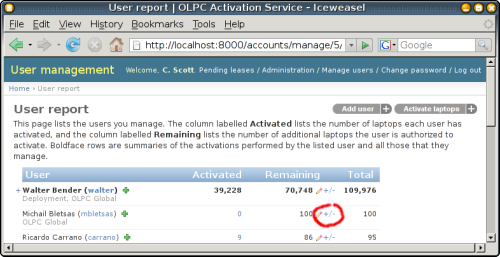
You can adjust the activation lease quota for any user you manage using the '+/-' link on the home screen.
Select whether you want to increase ('+') or decrease ('-') the quota, and by how much, and then click 'OK'. If the user's quota is increased, their direct manager will have their quota decreased, and vice-versa. It may be necessary to first increase the quota of the user's manager(s) before you can increase a user's quota.
