Olin university chapter/Projects/XOBot: Difference between revisions
Jump to navigation
Jump to search
(→XOBot) |
|||
| (3 intermediate revisions by the same user not shown) | |||
| Line 1: | Line 1: | ||
= XOBot = |
= XOBot = |
||
Project of Olin College. |
Project of Olin College. Idea is to create a simple, low cost XO Robot and interface the hardware components with Turtle Art. |
||
== |
== Status == |
||
There is now a functional prototype XOBot. The current version costs about USD175. There are already programmable robotics kits that work with the XO for that price (Namely the [[http://wiki.roboteducation.org/OLPC-XO|Myro]]). The new goal is to get the cost down to somewhere closer to USD20 and no more than USD40. |
|||
== Current Prototype(12/09) == |
|||
==== Hardware Selection ==== |
==== Hardware Selection ==== |
||
| Line 46: | Line 49: | ||
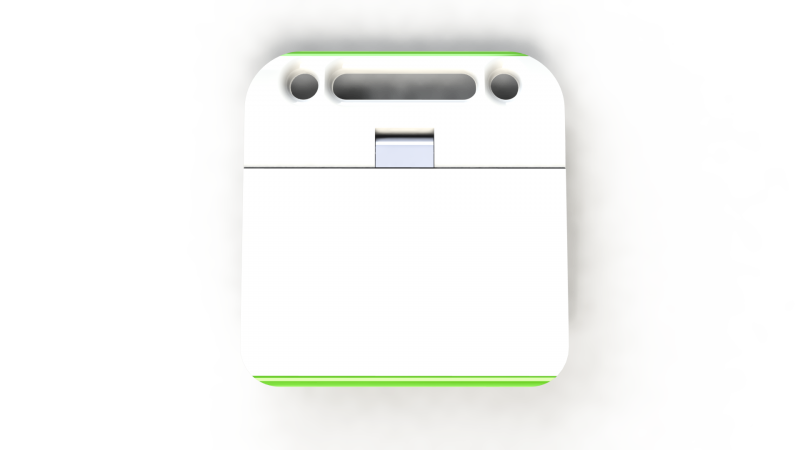
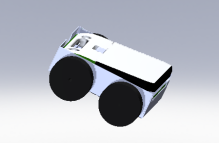
==== CAD of the Bot Kit ==== |
==== CAD of the Bot Kit ==== |
||
[[Image:xobot.png|XOBot]] |
[[Image:xobot.png|XOBot]] |
||
[[Media:box_schematic.png| Schematic drawing]] |
|||
[[Media:XOBot.zip|CAD Files]] |
[[Media:XOBot.zip|CAD Files]] |
||
Latest revision as of 22:26, 31 December 2009
XOBot
Project of Olin College. Idea is to create a simple, low cost XO Robot and interface the hardware components with Turtle Art.
Status
There is now a functional prototype XOBot. The current version costs about USD175. There are already programmable robotics kits that work with the XO for that price (Namely the [[1]]). The new goal is to get the cost down to somewhere closer to USD20 and no more than USD40.
Current Prototype(12/09)
Hardware Selection
- XO
- (+) Already available in the classroom
- (-) heavy, requires more torque
- Casing - Sheet Metal
- (+) cheap material
- (+) easily/forgivably manufactured without much machinery
- (+) designs can easily be distributed and reproduced via the internet or mailing full-size schematics
- (-) needs some work on safety - the metal is not sharp enough to cut but is sharp enough to scratch. It would be nice to eventually make this a plastic part
- (-) conductive - we placed a non-conductive coating (duct tape) on the bottom so as not to ruin the electronics. Another solution would be to have a plastic electronics box
- Batteries - XO batteries
- (+) available where there are XO's
- (+) can be recharged by placing them in the XO
- (+) enough power to move the bot
- (-) requires disassembling a computer, or coming up with a better solution for connecting power terminals - we used part of the bottom plate of the XO to ensure a good connection
- Microcontroller: Arduino Diecimila
- (+) easy to use
- (-) a bit expensive - might move towards a plain ATMega168 or 328 in a low-cost version, although that makes do-it-yourself XOBot's a little more challenging
- Motor Shield: Ardumoto(uses L298)
- (+) just works - basically this was a time-saver
- (-) expensive - We'll definitely make our own motor shield from plain L298's in the next version
- 2 Motors: Beetle B104
- These motors worked fine, but were expensive because the robot was heavy. We're moving towards eliminating the XO from robot and either pre-program the robot or use a wireless connection to send commands.
- We also considered modified RC Servos, but were concerned they wouldn't have enough torque to move the robot.
- Wheels - Lite Flite foam wheels
- (+) again these worked very well with only a few small issues
- (-) required some hacking to connect to our hubs
- (-) picked up dirt from the ground
- Hubs
- Rear axel
- We don't have one yet. Probably will just get some metal rod
- Miscellaneous screws, USB cord, plastic connectors
CAD of the XO
Hard(er) to CAD interfacing parts (the Bot kit itself) without a CAD of the XO.
Check out XOCad !!!

