Making XO sensors/Lichtsensor: Difference between revisions
Jump to navigation
Jump to search
No edit summary |
No edit summary |
||
| Line 2: | Line 2: | ||
Lichtsensor Kit: |
Lichtsensor Kit: |
||
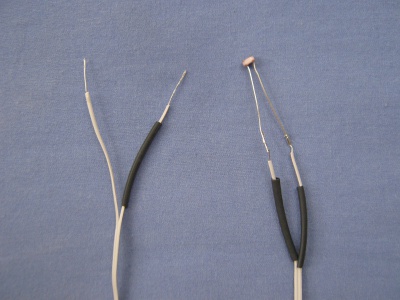
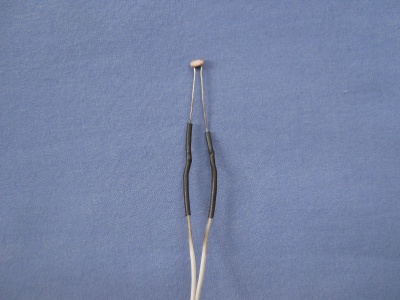
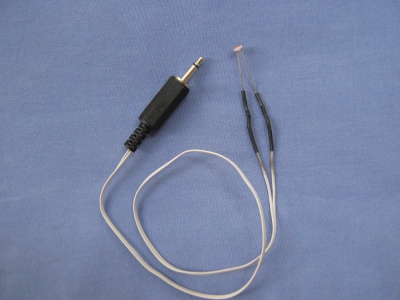
* 1 Photowiderstand (rot: center, schwarz: Erdung, weiß: tip)(light dependent resistor), |
* 1 Photowiderstand (rot: center, schwarz: Erdung, weiß: tip)(light dependent resistor), [http://www.jaycar.com.au/productView.asp?ID=RD3480] [https://www.radioshack.com/product/index.jsp?productId=2062590] |
||
* 1 Lichtsensor [http://www.parallax.com/Store/Sensors/ColorLight/tabid/175/CategoryID/50/List/0/SortField/0/Level/a/ProductID/175/Default.aspx] |
|||
* 1 Lichtsensor |
|||
* 1m Isolierband |
* 1m Isolierband |
||
* 1 Schere |
* 1 Schere |
||
Revision as of 21:36, 22 October 2012
Lichtsensor Kit:
- 1 Photowiderstand (rot: center, schwarz: Erdung, weiß: tip)(light dependent resistor), [1] [2]
- 1 Lichtsensor [3]
- 1m Isolierband
- 1 Schere
Other sensor instructions
- Making XO sensors/Construir Sensor Luz
- Making XO sensors/How to connect sensors
- Making XO sensors/Lichtsensor
- Making XO sensors/Making a Humidity Sensor
- Making XO sensors/Making a Light Sensor
- Making XO sensors/Making a Magnetic Sensor
- Making XO sensors/Making a Switch Sensor
- Making XO sensors/Making a Temperature Sensor
- Making XO sensors/Making a Thermistor


