Pymunx: Difference between revisions
Crazy-chris (talk | contribs) m (+gravityphun) |
Crazy-chris (talk | contribs) m (+screencast limit) |
||
| Line 43: | Line 43: | ||
== Limitations == |
== Limitations == |
||
* Screencast works only in Linux with mencoder installed |
|||
| ⚫ | |||
| ⚫ | |||
* Joints |
* Joints |
||
* Grouped Elements |
* Grouped Elements |
||
| Line 49: | Line 51: | ||
(As a workaround, you can anyway access the whole space, which is stored in pymunx.space) |
(As a workaround, you can anyway access the whole space, which is stored in pymunx.space) |
||
== pyGame Example == |
== pyGame Example == |
||
Revision as of 07:56, 11 March 2008
About
Status
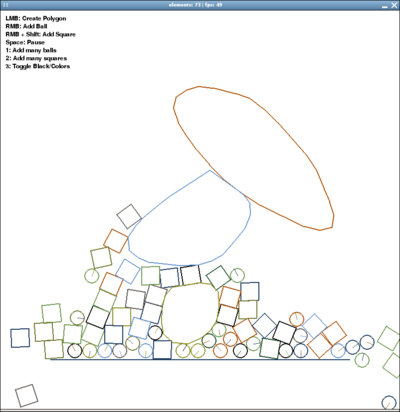
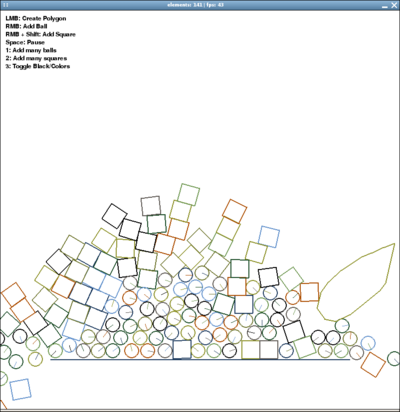
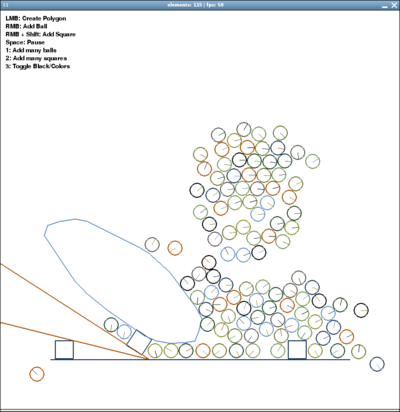
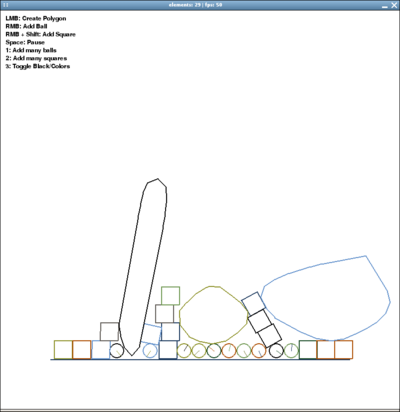
The status is early and experimental, but already testable. Many functions of pymunk are not yet implemented, I'm quite on it and will post updates frequently the next time, so check back often :) I'll post my updates and demos here, on http://www.linuxuser.at/pymunx, and there's also a forum shared with pymunk and chipmunk.
Features
Fast, Easy to use, Circles, Squares, Segments, Polygons, Colissions, Variable Gravity, Density, Mass, Friction, Elasticity, Inertia, Impulses, Screenshots, Screencasts, Cross-Platform, Entertaining, Fascinating, ...
Documentation
Sources
- File:Pymunx.zip (all you need to get started :) (115 kb)
API class with documentation
- pymunx.py (the api class)
Examples
- demo1_ballsnsquares.py (most simple :)
- demo2_drawwalls.py (create new walls)
- demo3_addmany.py (add more objects at once)
- demo4_drawpoly.py (draw a polygon)
- demo5_draw.py (tryout for segments (buggy))
- demo6_throw_and_settings.py (++) (adjust elasticity, density, size and throw in objects)
- demo7_elasticbox.py (++) (elastic walls all around. very funny :)
- demo8_gravityfun.py (+++) (change the gravity vector (or set to (0,0) by right mouse click)
Download
You can either take the latest zip (File:Pymunx.zip), or get the pymunx api class and examples bundled with the chipmunk libraries and pymunk via svn:
svn checkout http://pymunk.googlecode.com/svn/trunk/ pymunk-read-only
Limitations
- Screencast works only in Linux with mencoder installed
Things, pymunx can't handle yet:
- Joints
- Grouped Elements
- maybe more :)
(As a workaround, you can anyway access the whole space, which is stored in pymunx.space)
pyGame Example
The typical usage in pygame looks like this:
      import pygame
      from pygame.locals import *
      from pygame.color import *

      from pymunx import *

      pygame.init()
      screen = pygame.display.set_mode((800, 800))
      clock = pygame.time.Clock()

      world = pymunx()
      world.add_wall((100, 200), (300, 200))

      # Main Game Loop:
      while running:
         # Event Handling
         # Maybe calling world.add_ball(event.pos) or world.add_square(event.pos)
         # ...

         screen.fill((255,255,255))

         # Update & Draw World
         world.update()
         world.draw(screen)

         # Flip Display
         pygame.display.flip()

         # Try to stay at 50 FPS
         clock.tick(50)


