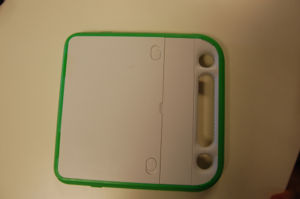
Disassembly bottom: Difference between revisions
Jump to navigation
Jump to search
m (→Step 1) |
m (→Step 2) |
||
| Line 19: | Line 19: | ||
<br style="clear:both" /> |
<br style="clear:both" /> |
||
=== Removing the hinge / disconnecting the top and bottom halves of the XO === |
|||
| ⚫ | |||
=== Step 1 === |
|||
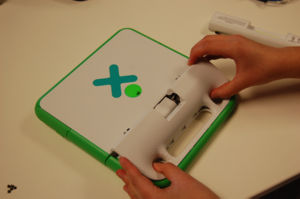
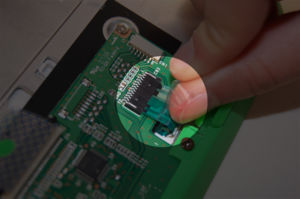
[[image:Keyboardstep2a.jpg|thumb|left|Unplug the connection between the battery and computer.]] |
[[image:Keyboardstep2a.jpg|thumb|left|Unplug the connection between the battery and computer.]] |
||
<br style="clear:both" /> |
|||
| ⚫ | |||
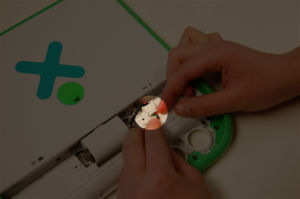
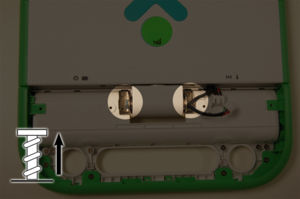
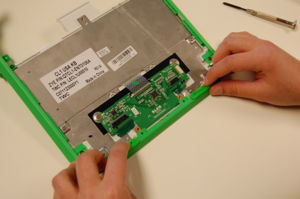
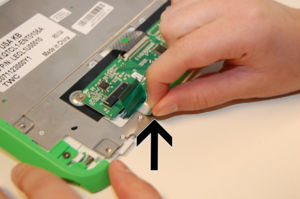
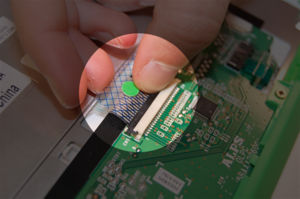
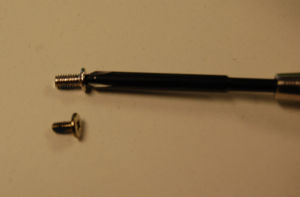
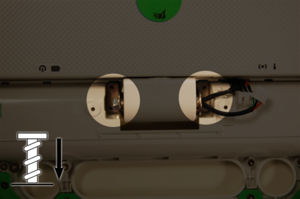
[[image:Keyboardstep2b.JPG|thumb|left|Unscrew the hinge.]] |
[[image:Keyboardstep2b.JPG|thumb|left|Unscrew the hinge.]] |
||
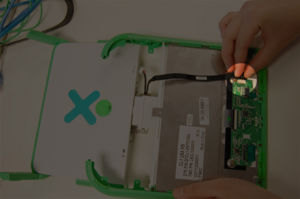
[[image:Keyboardstep2c.JPG|thumb|left]] |
|||
| ⚫ | |||
<br style="clear:both" /> |
<br style="clear:both" /> |
||
=== Step 3 === |
|||
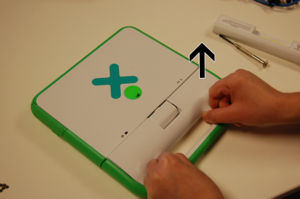
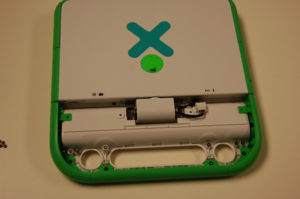
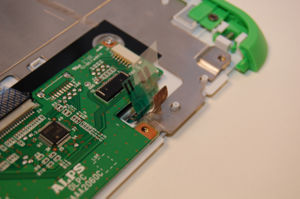
[[image:Keyboardstep2c.JPG|thumb|left|You can now separate the top half of the XO from the bottom half.]] |
|||
| ⚫ | |||
<br style="clear:both" /> |
|||
=== Removing the bottom cover === |
|||
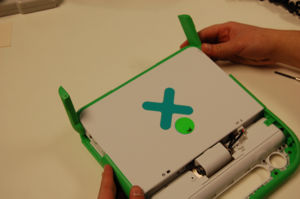
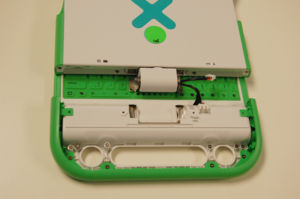
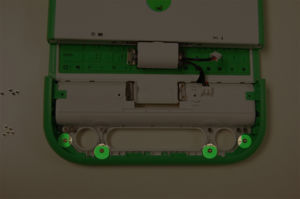
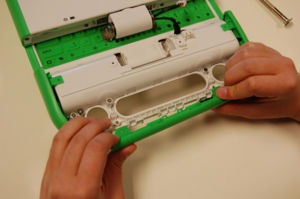
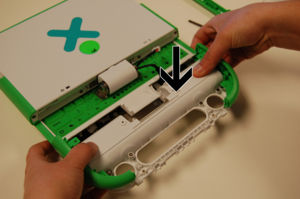
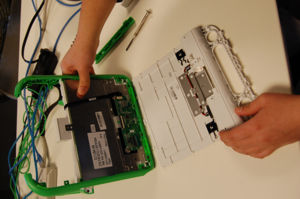
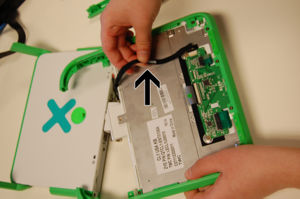
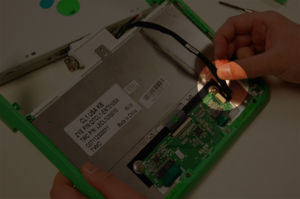
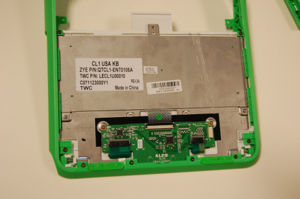
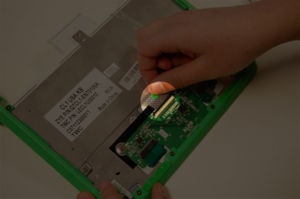
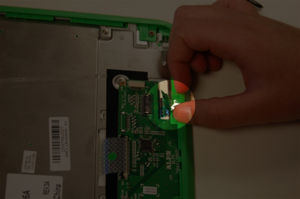
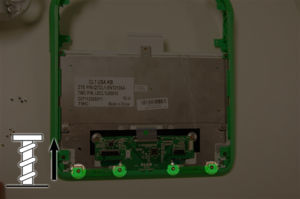
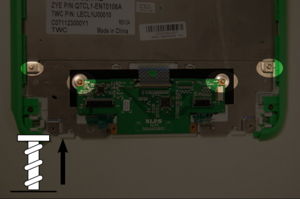
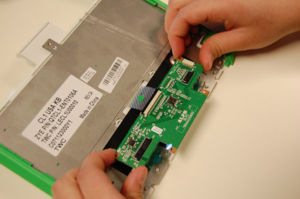
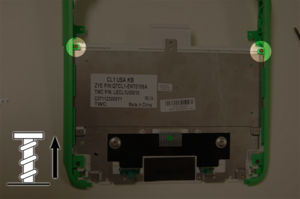
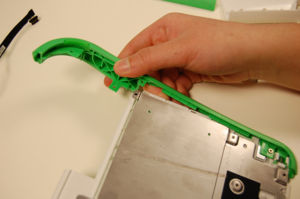
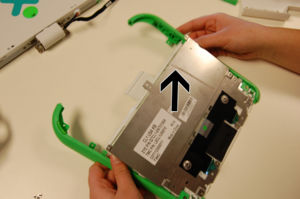
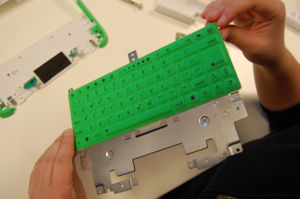
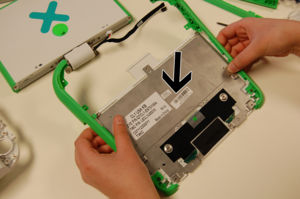
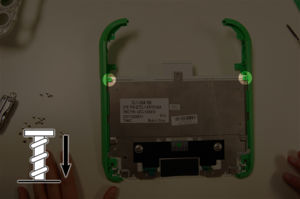
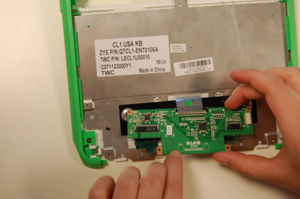
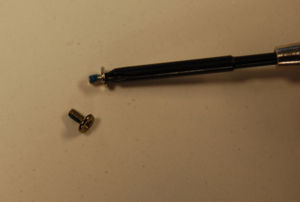
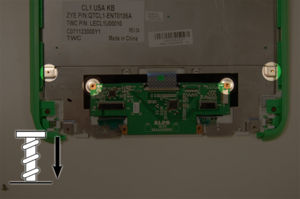
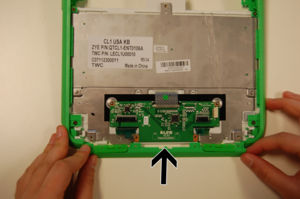
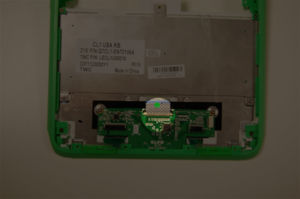
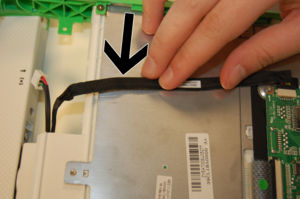
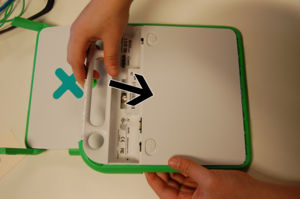
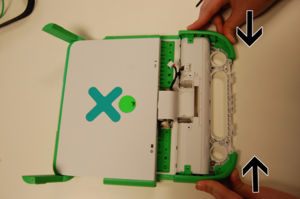
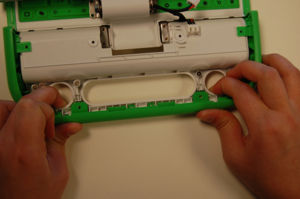
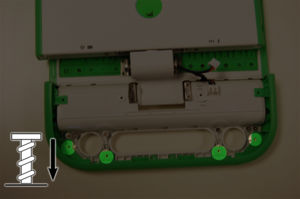
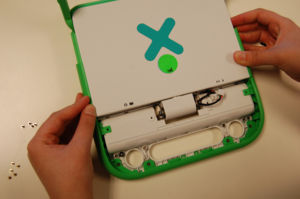
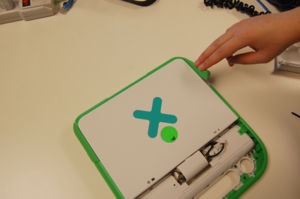
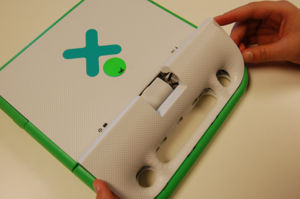
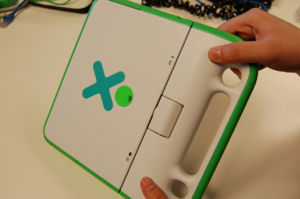
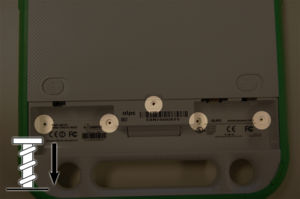
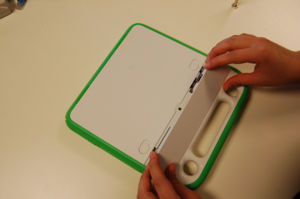
[[image:Keyboardstep2e.jpg|thumb|left|Remove the four screws in the handle.]] [[image:Keyboardstep2f.jpg|thumb|left|Pull out the green piece on the edge of the handle.]] [[image:Keyboardstep2g.jpg|thumb|left|Push down the bottom of the laptop.]] [[image:Keyboardstep2h.jpg|thumb|left|The bottom should come off as one piece.]] |
[[image:Keyboardstep2e.jpg|thumb|left|Remove the four screws in the handle.]] [[image:Keyboardstep2f.jpg|thumb|left|Pull out the green piece on the edge of the handle.]] [[image:Keyboardstep2g.jpg|thumb|left|Push down the bottom of the laptop.]] [[image:Keyboardstep2h.jpg|thumb|left|The bottom should come off as one piece.]] |
||
<br style="clear:both" /> |
<br style="clear:both" /> |
||
Revision as of 18:26, 29 May 2008
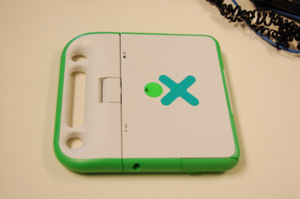
XO before disassembly
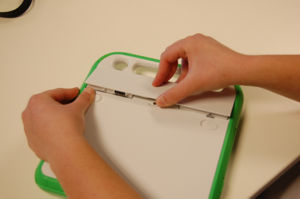
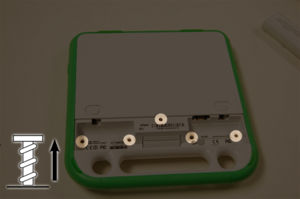
Opening the handle / reaching the spare screws
Step 1
Step 2
Removing the hinge / disconnecting the top and bottom halves of the XO
Step 1
Step 2
Step 3
Removing the bottom cover
Step 3
Step 4
Step 5
Step 6
Step 7
