Disassembly backlight: Difference between revisions
No edit summary |
mNo edit summary |
||
| Line 1: | Line 1: | ||
{{TOCright}} |
{{TOCright}} |
||
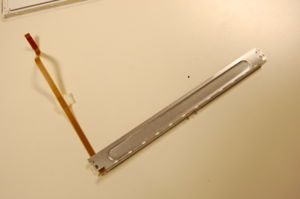
This is a description of how to disassemble the display of an [[Hardware|XO laptop]] to replace the backlight. |
This is a description of how to disassemble the display of an [[Hardware|XO laptop]] to replace the backlight. A separate section shows [[Disassembly_top|how to remove the display from the laptop]]. This is part of the [[Disassembly]] section of the [[XO_Troubleshooting_Guide|Troubleshooting Guide]] and [[Repair|Repair Manual]]. |
||
Special note: Unlike the rest of the screws in the XO, which take a #1 Philips head screwdrive, a #0 Philips head works better for removing the actual backlight (though a #1 can be used if needed). A container is helpful for storing screws during disassembly, though parts taken off the XO can serve as temporary containers. This disassembly can be done within 15 minutes, even with little experience. |
|||
== Removing the backlight == |
== Removing the backlight == |
||
Revision as of 17:03, 27 June 2008
This is a description of how to disassemble the display of an XO laptop to replace the backlight. A separate section shows how to remove the display from the laptop. This is part of the Disassembly section of the Troubleshooting Guide and Repair Manual.
Special note: Unlike the rest of the screws in the XO, which take a #1 Philips head screwdrive, a #0 Philips head works better for removing the actual backlight (though a #1 can be used if needed). A container is helpful for storing screws during disassembly, though parts taken off the XO can serve as temporary containers. This disassembly can be done within 15 minutes, even with little experience.
Removing the backlight
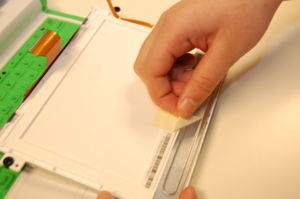
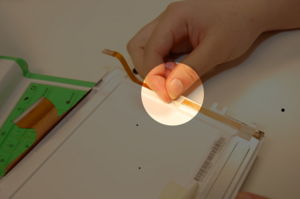
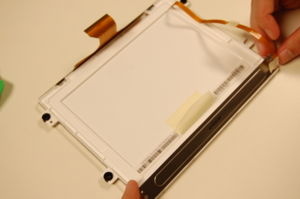
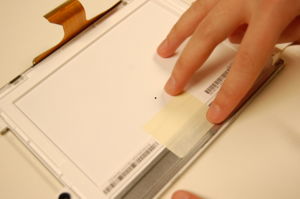
Step 1
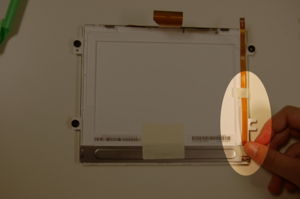
Remove tape from backlight connection cable to expose the back of the display.
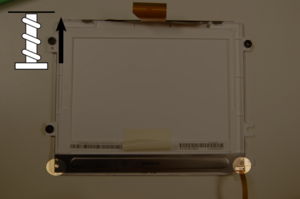
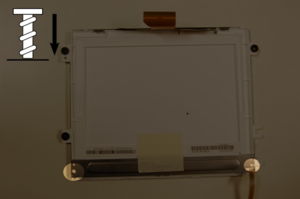
Step 2
Disconnect the backlight from the display by removing the two screws shown below using a #0 Philips head screwdriver.
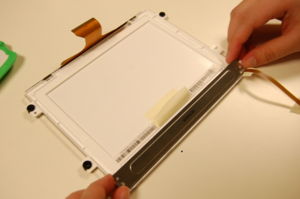
Replacing the backlight
Replace the backlight by attaching the new backlight to the display. Ensure the backlight connection cable is attached and lying flat along the display.
