Manual/Insides: Difference between revisions
< Manual
Jump to navigation
Jump to search
Ari.l.joseph (talk | contribs) No edit summary |
Ari.l.joseph (talk | contribs) No edit summary |
||
| Line 1: | Line 1: | ||
Page 1 | [[http://wiki.laptop.org/go/Manual/Insides/Page_2 Page 2]] | [[http://wiki.laptop.org/go/Manual/Insides/Page_3 Page 3]] | [[http://wiki.laptop.org/go/Manual/Insides/Page_4 Page 4]] |
|||
Photos of the inside of the laptop: |
Photos of the inside of the laptop: |
||
| Line 35: | Line 37: | ||
Page 1 | [[http://wiki.laptop.org/go/Manual/Insides/Page_2 Page 2]] | [[http://wiki.laptop.org/go/Manual/Insides/Page_3 Page 3]] | [[http://wiki.laptop.org/go/Manual/Insides/Page_4 Page 4]] |
|||
[[http://wiki.laptop.org/go/Manual/Insides/Page_2 Go to Page 2]] |
|||
Revision as of 22:06, 3 May 2007
Page 1 | [Page 2] | [Page 3] | [Page 4]
Photos of the inside of the laptop:
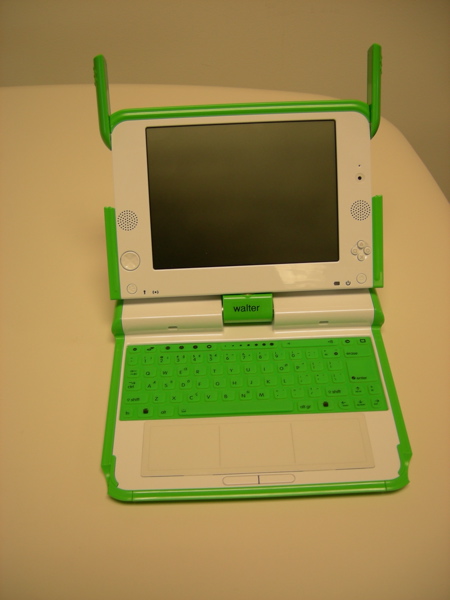
This laptop's name is Walter.
Bunny ears up, and we're ready to go.
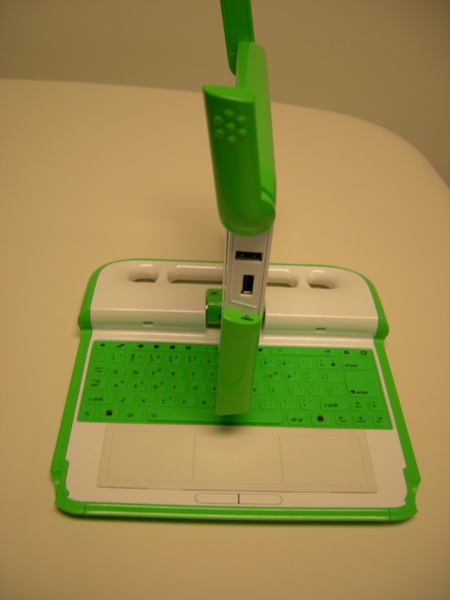
Swivel the monitor in either direction.
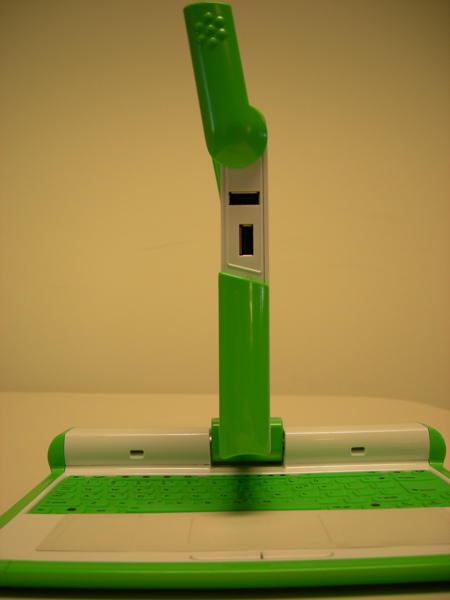
With the screen rotated, flip the laptop over. Behind the handle, you will see two screws, one on either side of the hinge. Two more screws are located on the bottom of the monitor on either end. Unscrew all of these screws.
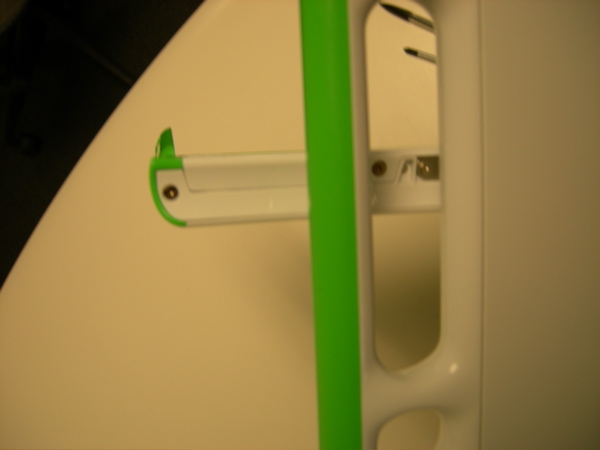
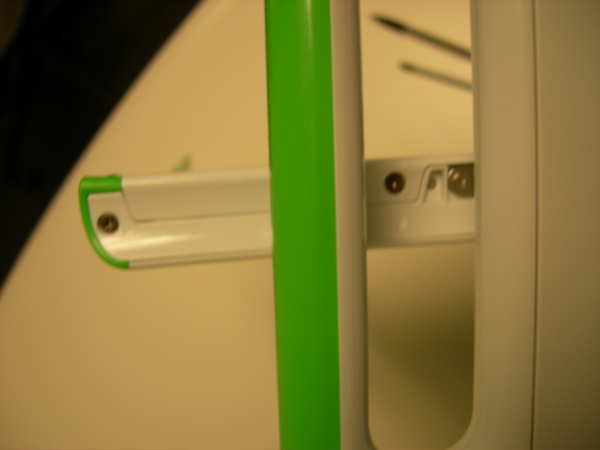
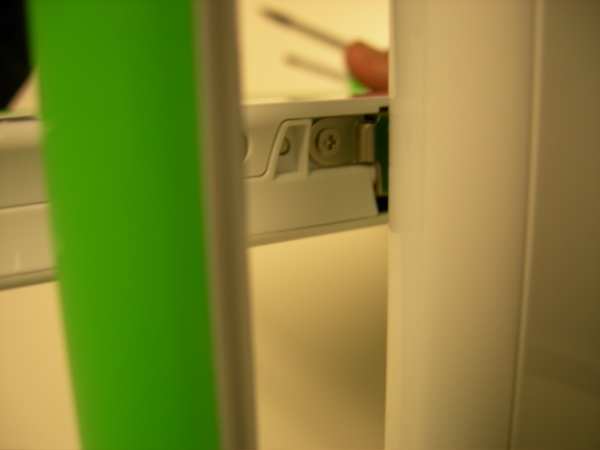
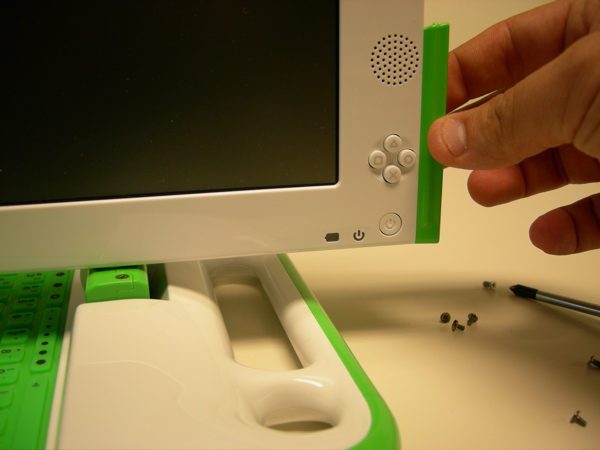
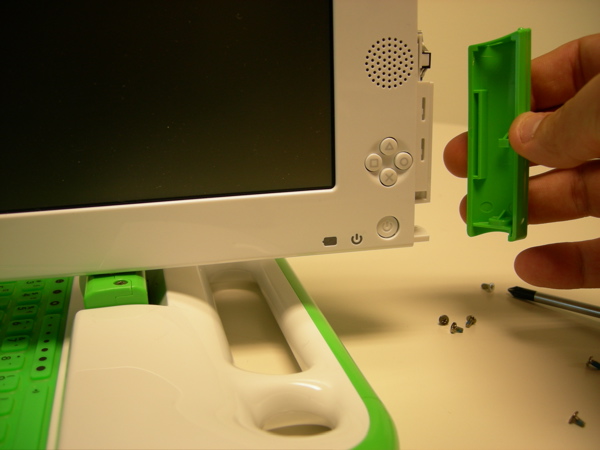
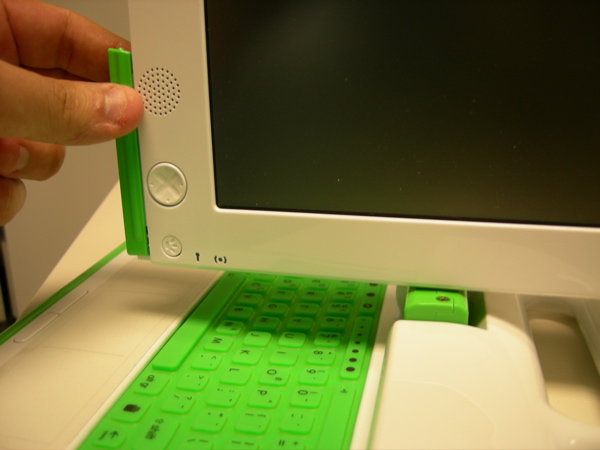
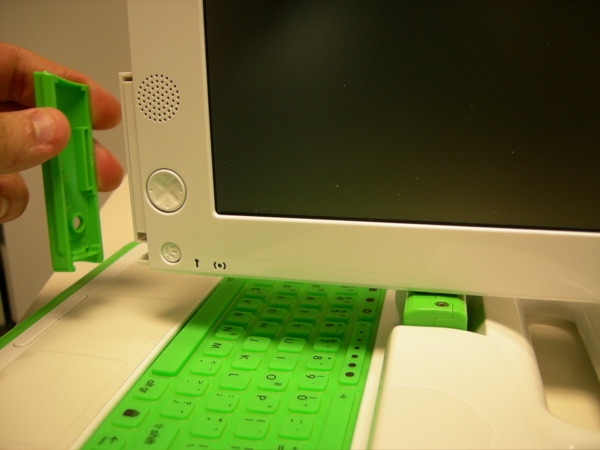
Once these screws are removed, the short green bevels on the side of the monitor can be removed, as shown above, and in the next three images.

