User:NeoAmsterdam/10.1.3/Bootable SD
Jump to navigation
Jump to search
There is no cheat code or OpenFirmware command for installing an OS image to an SD card on an XO-1, though there is for an XO-1.5. This document explains how make a bootable SD card with Release 10.1.3 (Build 860) on an XO-1.
Before you Begin
- This procedure will erase any data stored on the XO-1.
- This procedure will erase any data stored on the SD card.
- Do not execute these instructions on battery power.
- This procedure requires the SD card to be partitioned.
Disk partitioning is beyond the scope of this document. - The SD will be formatted as an ext3 filesystem.
This is not an optimal arrangement for SD cards. - Refrain from altering the volume label.
/boot/olpc.fth expects it to be "OLPCRoot". - Children should get permission from a parent, guardian, teacher, and/or Linux guru before attempting this procedure.
Adult supervision is not required, but it is highly recommended.
Requirements
- An XO-1
- A USB drive with ≥1GB capacity and formatted as FAT-32
- An SD card with at least 1GB of storage capacity
- A Developer's key ("Dev Key")
- Internet access
Procedure
Pre-Installation
- Back up your data!
I take no responsibility for preventable data loss. - Download build 860 and its associated filesystem information:
- os860.img (604MB)
- os860.img.fs.zip (398KB)
- Copy os860.img, os860.img.fs.zip, and your Dev Key to the root directory of the USB drive
- Rename os860.img.fs.zip to fs.zip

First Phase
- Shut down the XO-1.
- If there is an SD card in the SD card slot, eject it now.
- Insert the USB drive.
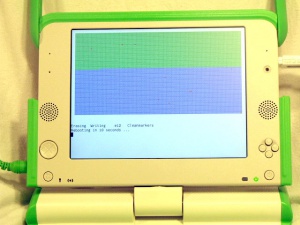
- Hold down all four game keys (✓ + ◻ + O + ×) while pressing the power button.
Keep all four game keys depressed until the XO-1 prompts you otherwise (see illustration).
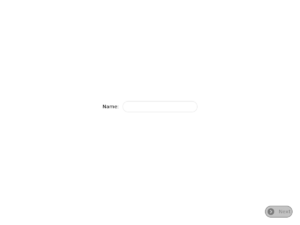
Release 10.1.3 will now "automagically" be installed to the XO-1's internal storage. When it finishes, the XO-1 will restart. Wait until you are presented with the "Name" screen (see illustration) before starting the second phase.
Second Phase
- Drop into a console.
♦ ctrl + ♢ alt + f1
f1 - Drop runlevels.
/sbin/init 3 - Insert the SD card into the SD slot.
If you have not partitioned the SD card, do so now. See the 10.1.2 Bootable SD note for more information. - Initialize a filesystem on the SD card.
mkfs.ext3 -L OLPCRoot /dev/mmcblk0p1 - Create a mount point for the SD card.
mkdir /mnt/sd - Mount the SD card.
mount -t ext3 /dev/mmcblk0p1 /mnt/sd - Copy the files from the pristine build directory to the SD card.
This can take as long as three hours. Have patience.
cp -pr /versions/pristine/860/* /mnt/sd/. - Copy your Dev Key to the SD card now
cp /mnt/usb/develop.sig /mnt/sd/security/develop.sig - Create the home directory.
mkdir -p /mnt/sd/home/olpc - Change ownership of the home directory.
chown -R olpc:olpc /mnt/sd/home/olpc - Unmount the SD card.
umount /mnt/sd - Remove the SD card's mount point.
rmdir /mnt/sd
Release 10.1.3 has now been grafted onto the SD card. shutdown -r now and your XO-1 should reboot from the SD card.