Manual/Insides/Page 2: Difference between revisions
Jump to navigation
Jump to search
Ari.l.joseph (talk | contribs) No edit summary |
m (intra wiki navigation) |
||
| (4 intermediate revisions by one other user not shown) | |||
| Line 1: | Line 1: | ||
[[Manual/Insides|Page 1]] | [[../Page 2|Page 2]] | [[../Page 3|Page 3]] | [[../Page 4|Page 4]] |
|||
Page 2 of photos of the laptop: |
Page 2 of photos of the laptop: |
||
| Line 27: | Line 29: | ||
[[Image:DSCN0350.jpg]] |
[[Image:DSCN0350.jpg]] |
||
[[Manual/Insides|Page 1]] | [[../Page 2|Page 2]] | [[../Page 3|Page 3]] | [[../Page 4|Page 4]] |
|||
[[http://wiki.laptop.org/go/Manual/Insides/Page_3 Go to Page 3]] |
|||
Latest revision as of 23:16, 3 May 2007
Page 1 | Page 2 | Page 3 | Page 4
Page 2 of photos of the laptop:
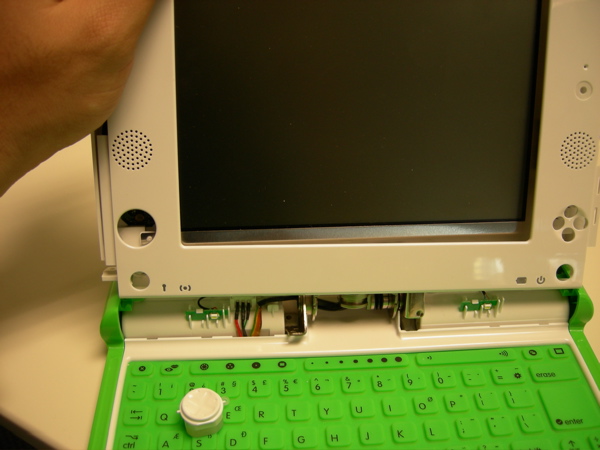
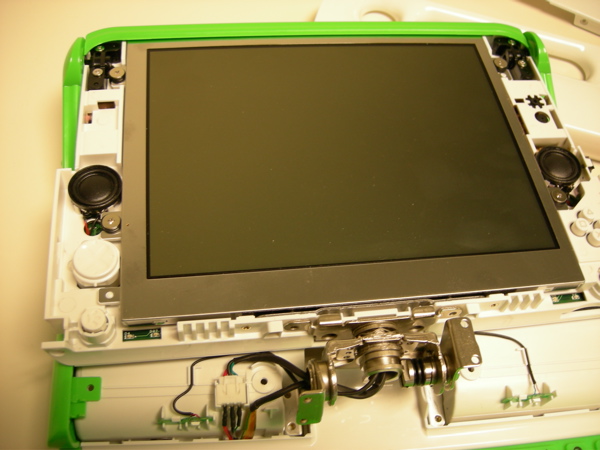
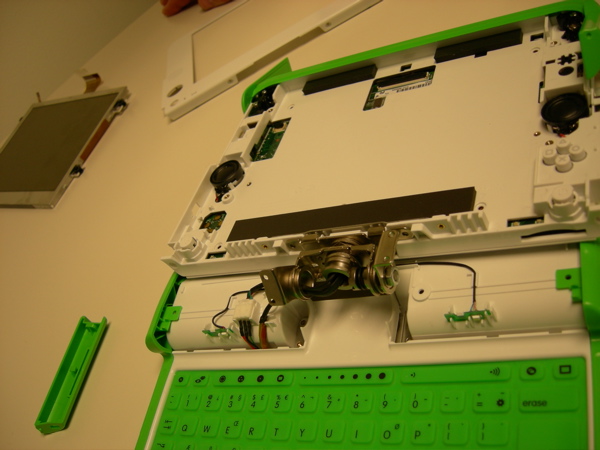
With these screws unscrewed and the bevels removed, the plastic monitor casing can be removed by sliding it out.
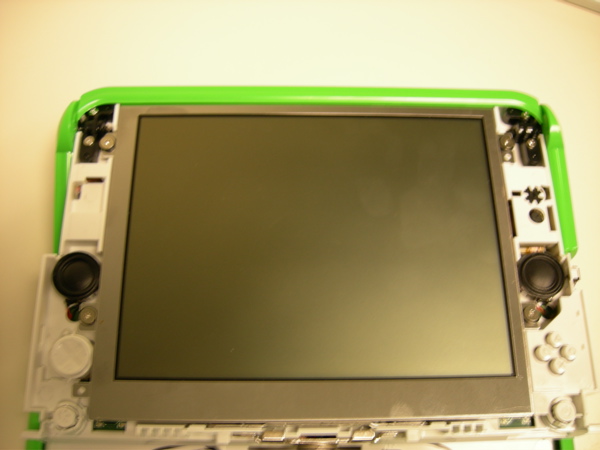
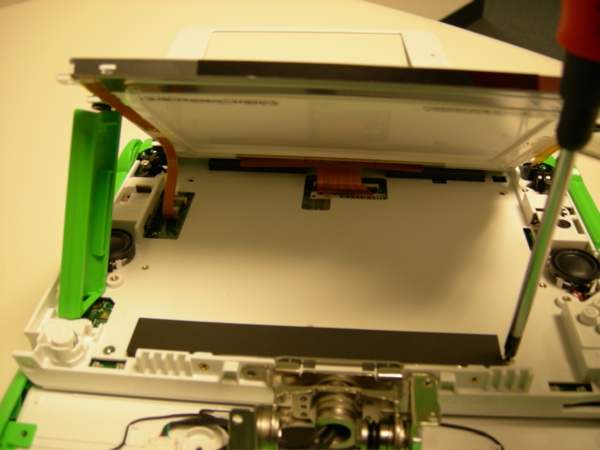
To remove the screen itself, unscrew the four screws that are securing it to the machine.
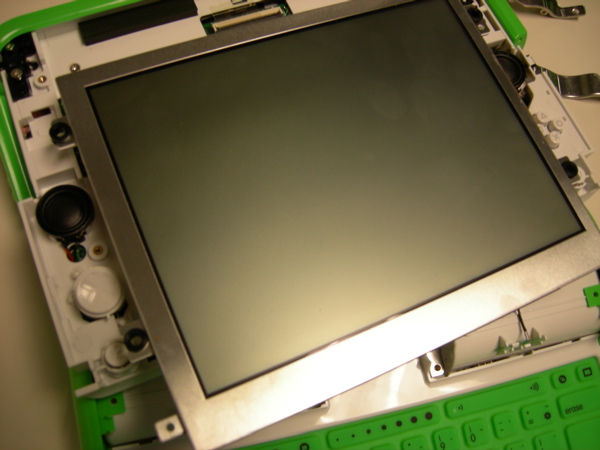
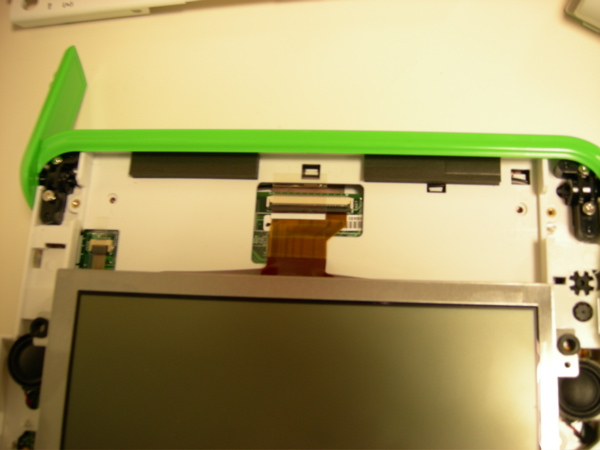
The screen can now be lifted up, but be careful with the ribbon which is still fastened. The fastener that secures the ribbon is delicate, and can not withstand too many attempts to dislodge the ribbon from it.
To fully remove the screen, flip up the black plastic tab on the fastener, and carefully slide the ribbon out.
